

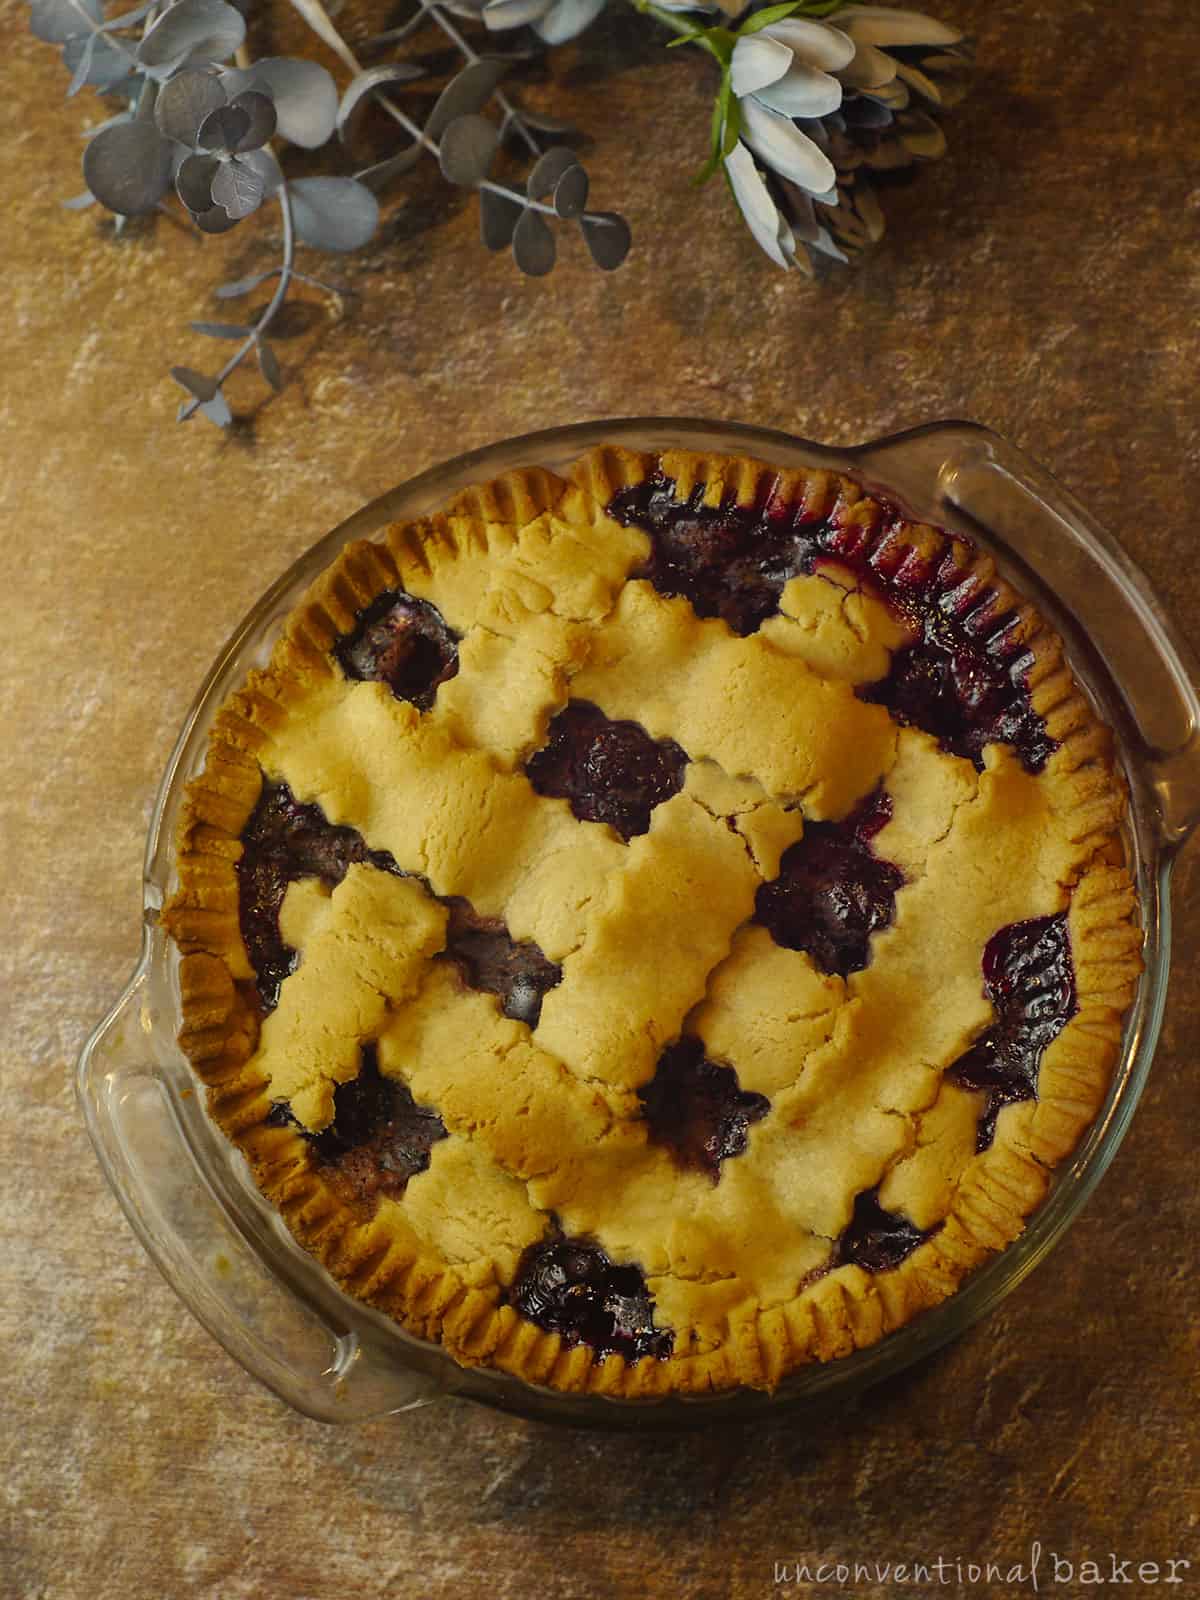
I think most of us would agree: a freshly baked blueberry pie in summer is a treat not to be missed, if one can help it! 😉
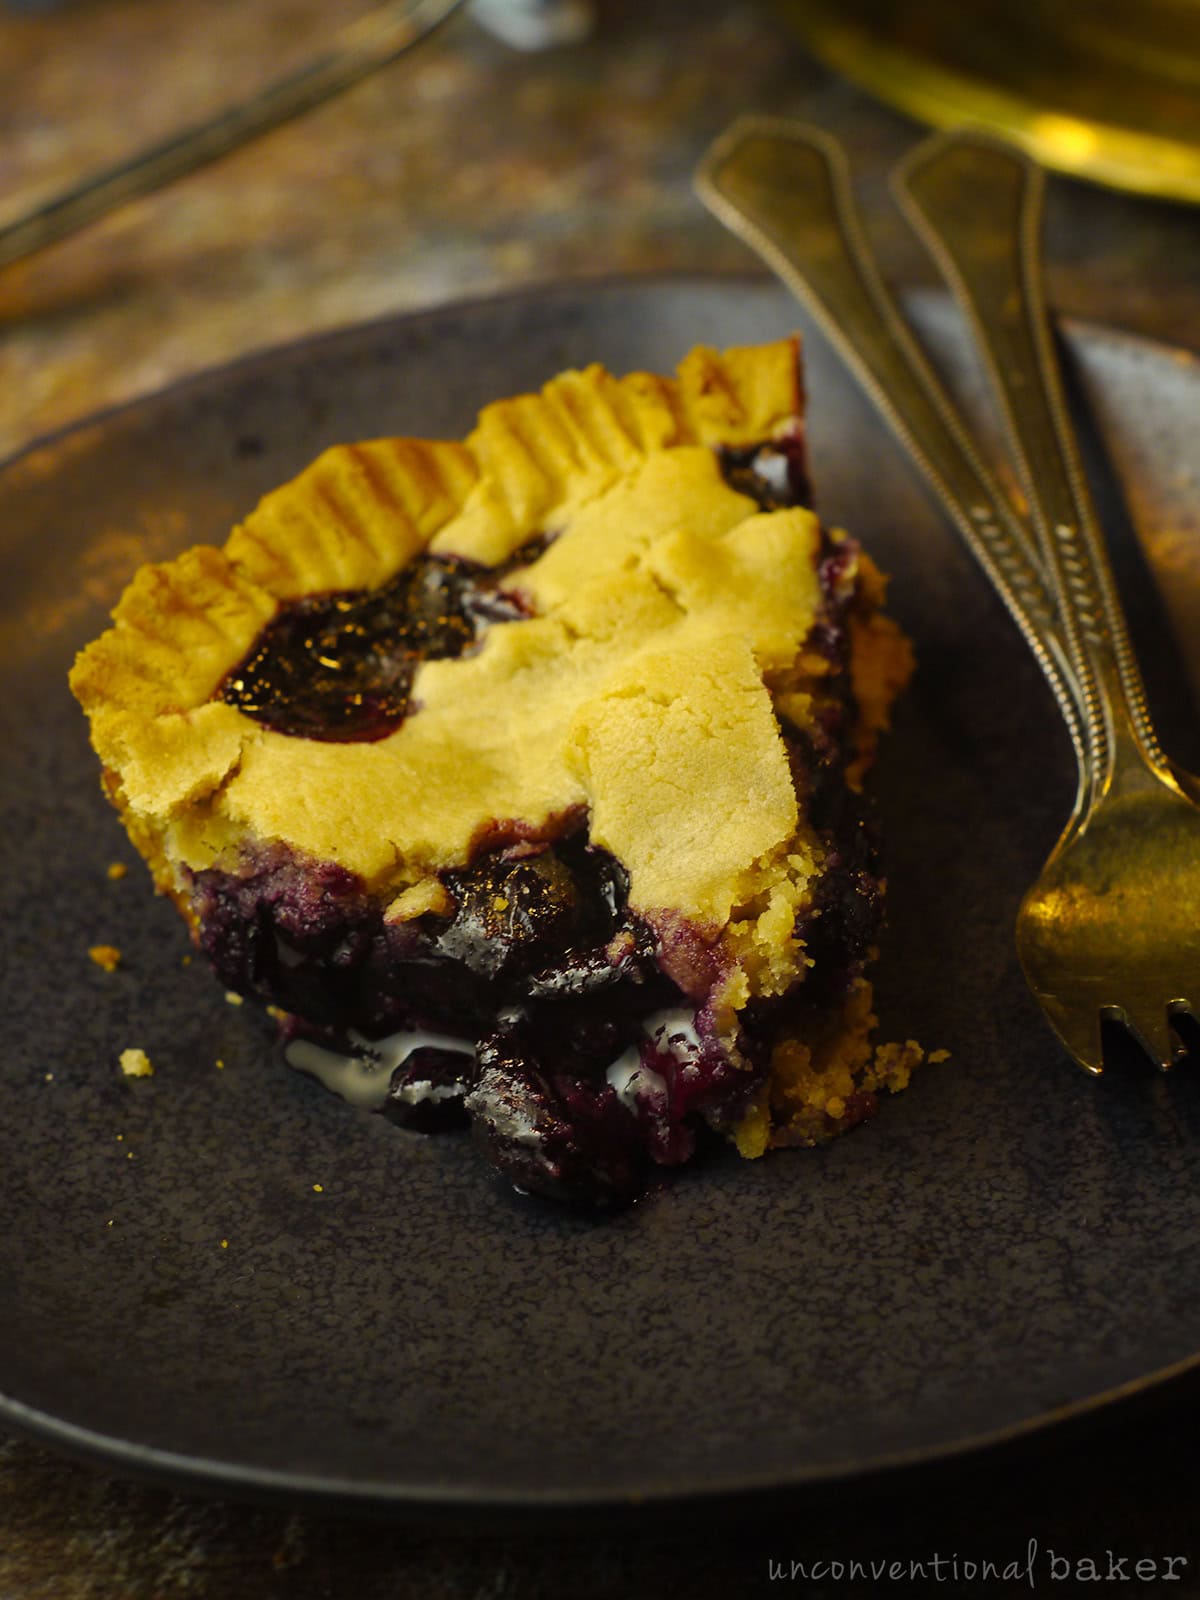
Who can resist that that gooey jammy filling set against a cookie-like crust. So good.
This mini blueberry pie has so much going for it. It’s dairy-free, eggless, gluten-free, oil-free, and refined sugar-free. Easy, quick, delicious.
And it’s small enough to be thoroughly enjoyed without feeling overwhelmed by a lot of leftovers (and easy enough to scale up if you need more, or just make several. They’re cuter small anyways 😉 ).
I used a crust here that I’ve been enjoying using for many of my quick pies. It’s simple and wholesome and super easy for GF.
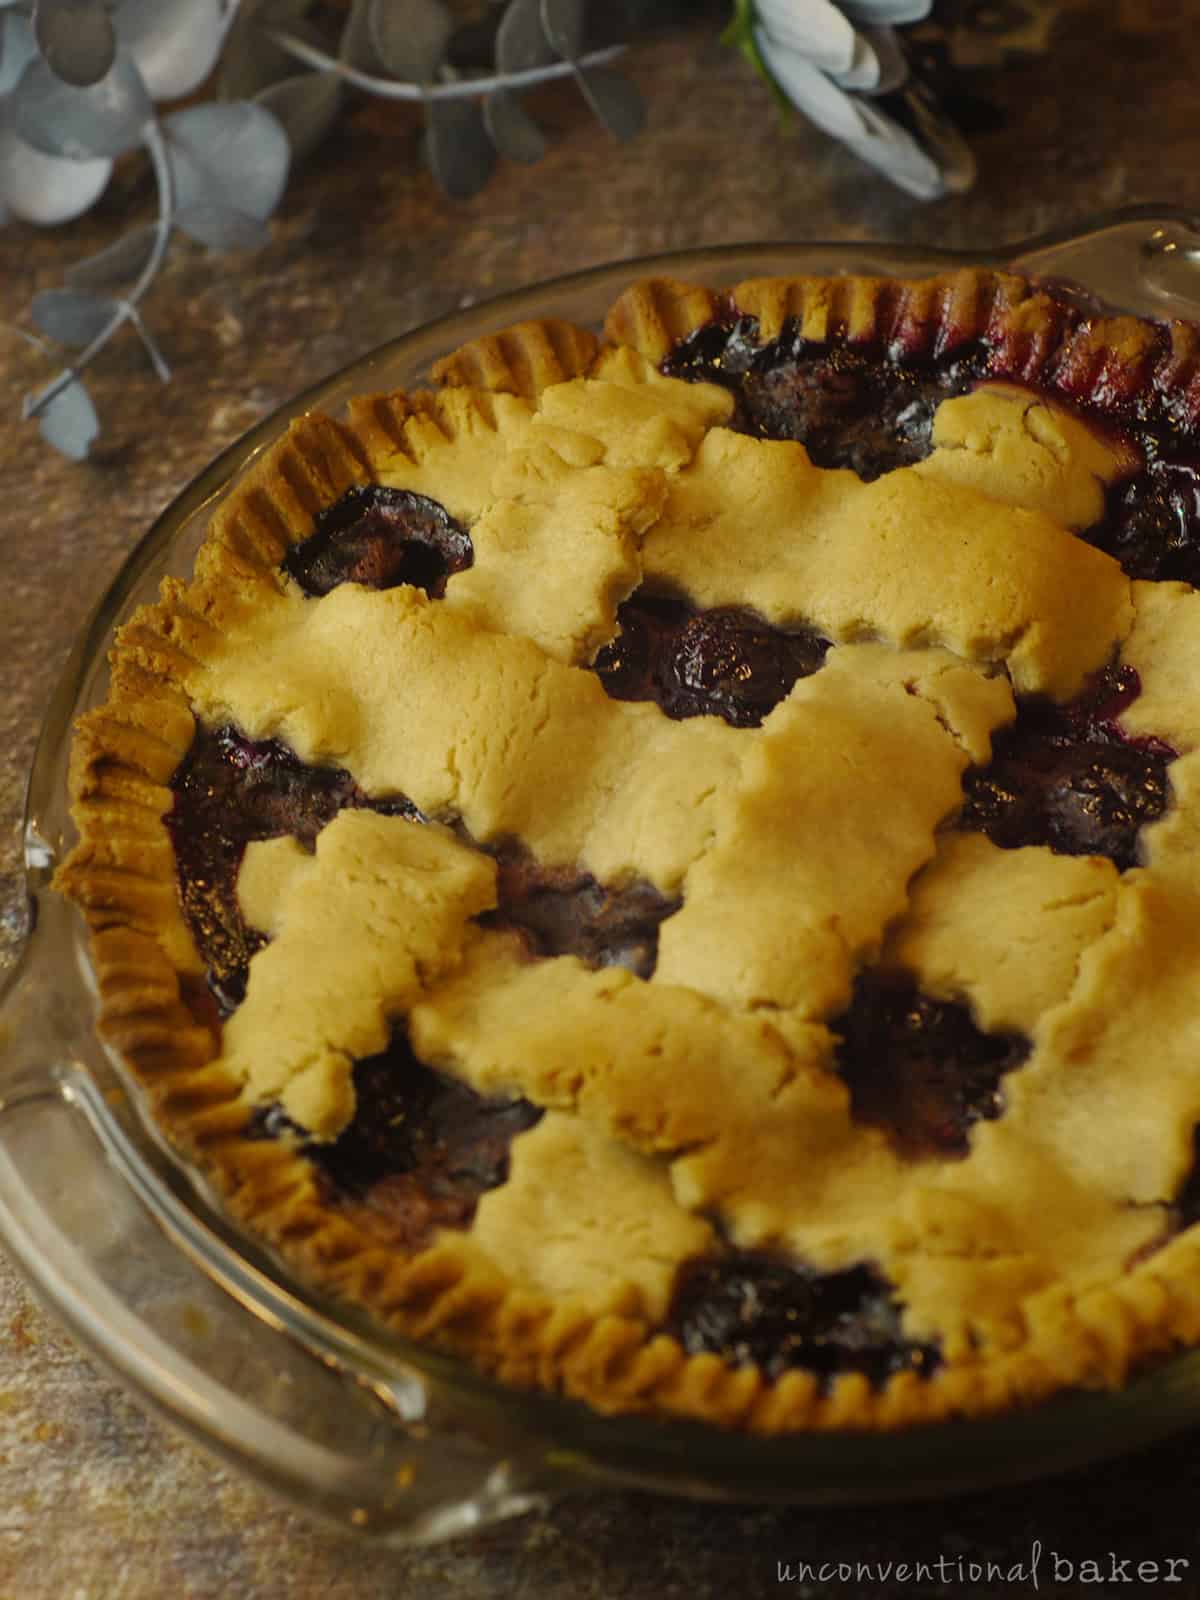
The caveat? The texture has to be just right to make fancy ribbons on top. It’s easy for things to go amiss because there could be variances in the dough due to the batch of cashew butter used and how creamy it is, etc.
So you need to be brave enough to adjust the dough in the food processor to get it to the right texture. If it seems to be too dry / crumbly, add a bit more cashew butter or maple syrup. If it’s too wet / sticky, add more flour…
Most importantly though, don’t stress!! Pie is never meant to be perfect. And mine is far from it. It’s meant to be homey, rustic, and look like it was made with loving hands.
You can always give the ribbons a try and if it doesn’t work out, roll it up in to a ball, roll out the dough again and just cut out some little cookie cutter shapes to decorate the top of the pie with. Just as good and delicious. Or just go straight to this option if you’re not a lattice top kind of person anyways 🙂
And in case you’re looking for options other than blueberry pie, here are a few similar recipes to try out:
Mini Blueberry Pie

A delicious gluten-free vegan mini blueberry pie. This quick recipe is also oil-free and refined sugar-free.
- Prep Time: 30 minutes
- Cook Time: 30 minutes
- Total Time: 1 hour
- Yield: 2-4 servings
- Category: Pies & Tarts
- Method: Baked
- Cuisine: Vegan
- Diet: Gluten Free
Pie Crust:
Blueberry Filling:
Instructions
- Pre-heat oven to 350F. Oil a 6″ pie plate (or baking dish of a similar size) and set aside.
- Process all pie crust ingredients in a food processor until combined into a dough. Gather the dough and form into a ball, kneading it lightly. Divide this dough into 2 pieces, one just a tad smaller than half, one just a tad bigger than half. Roll each piece of dough into a ball. Take the bigger ball of dough and flatten it into a disk with your hands. Place into the prepared pie plate and press and shape it down into a pie shell with your hands, covering the base and sides of the dish with the dough. Set aside.
- Prepare the pie filling by mixing all ingredients together with a fork in a small bowl. Transfer this mixture into the prepared pie crust, and smooth it out into an even layer.
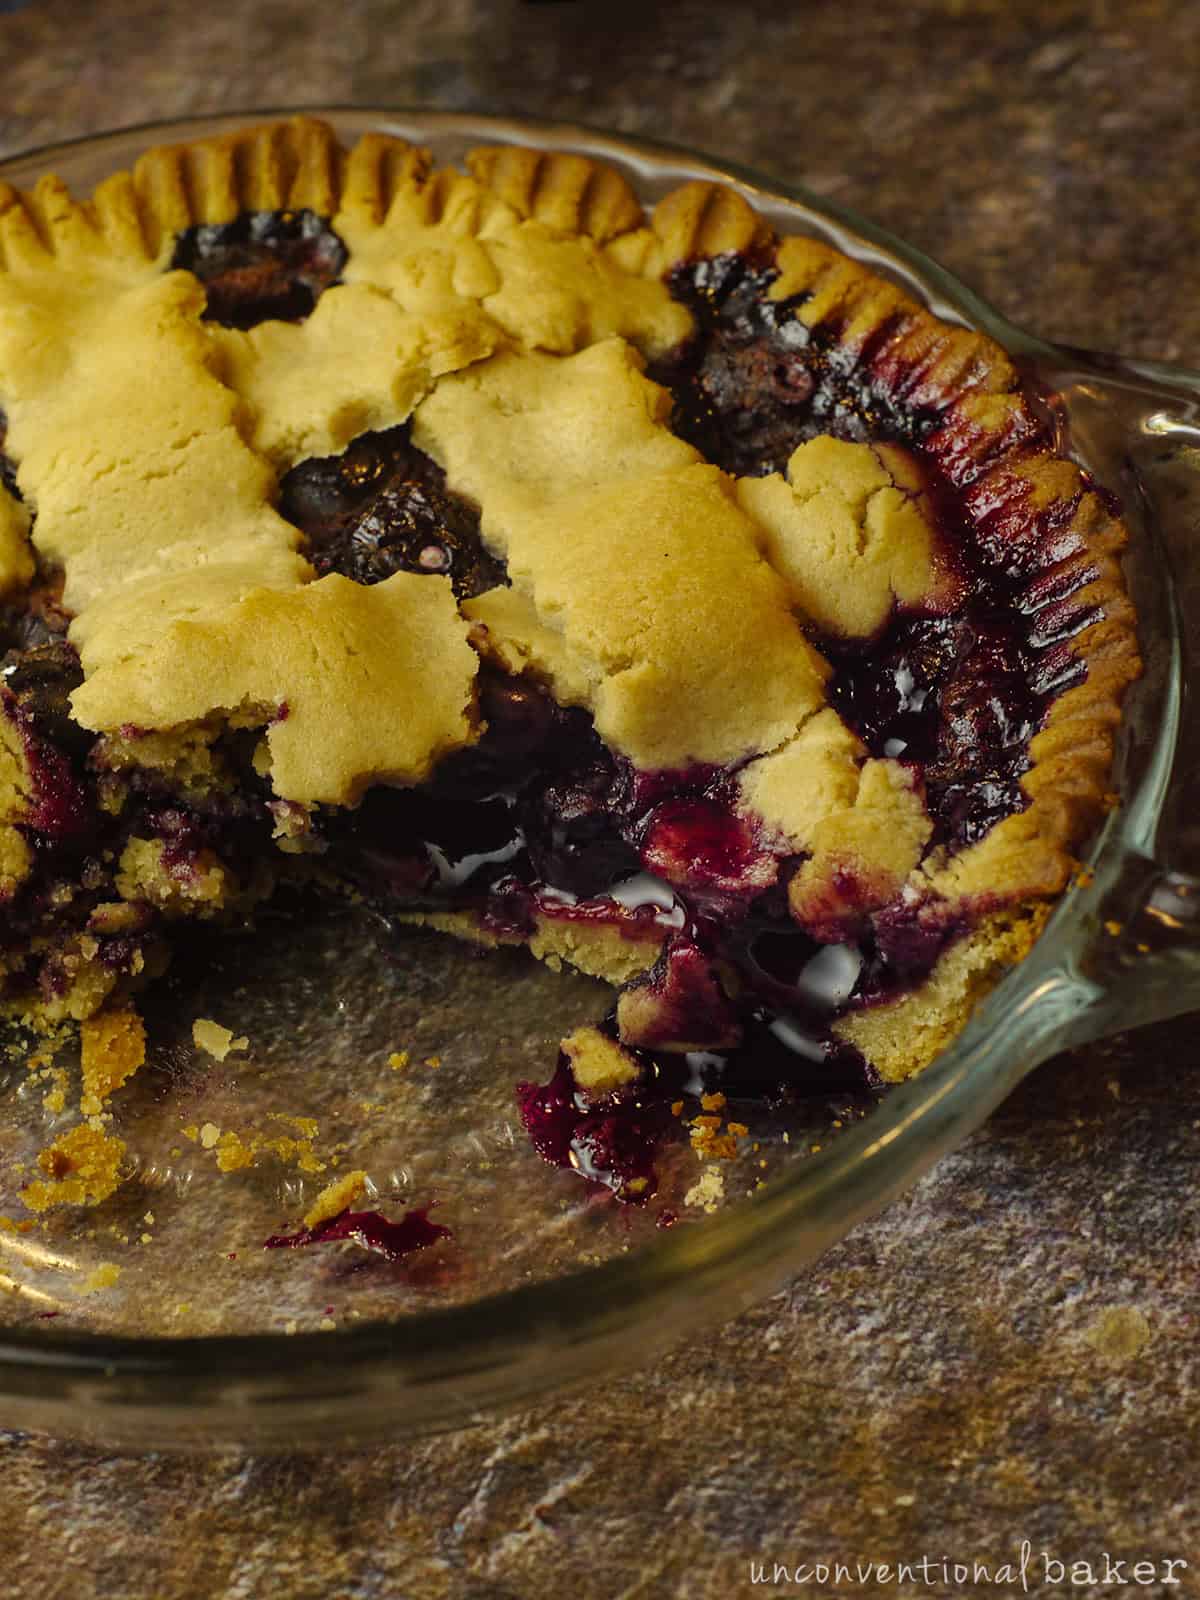
- Place the remaining ball of dough dough in between two sheets of parchment paper and roll it out roughly into an ⅛” thickness or a little thicker (be careful, if it’s too thin it’ll break more easily). Cut this dough into ½” strips lengthwise*. Place several of these strips vertically on the pie. Then place several horizontally, interlacing them with the vertical strips. If you need to create more strips, gather up the remaining dough and roll it out again to create more strips. Once finished creating the lattice, fill in any gaps along the edges of the pie with some of the remaining dough. Then seal the edge all around with a fork.
- Bake in a pre-heated oven for approximately 30-35 minutes (until the edges are nice and golden and you can see some small bubbles in the filling. Cool off on a wire rack, and enjoy!**
Notes
*I used this kind of pastry cutter to get the fluted edges. But a pizza cutter or a regular knife will do for straight cuts if you prefer.
**Note: a warm pie will always be a little runny when sliced. The pie filling will firm up more as it cools off completely.