

- Keep a homemade whole grain pancake and waffle mix in the pantry for quick, reliable breakfasts. We’ve got the perfect recipe.
- A quality cast-iron griddle, a large nonstick skillet, or a nonstick waffle maker lets you cook pancakes or waffles with no added oil.
- Prefer a hands-off method? Bake your pancakes. See our tips below.
With a reliable mix, a couple of well-chosen tools, and a few smart techniques, you can turn out tall, tender pancakes and crisp-edged waffles any day of the week—no oil or unhealthy ingredients necessary. This cheat sheet breaks down the essentials so you can skip the guesswork, cook with confidence, and enjoy a wholesome breakfast that actually leaves you feeling good afterward.
FOK may collect a small share of sales from some of the links on this page, though it doesn’t influence our product picks.
1. Start with a Better Mix
Having a ready-to-go mix on hand makes weekday waffles and weekend stacks infinitely easier. Instead of relying on boxed blends, whisk up your own DIY pancake and waffle mix. It keeps beautifully, skips the additives, and gives you a wholesome, whole grain base you can use at a moment’s notice. Here’s a tried-and-true recipe that we’ve used in both pancakes and waffles.
Healthy Pancake/Waffle Mix
5 minutes l Makes about 8¾ cups
This mix makes enough for four batches of eight pancakes or waffles. If you like, divide it into containers (four separate portions of 2 cups + 3 tablespoons mix) so it’s ready to go.
In a large bowl whisk together 8 cups white whole wheat flour, ½ cup flaxseed meal, ¼ cup low-sodium or sodium-free baking powder, 2 teaspoons baking soda, and 1 teaspoon sea salt. Transfer to an airtight container. Store at room temperature up to 2 months.
2. Invest in Gear That Actually Helps
You don’t need a specialty kitchen. But a couple of tools do make weekend breakfasts smoother.
- For primo pancakes, opt for a griddle that heats evenly. Cast iron remains the workhorse—affordable, nearly indestructible, and great for pancakes. We like this one from Lodge, which is flat on one side and has grill ridges on the other. If you don’t want to spring for a griddle, a roomy nonstick skillet is also a great option.
- A waffle maker that releases cleanly. Models with a quality nonstick plate reduce sticking. Belgian-style irons tend to give the most reliable lift-off and crisp, defined pockets. If you can adjust the heat, even better; temperature flexibility helps avoid soggy centers. We tested several models, and the Cuisinart Classic Round Waffle Maker performed best.
3. Skip the Oil
Oil-free pancakes and waffles are lighter, heart-healthier, and won’t leave you with that weighed-down, post-brunch fog. Skipping added oil also keeps the texture clean and lets the flavors shine. Here are some tips for success.
- Use a waffle iron with intact nonstick plates.
- When removing waffles, lift from the edges using a wooden chopstick (more precise than a spatula).
- If a waffle breaks, let the plates cool slightly before trying again. Forcing it hot only worsens the tear.
- If waffles still cling, turn off the machine and let it cool for a few minutes. Once the steam subsides, they release more easily.
- Let the iron fully reheat before pouring the next batch: Not-hot-enough plates are a prime culprit for sticking.
- Preheat the pan thoroughly; medium-low, steady heat prevents the batter from bonding to the surface.
- Use a well-seasoned cast-iron or true nonstick pan. Worn-out coatings make oil-free cooking nearly impossible.
- Let the batter sit a few minutes before cooking; slightly thicker, hydrated batter flips more cleanly.
- Wait for clear cues before flipping: Dry edges and small bubbles across the surface. Flipping too early leads to tearing and sticking.
- After each batch, give the pan a moment to regain heat before adding more batter.
4. If You Do Use Oil…
If you do want to use a little oil on your nonstick waffle iron plates or skillet, avoid aerosol oil sprays. They’re notorious for leaving a stubborn film on nonstick coatings over time. (Manufacturers warn against them for this reason.) If you must lubricate the plates, dip a folded paper towel into a tiny amount of oil and wipe a thin layer across the surface.
5. Keep ’em Warm Without Drying ’em Out
As you cook batches, slide finished waffles or pancakes onto a baking sheet in a 200°F oven.
Spread them out in a single layer, uncovered, so steam can escape; stacking or covering them traps moisture and dulls crispness.
For waffles: If you want them extra-crisp, place them directly on the oven rack for the last few minutes.
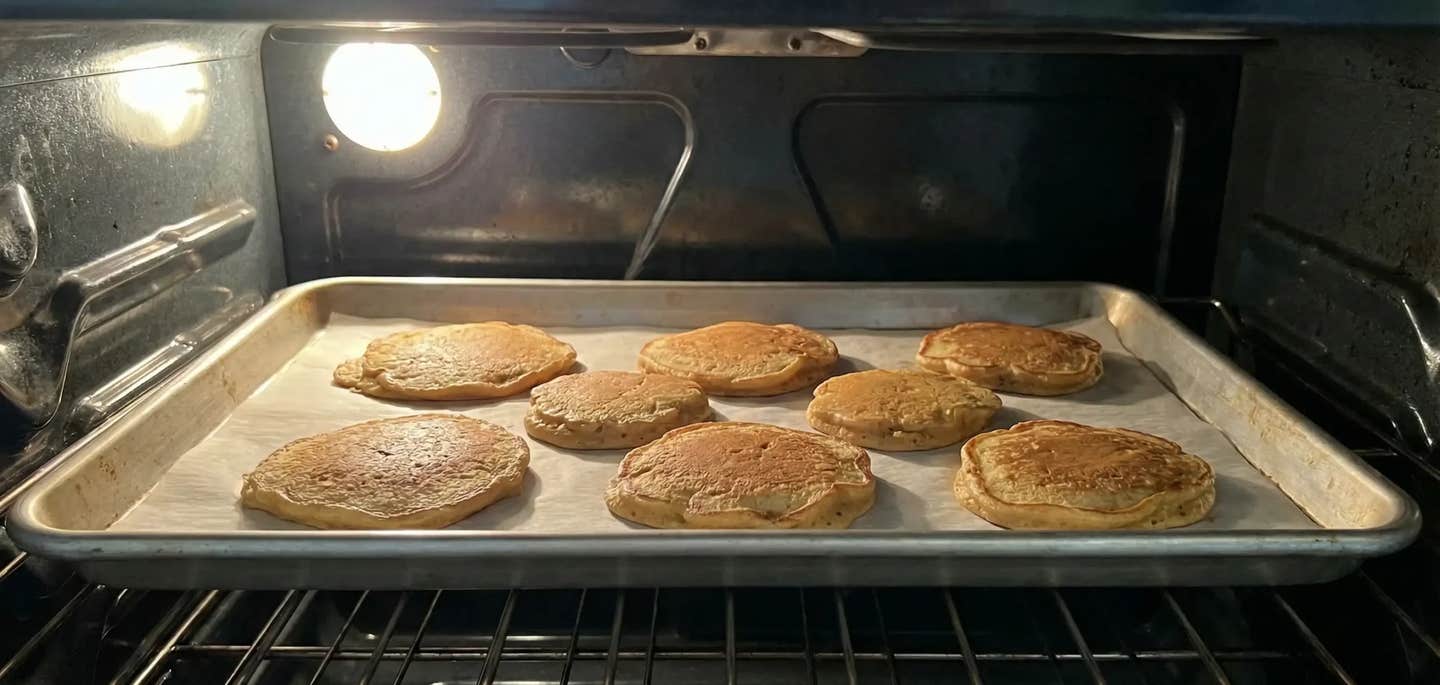
Bonus Tip: Bake Your Pancakes!
Prefer a hands-off method? You can bake pancakes on a sheet pan—a hack recommended by a number of Forks Meal Planner users, as well as our staff writer Lisa Esile, MS. “Baking our pancakes has been a game changer,” she says. “Now we have pancakes for breakfast even on weekday mornings, because we can just throw them in the oven while we get ready.” She notes that the texture is a bit more muffin-like than traditional pancakes, but just as delicious, and beloved by kids.
To do it, preheat the oven to 425*F and line a baking sheet with parchment paper or a silicone mat. Scoop pancake batter in ½ cup portions onto the prepared baking sheet. Bake 12 to 18 minutes, until pancakes are set and lightly golden. (No flipping!) If any merge together, simply separate them with a spatula or knife.
Recipes to Try
