


If you grew up loving the cozy comfort of Cream of Wheat, this delicious homemade Cream of Rice Cereal is sure to warm your heart! It’s a wonderful gluten-free alternative to store-bought Cream of Rice made with just a few simple ingredients.
This warm and tasty bowl is seriously comfort food at its very best.

Growing up, Cream of Wheat was one of my favorite foods. I remember the small red box on the kitchen countertop, knowing the yumminess that was inside. I loved diving into that bowl of creamy goodness topped with brown sugar, a little milk, and a dollop of margarine (yikes. Yes, I said “margarine.”)
Simply delicious, but not very healthy.
Since our family eats gluten-free and mostly whole foods, I don’t have that box in our house ever, and in fact, my kids have never tried the original Cream of Wheat. But I wanted them to experience the same goodness that I’d experienced.
So one day, I realized that it should be pretty simple to make my own Cream of Rice cereal. I did, and now this Cream of Rice Cereal is a favorite in our house.
It’s a simple but also special treat for any day, but it’s also very soothing for an upset stomach. It’s our go-to whenever there’s a stomach bug in the house.
I know you’re going to love this gluten-free cream of rice cereal, and your family will, too!
What is Cream of Rice?
The boxed cereal called Cream of Rice® is a processed hot cereal made from ground, uncooked white rice. It’s the gluten-free counterpart to the popular boxed cereal Cream of Wheat®. Both cereals are fortified with vitamins.
This homemade version can be made with either white or brown rice.
It’s a simple dish, but the real magic happens when you add a bit of creamy liquid like coconut milk, a little butter, and a sweetener. Then, it turns into a delicious bowl of cozy comfort!
Why You’ll Love This Recipe
The boxed brand of Cream of Rice is gluten-free, making it great for those who are avoiding gluten, but it contains synthetic vitamins that you might not want to eat.
Don’t you just love tasty, hearty recipes that you can feel good about sharing with your family? Plus, it will save you quite a bit of money over the boxed brand.
The ingredients in this homemade cereal are very inexpensive. Basically, you only need rice (white or brown) and liquid, which can be water, milk, or a dairy-free milk substitute.
At the time of publishing this post, a serving of the homemade variety cost only 14 cents each, which was about one-fifth the price of boxed Cream of Rice cereal.
This recipe also comes together in just five easy steps, and you most likely have the ingredients on hand in your pantry.
What You Will Need
- Uncooked Rice: I recommend brown rice, but white rice works too.
- Coconut Milk: water, milk, or non-dairy milk like coconut milk, almond milk, or rice milk. I prefer coconut milk, or almond milk to add extra fat to balance out the carbs.
- Salt: optional, but optimal in my book. Salt really makes this dish.
- Optional Toppings: butter (or other fat), sweetener, cinnamon, cinnamon sugar (here’s a link to our “best” homemade cinnamon sugar), etc.
How to Make Cream of Rice Cereal from Scratch
This recipe is so simple, it can be made on even the busiest of mornings. And what busy mom doesn’t love having yummy recipes you can make in a matter of minutes?
Here are the basic instructions to make cream of rice. For the full details, see the recipe card below.
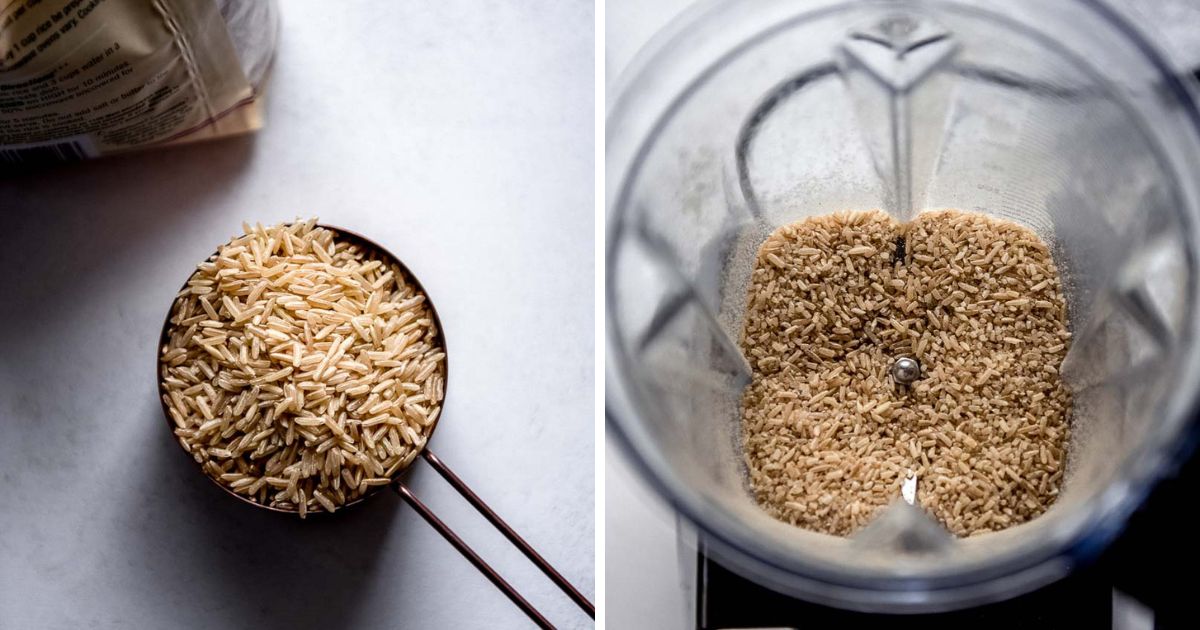
- Grind rice coarsely in a blender or coffee grinder.
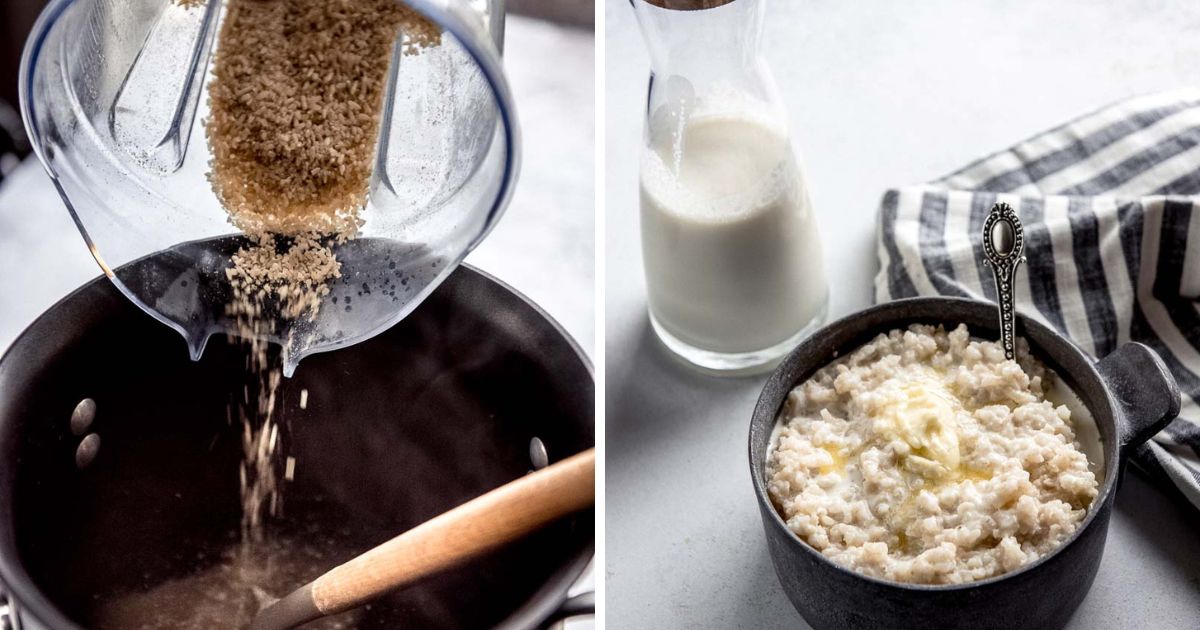
- Heat liquid over medium heat to a slow boil.
- Add rice gradually, stirring while adding.
- Cover and simmer, stirring occasionally.
- Serve with desired toppings.
Topping/Add-In Options
Because the rice makes such a neutral and comforting base, you can have a lot of fun with the toppings and can also add other ingredients to boost nutrition. Here are some ideas to add to your homemade cream of rice:
You could even make this into a savory dish by adding in scrambled eggs, tofu, and/or some cooked veggies.
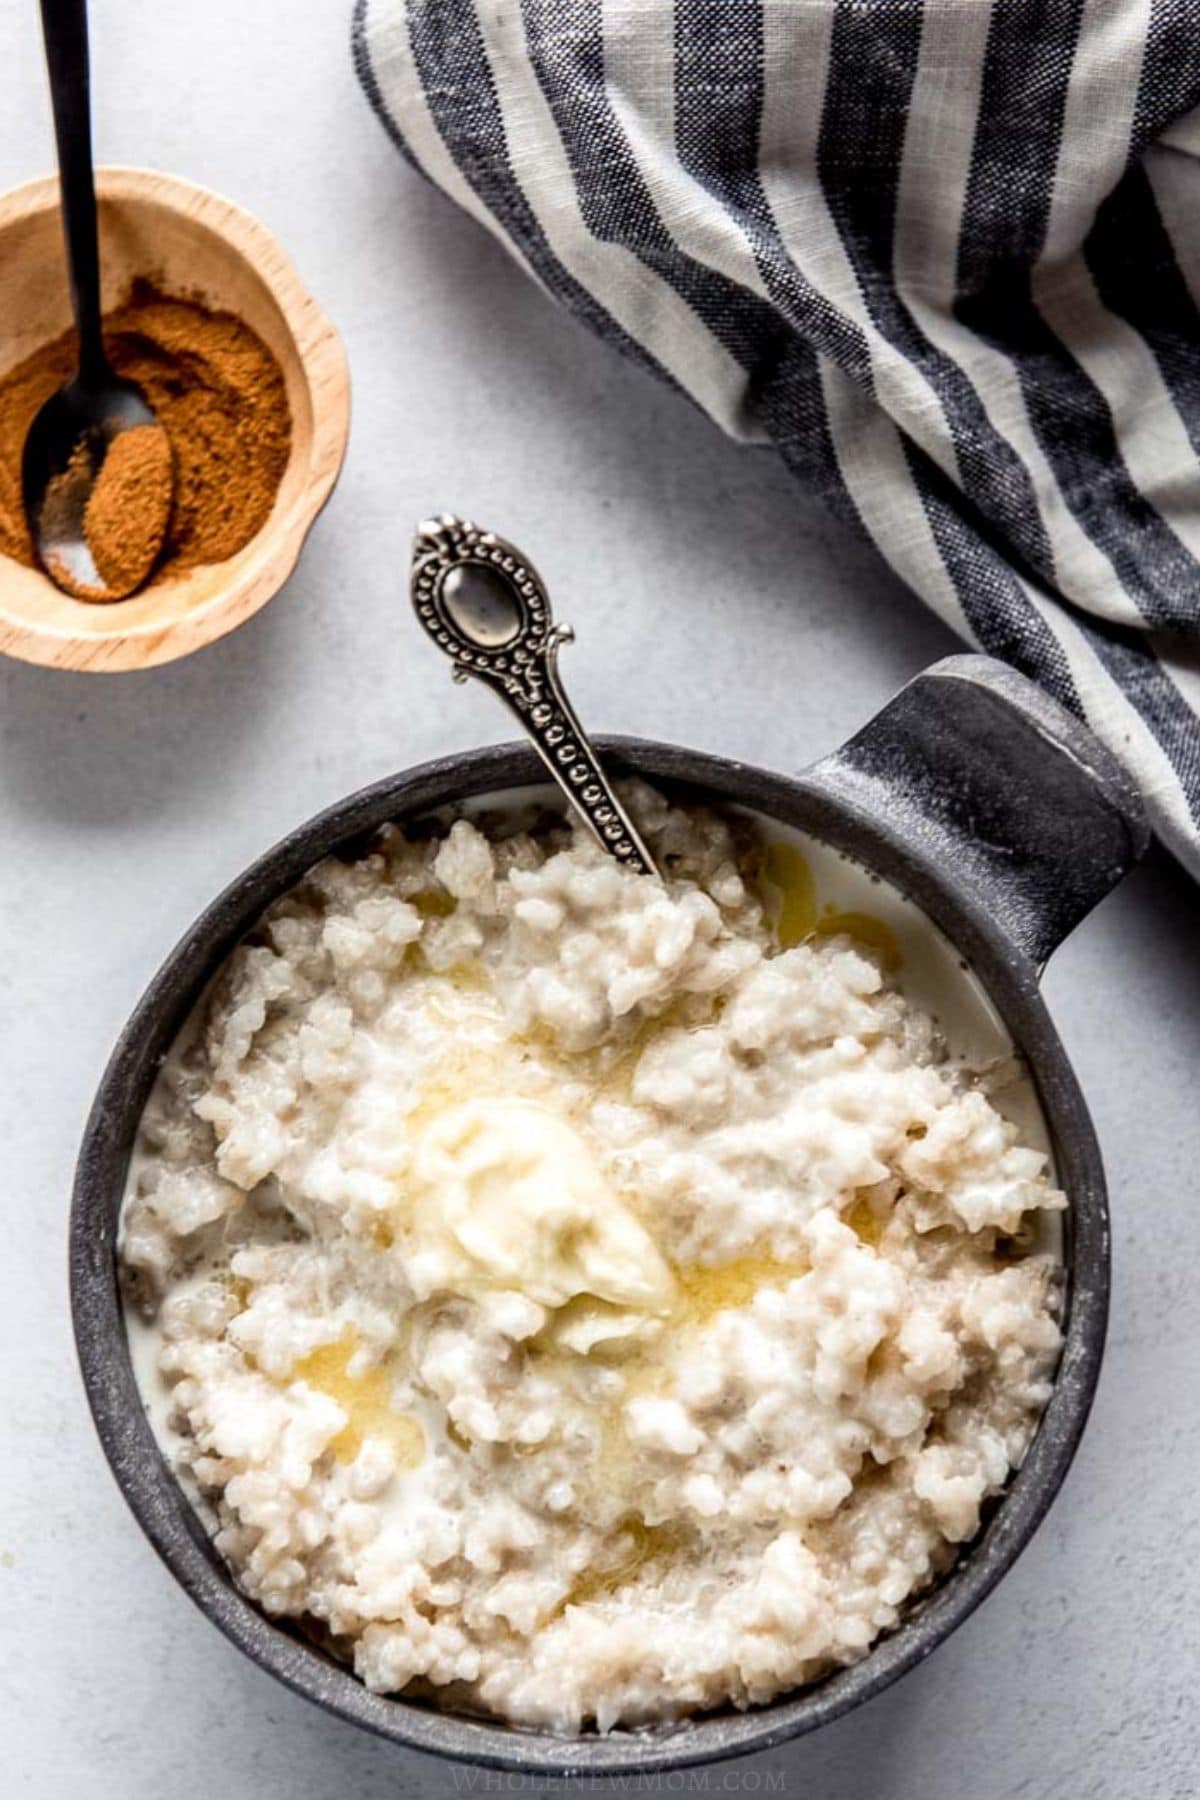
The way we love this is cooked in coconut milk with even more coconut milk on top, stevia extract, lots of grass-fed butter, a dash of cinnamon, and salt. Nothing like it!
Recipe Tips and Dietary Notes
- Grinding tips: It’s up to you how finely you want to grind the rice, as this will affect the texture of the cereal. I prefer a coarser grind for a heartier feel.
- Coconut milk alternatives: You can use any type of milk or even water. I prefer coconut milk for its creaminess and also to add more fat to an otherwise carb-heavy dish.
- Rice options: You can use any variety you choose. White rice will cook faster, but you will be giving up the fiber and nutrition of the bran and germ. White rice also has a higher glycemic index. I always use brown rice, which makes a hearty and filling dish. You could also use basmati rice, jasmine rice, wild rice, black Japonica rice, or any other variety. Each one will give a different flavor profile.
- Salt: I mention in the recipe card that salt is optional, but for me, it most certainly is mandatory. Try it and you’ll see what I mean. It accents the sweetener, and the cereal just isn’t the same without it.
- Nutrition/digestion tip: Boost the nutritional value of this dish by soaking the rice overnight.
More Processed Food Replacements
Here are some more alternatives to packaged foods that you’ll love.

- 1 cup uncooked rice (I prefer to use brown rice.)
- 4 1/2 cups coconut milk (See Recipe Notes for alternatives)
- 3/4 teaspoon salt
- sweetener
- optional toppings (cinnamon, coconut shreds, butter, etc).
-
Grind rice coarsely in a blender or coffee grinder.
-
Heat coconut milk or other milk or water over medium heat to a slow boil.
-
Add rice gradually, stirring while adding.
-
Cover and simmer for 5-15 minutes, until thickened. Stir occasionally and add more liquid as needed.
-
Serve with desired toppings.
- Watch the pan when cooking the cereal. If necessary, add more liquid to keep the cereal from sticking to the bottom of the pan.
- You can boost the nutritional value of this dish by soaking the rice overnight.
- Rice: You can use any variety you choose. I prefer whole grain brown rice. If you use white rice it will cook much faster, but it has less fiber and nutrition. White rice has a higher glycemic index as well.
- Coconut milk alternatives: You can use any type of milk or even water. I prefer coconut milk for its creaminess and also to add more fat to an otherwise carb-heavy dish.
- Optional toppings: I recommend butter or another fat like coconut oil, plus sweetener, cinnamon, chopped nuts, or fruit.
- Salt: I mention in the recipe card that salt is optional. For me, it most certainly is not. Try it with a dash and you’ll see what I mean. It accents the sweetener, and the cereal just isn’t the same without it.
- Cooking Time: Your cooking time will depend on the size of the grains after processing, so adjust accordingly.
Calories: 356kcal | Carbohydrates: 44g | Protein: 3g | Fat: 15g | Saturated Fat: 15g | Polyunsaturated Fat: 0.1g | Monounsaturated Fat: 0.1g | Sodium: 626mg | Potassium: 53mg | Fiber: 1g | Sugar: 0.1g | Calcium: 13mg | Iron: 0.4mg | Net Carbs: 43g
Nutritional information is provided as a courtesy and is an estimate only. It may vary depending on ingredient brands, substitutions, and preparation methods. Optional ingredients are not included. Net carbs are typically calculated by subtracting fiber and sugar alcohols (such as erythritol) from total carbohydrates. This information should not be relied upon for medical or nutritional purposes.
Note: This post was originally published in April, 2013. It has since been updated with new information and new photos. Here is an original photo for reference:

Once you’ve tried this Cream of Rice Cereal, I’d love to hear how you liked it and what toppings made it delectable for you!

