


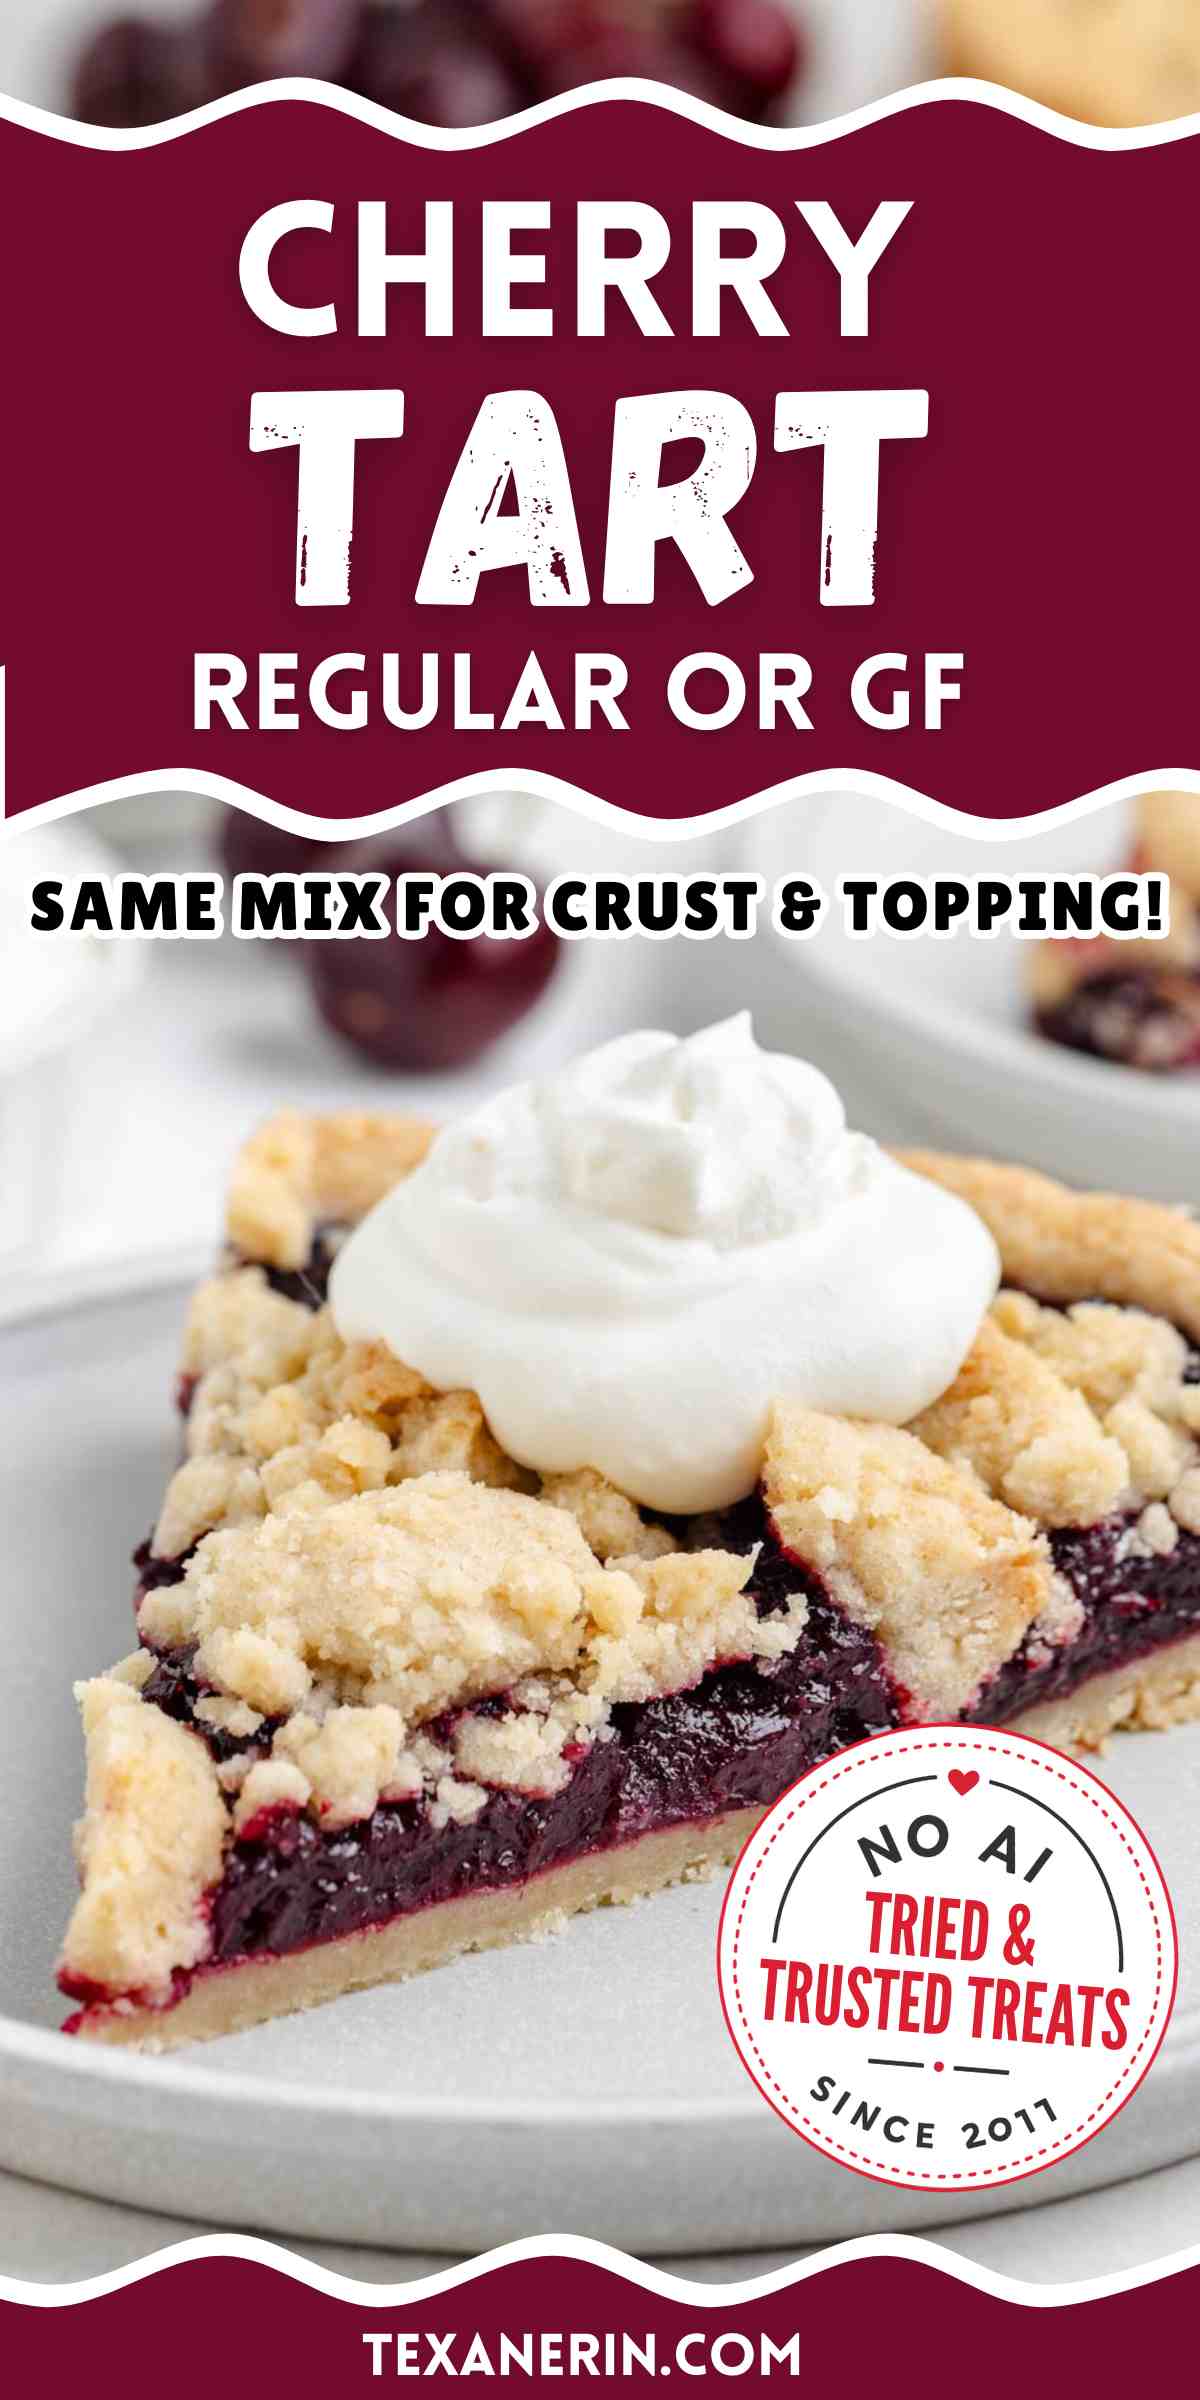
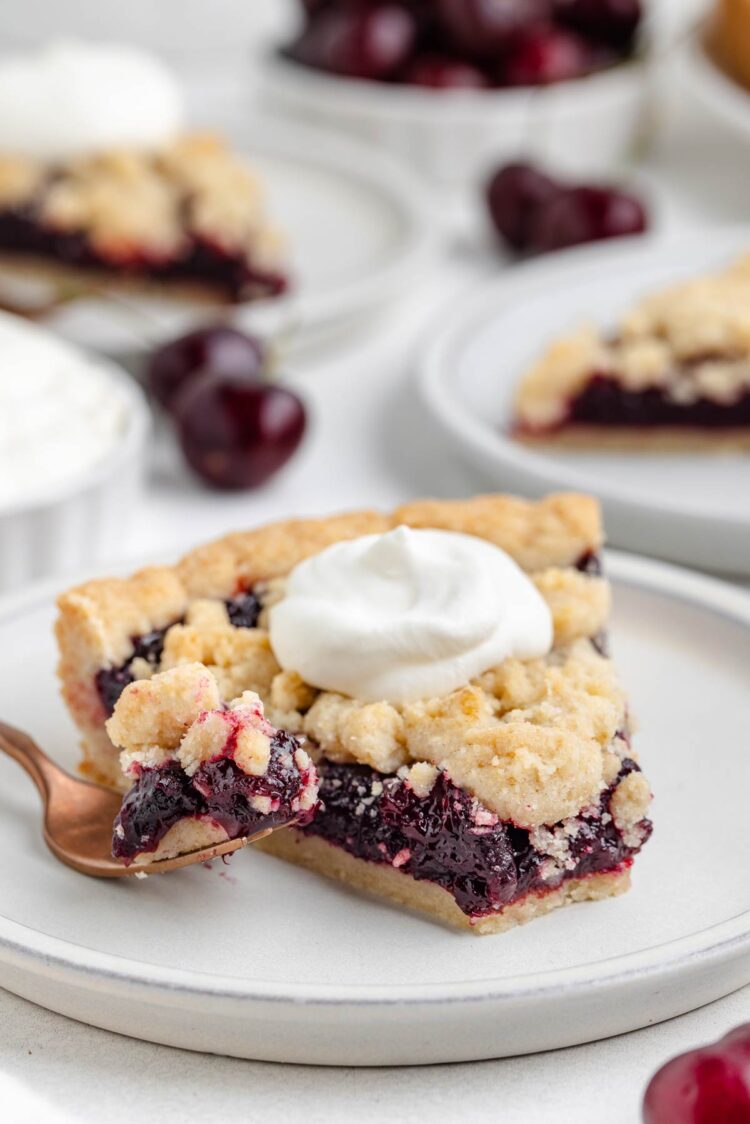
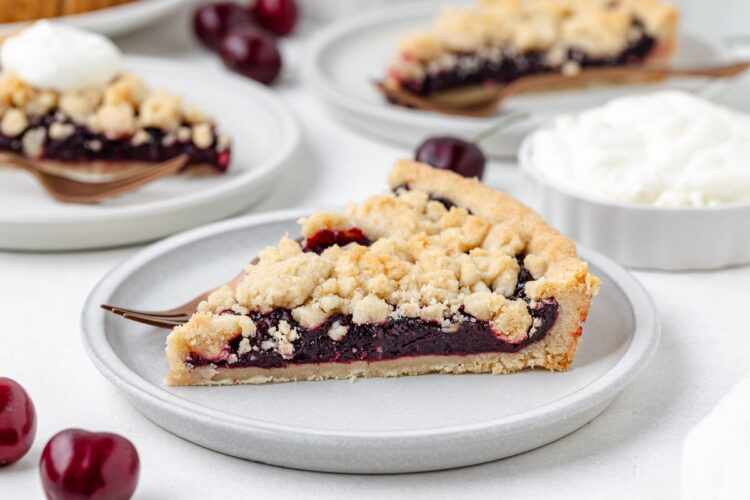
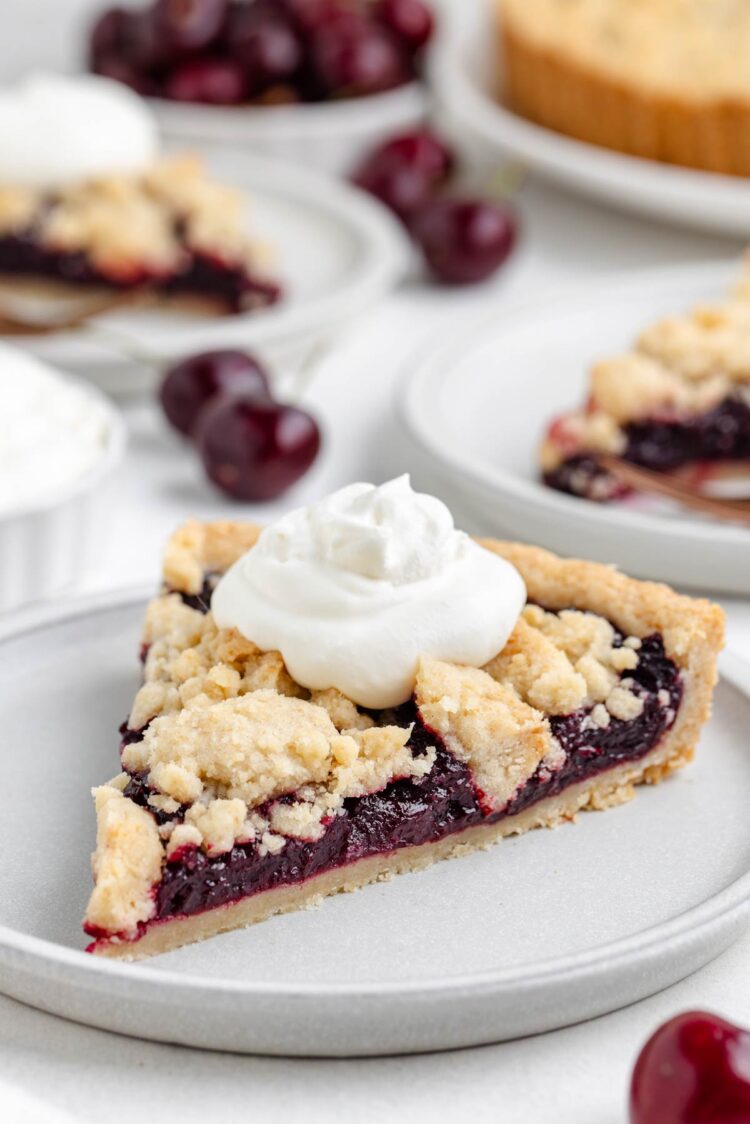
This cherry tart has a thick sweet cherry filling, a buttery press-in crust and a crumb topping made from the same mixture as the crust. It’s very similar to my Rhubarb Tart, but made with fresh or frozen sweet cherries, lemon juice, vanilla and a little almond extract. You can make it traditionally, gluten-free, dairy-free or vegan.
The filling is cooked on the stovetop before it goes into the tart, which keeps the crust from turning soggy. That also means the filling may not bubble much in the oven, and that’s fine. The tart is baked mainly to cook the crust and topping.
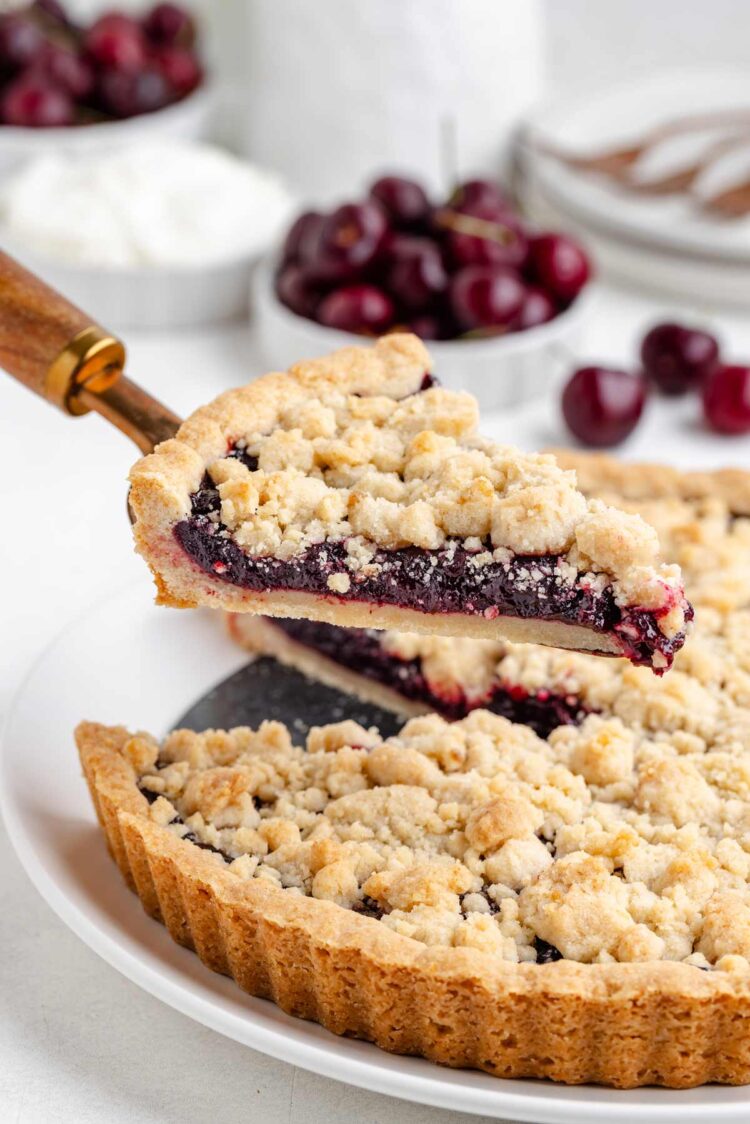
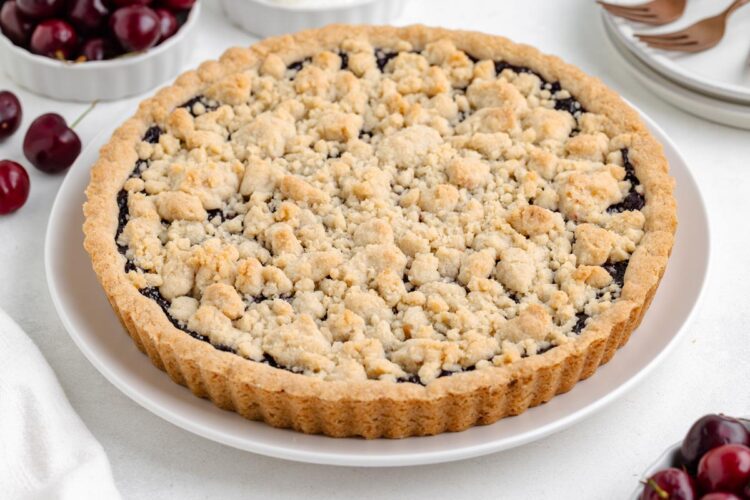
I used frozen cherries for this recipe because they’re easy to find year-round and already pitted, which makes the recipe much less annoying. Just make sure to use frozen sweet cherries, not frozen tart cherries, unless you’re okay with a very tart filling. Tart cherries need more sugar, and this recipe was developed for sweet cherries.
Fresh sweet cherries also work with no other changes to the recipe. Because they contain slightly less excess moisture than frozen cherries, the initial cooking time may be about 1 minute shorter.
If you love cherry desserts, these Cherry Brownies are another rich chocolate cherry option, and this Tart Cherry Pie is the better choice if you specifically have tart cherries to use up.
- Made with frozen (or fresh) cherries – when using frozen, there’s no pitting needed, and you can make it any time of year.
- No rolling pin – the crust is pressed directly into the tart pan.
- One mixture for the crust and topping – you reserve part of the crust mixture for the crumb topping.
- Not soggy – the cherry filling is cooked first so the crust has a better chance of staying firm.
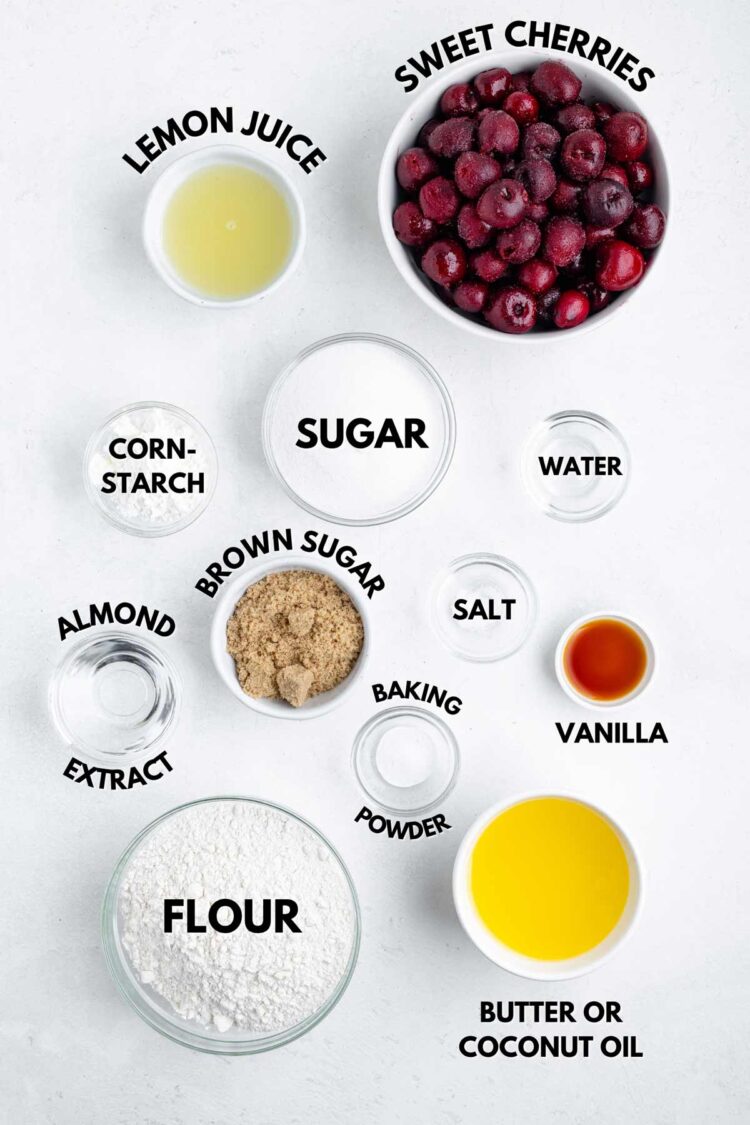
Ingredients
Please scroll down for the full recipe. These are just notes on key ingredients.
- Sweet cherries – if using fresh cherries, pit them first. If using frozen, use them straight from the freezer. Don’t thaw them first or you’ll have a lot of loose cherry juice to deal with before the filling even starts cooking. I don’t recommend frozen tart cherries for this recipe unless you’re okay with a very tart filling. They need more sugar than sweet cherries, and adding extra sugar would change the filling.
- Lemon juice – the lemon juice brightens the cherry flavor and keeps the filling from tasting flat. It won’t make the tart taste lemony.
- Almond extract – almond extract and cherries are so good together. It makes the cherry flavor taste fuller without making the tart taste strongly like almond.
- Butter or coconut oil – the cherry tart in the photos uses traditional butter. For a dairy-free and vegan version, make sure to use the coconut oil + water option in the recipe instead of doing a straight swap. Coconut oil is 100% fat and butter is only about 80–84%, which means using it 1:1 can make the crust and topping mixture too greasy. Using slightly less coconut oil plus a bit of water better mimics how butter behaves. I really recommend refined coconut oil so the crust and topping don’t taste coconutty. Vegan butter also works, but in that case you should use the same amount as the butter called for.
How to Make It
The full recipe can be found in the recipe card below. This is just an overview.
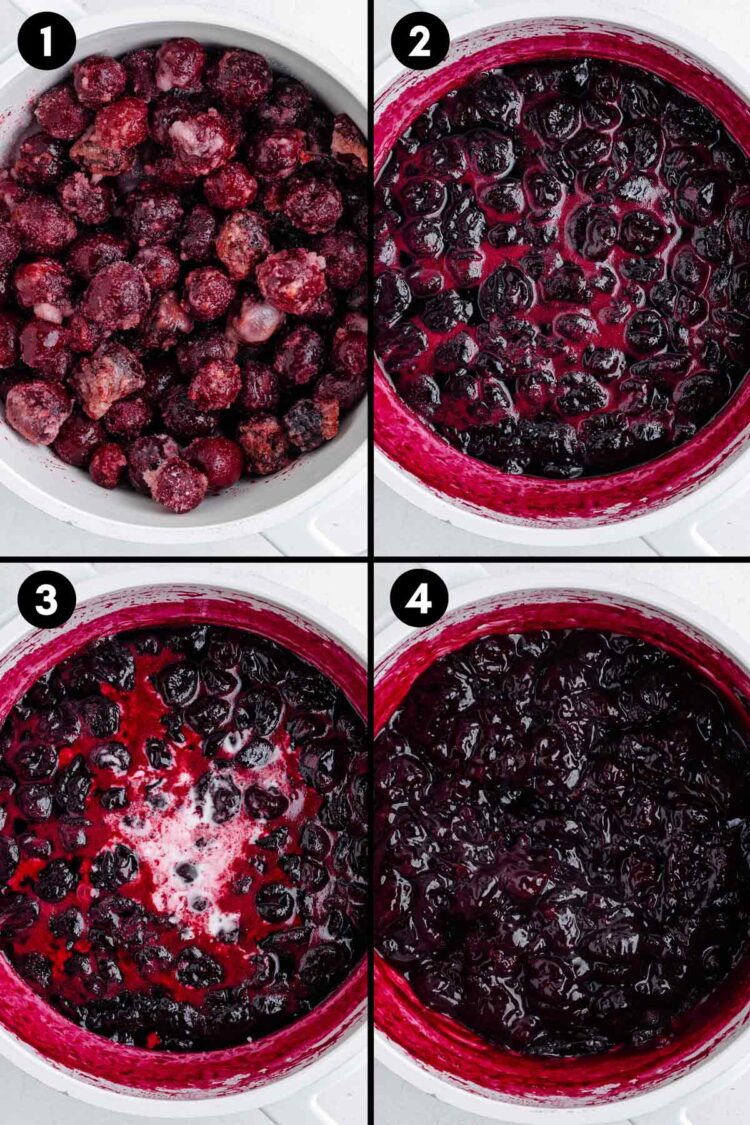
Cook the frozen cherries with the sugar, lemon juice and salt until the cherries release their liquid and the mixture cooks down.
Stir together the cornstarch and cold water, then add it to the cherries.
Cook until the filling is very thick, then stir in the almond extract and vanilla.
Let the filling cool completely before adding it to the crust.
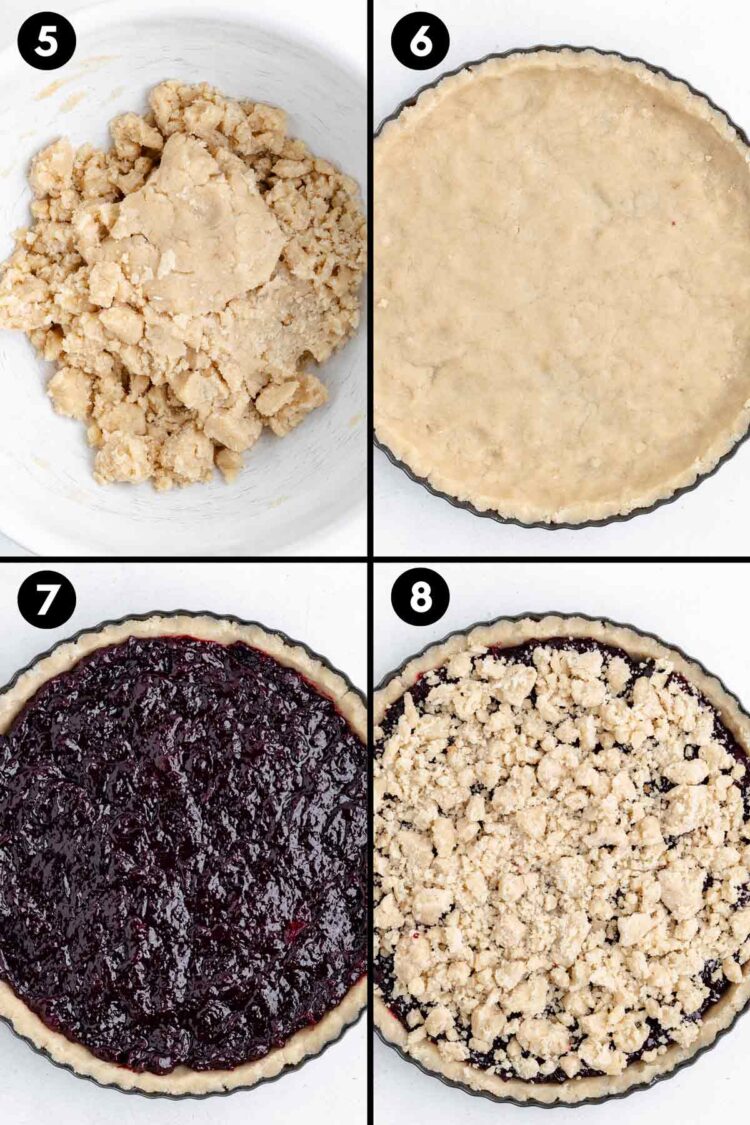
Stir together the dry ingredients for the crust and topping. Add the melted butter and vanilla, then mix until the dough holds together when pressed. Reserve 200 grams of the mixture for the topping.
Press the remaining mixture into a 9″ tart pan with a removable bottom.
Add the cooled cherry filling.
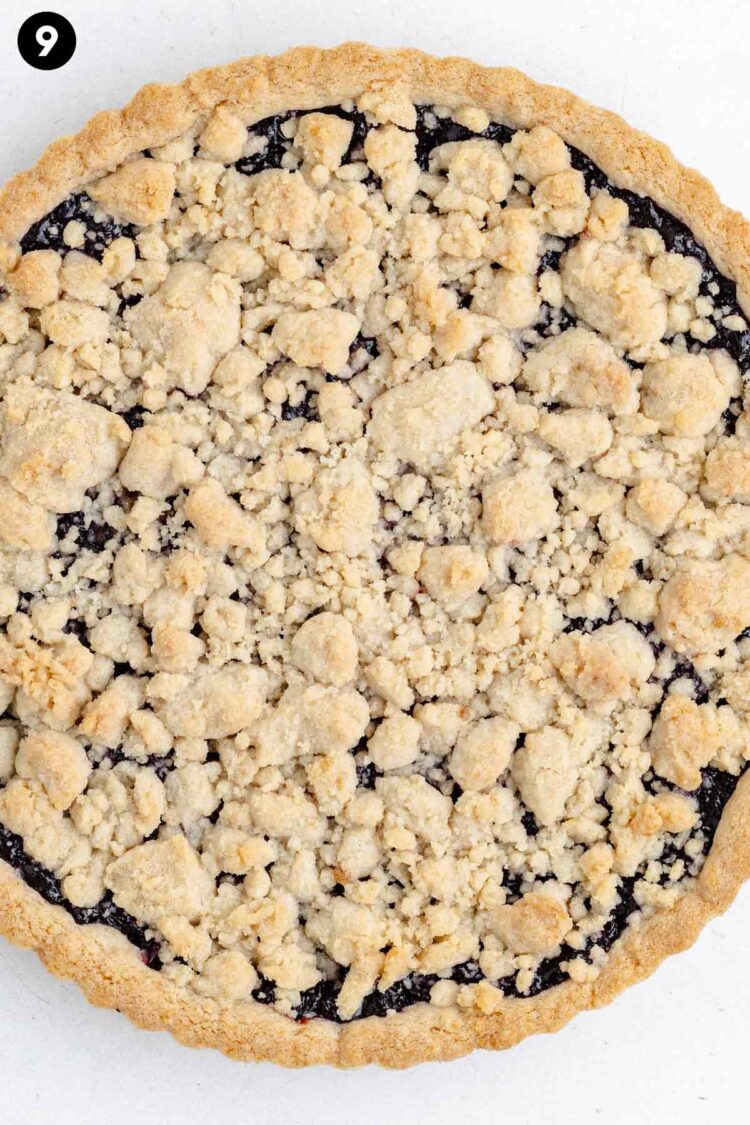
Sprinkle the reserved topping over it and bake until the crust and topping are baked through.
Cool completely, then chill before slicing if you want cleaner pieces.
- Cook off enough liquid – the cherries shouldn’t be swimming in juice before you add the cornstarch slurry. The exact time depends on your pan and stove.
- Make the filling very thick – after adding the cornstarch slurry, the filling should look a bit thicker than cherry pie filling. If it still looks loose, simmer it for another 1-3 minutes.
- Cool the filling before assembling – adding hot filling to the unbaked crust can soften the butter in the crust mixture too much.
- Don’t press the crust all the way up the sides – only go about 1/2 to 2/3 up the sides of the tart pan. The filling should stay inside the crust and not touch the pan sides.
- Use a metal tart pan – a 9″ (23 cm) non-stick metal tart pan with a removable bottom works best. I wouldn’t use a ceramic pie dish for this recipe.
- Don’t worry if the filling doesn’t bubble – the filling is already fully cooked, so the baking time is mainly for the crust and topping.
- Chill before slicing – the tart slices more cleanly after chilling for about 2 hours.
Making the Filling Ahead
The cherry filling can be made up to 3 days ahead. Let it cool completely, then cover and refrigerate it.
If using refrigerated filling, let it sit at room temperature while you make the crust and topping. It doesn’t need to come to room temperature, but it’s easier to spread if it’s not straight from the refrigerator.
This make-ahead step is especially helpful because the filling needs to cool completely before assembling the tart anyway.
How to Make Ahead, Store and Freeze
If you’re making the tart the day you plan to serve it, let it cool completely, then cover it loosely with plastic wrap and keep it at room temperature. I wouldn’t put it in an airtight container that first day because trapped moisture will soften the crust and topping faster.
For serving on day 2, cover the tart loosely and refrigerate it. The topping will soften some because of the moisture in the filling, but loose covering helps slow that down a bit.
The tart doesn’t turn soggy in the fridge the way it would if the filling were added raw. Since the cherry filling is cooked down and thickened on the stovetop before baking, there isn’t a lot of extra liquid continuing to seep into the crust as it sits. The crust and topping just gradually lose some crispness from the normal moisture in the filling.
You can freeze the baked tart for up to 2 months, but the crust and topping will be very soft after thawing. I tried to get them crisp again, but it’s pretty much impossible.
More Cherry Recipes
- No-bake Cherry Cheesecake – a creamy cherry cheesecake that doesn’t need the oven, with gluten-free and dairy-free options.
- Black Cherry Ice Cream – creamy homemade cherry ice cream made with fresh or frozen black cherries.
- Mini Cherry Pies – individual cherry pies with gluten-free, whole grain and vegan options.
- Cherry Preserves – a spoonable cherry topping for toast, pancakes, cheesecake or ice cream.
Have you tried this cherry tart?
Please leave a review and rating to let me know how it turned out. I appreciate it so much!
This cherry tart has a thick sweet cherry filling, a buttery press-in crust and a crumb topping made from the same mixture as the crust. The filling is cooked first to help keep the crust from turning soggy.
Prevent your screen from going dark
Make the filling:
-
In a medium saucepan over medium-high heat, stir together the fresh or still-frozen cherries, sugar, lemon juice and salt.
24 ounces (680 grams) sweet cherries, 3/4 cup (150 grams) granulated sugar, 1/4 cup lemon juice, 1/8 teaspoon salt
-
Bring to a boil, stirring very frequently until the liquid has cooked off quite a bit, about 5-10 minutes. The time will vary depending on your pan type and size. You don’t want there to be a ton of liquid – you don’t want the cherries to be swimming in liquid.
-
Mix together the cornstarch with the water in a small bowl and stir it into the cherries. It should thicken almost immediately and look very thick. If it doesn’t, simmer for another 1-3 minutes or until a bit thicker than cherry pie filling.
3 tablespoons (30 grams) cornstarch, 3 tablespoons cold water
-
Remove the saucepan from the heat. Stir in the vanilla extract and almond extract.
1 teaspoon almond extract, 1/2 teaspoon vanilla
-
Place on a wire rack to cool completely, about 1-2 hours. You can then use it for the tart, or refrigerate for up to 3 days. If using refrigerated filling, let it sit at room temperature while preparing the crust/topping.
Make the crust/topping:
-
Preheat the oven to 350 °F (175 °C). Place a rimmed baking sheet on a rack in the lower third of your oven. This is on the off chance that something leaks, helps the crust brown better and makes removing the tart from the oven easier. Get out a 9” (23 cm) non-stick metal tart pan with a removable bottom.
-
In a large mixing bowl, stir together the dry ingredients (flour through salt).
2 cups (250 grams) flour, 1/2 cup (100 grams) granulated sugar, 1/4 cup brown sugar, 3/4 teaspoon baking powder, 1/4 teaspoon salt
-
Add the vanilla to the melted butter and stir into the dry mixture. Use a wooden spoon to combine it the best you can, then use your hands to bring it together. It’ll look soft and slightly clumpy. It won’t form a smooth ball, but it should hold together when pressed between your fingers.
3/4 cup (50 grams) unsalted butter, melted, 1 teaspoon vanilla extract
-
Reserve 200 grams (a little less than 1 cup) to use for the topping.
-
Press the remaining mixture into the tart pan, only going about ½ to ⅔ up the sides of the ungreased tart pan.
-
Scoop the cherry filling into the unbaked crust and use a spatula to smooth it out. It should not go over the crust on the sides.
-
Sprinkle the remaining topping over the top of the cherries and very gently press down so no pointy bits are sticking up and will burn.
-
Very carefully place the tart on the preheated baking sheet and bake for 33-38 minutes or until the topping is clearly baked and turning a very light brown. My filling didn’t bubble at all, and it was fine as the filling was totally pre-cooked. The sole purpose of baking the tart is to bake the crust and topping.
-
Remove the tart and baking sheet from the oven and place on a cooling rack to cool for 30 minutes or until you can easily remove the tart pan from the baking sheet without burning your hands.
-
Place the tart pan on the cooling rack to cool for another 1-2 hours. If you’re making the tart the day you plan to serve it, let it cool completely, then cover it loosely with plastic wrap and keep it at room temperature. I wouldn’t put it in an airtight container that first day because trapped moisture will soften the crust and topping faster. For serving on day 2, cover the tart loosely and refrigerate it. The topping will soften some because of the moisture in the filling, but loose covering helps slow that down a bit.
Calories: 322.2kcalCarbohydrates: 52.6gProtein: 2.9gFat: 11.9gSaturated Fat: 7.3gPolyunsaturated Fat: 0.5gMonounsaturated Fat: 3gTrans Fat: 0.5gCholesterol: 30.5mgSodium: 192.8mgPotassium: 164.7mgFiber: 1.8gSugar: 32.8gVitamin A: 391.1IUVitamin C: 5.9mgCalcium: 33.2mgIron: 1.3mgNet Carbs: 51

