

Mandukasana, also known as Frog Pose, is a traditional hatha yoga posture that tones the abdomen, supports digestion and opens the hips. It is suitable for beginners because it uses gentle pressure on the abdominal area and improves flexibility in the knees and thighs. The pose also helps reduce stress and brings the mind into a calm state.
Mandukasana is often used in yoga therapy for digestive issues, stress relief and improving joint mobility. Because it works on the abdomen, hips and breath at the same time, it is a simple posture with many useful benefits.
Meaning
Mandukasana comes from the Sanskrit words manduka, which means frog, and asana, which means pose. The shape of the legs in this posture looks similar to a frog sitting on the ground, so it is called Frog Pose. Another yoga pose based on the frog shape is Bhekasana.
Practising this pose helps draw energy inward. Instead of letting the mind and senses move outward, Mandukasana encourages the practitioner to turn attention within and feel steady and centred.
The detailed explanation of Mandukasana is given by Vishnudevananda Saraswati in The Complete Illustrated Book of Yoga. This pose, along with its variation Uttana Mandukasana, is also listed among the 32 useful asanas in the classical text Gheranda Samhita.
Who should practise mandukasana
Mandukasana is helpful for:
- People with weak digestion
- People with gas, bloating or slow bowel movement
- Beginners who want a simple hip-opening posture
- People with mild stress or mental fatigue
- Practitioners wanting gentle abdominal activation
Practice guide of mandukasana
Mandukasana can be practised safely by following steady, controlled movement. The guide below explains how to prepare the body and how to enter, hold and release the pose correctly.
Preparatory Pose
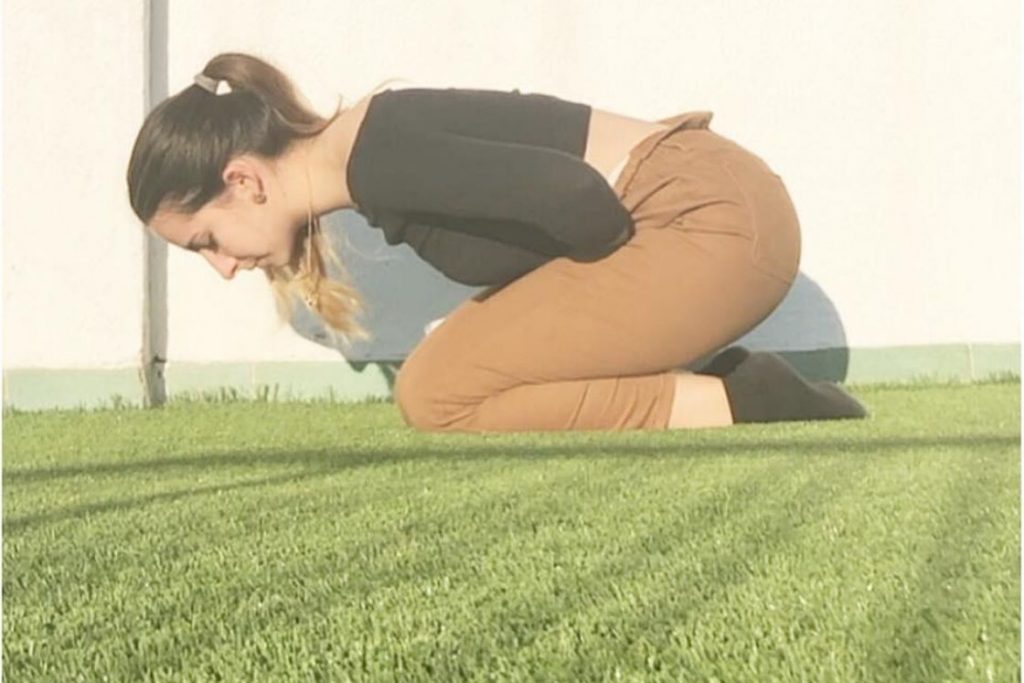
How to do mandukasana (step by step guide)
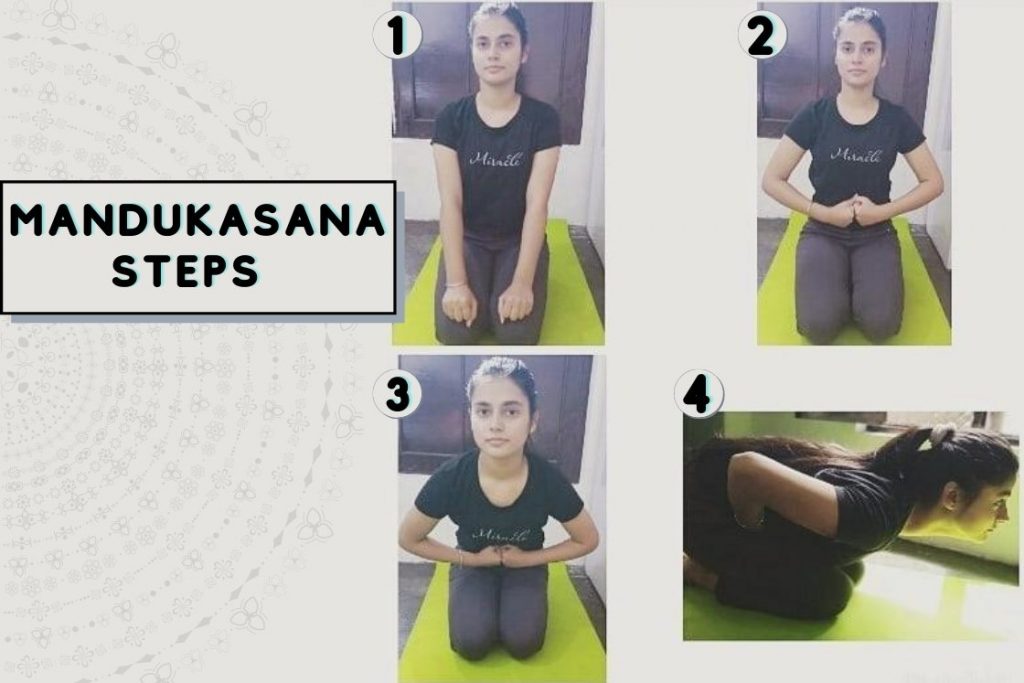
- Sit in Vajrasana with your toes touching behind you. Keep the spine straight and settle the hips on the heels.
- Bring your hands in front of the abdomen and form Adi Mudra with both hands.
- Take a deep breath in. As you exhale fully, place your fists on either side of the navel. Gently draw the navel inward.
- Start bending forward slowly. Keep applying light pressure on the abdomen with your fists.
- Look forward or slightly upward to help keep the back straight.
- Hold the final position. Stay here for thirty to sixty seconds. You may retain the breath out only if you are used to it, otherwise breathe slowly and evenly.
How to release mandukasana
- To come out of Mandukasana:
- Sit comfortably in Vajrasana and relax the body and breath.
- Reduce the pressure on the abdomen by easing the fists.
- Inhale slowly and lift the torso back to the upright position.
- Place your hands beside the hips.
Mandukasana beginners tips
- When you bend forward, try to bring the chest closer to the thighs. This helps you maintain a good posture.
- If you are not familiar with breath retention, do not hold the breath. Use slow, steady breathing instead.
- Move slowly while entering and coming out of the pose to avoid strain on the knees and lower back.
How long and how often to practise
- Hold Mandukasana for 20 to 60 seconds.
- Repeat 2 or 3 rounds depending on comfort.
- Best time to practise: morning on an empty stomach or 4 hours after a meal.
Follow up pose
Mandukasana variations
One can deepen the Mandukasana with its common practiced variations:
Adho Mukha Mandukasana
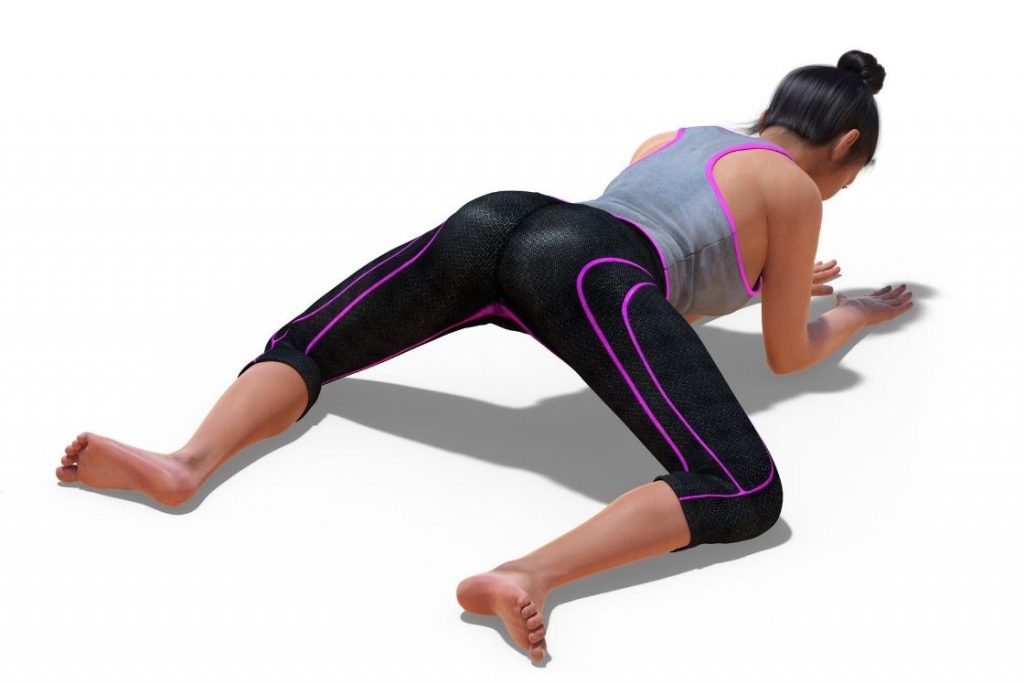
This variation of Mandukasana is the most practiced pose for opening tight hip muscles. In this, the head goes down from the chest level so it’s called Adho Mukha Mandukasana i.e. Downward facing frog pose.
- Sit in Vajrasana, then come into the tabletop position.
- Now, spread your knees apart as wide as comfortable by sliding through your shin and knees.
- Rest your elbow and forearms on the ground, either place your palms firm on the floor or interlock finger together giving the shape of a fist hammer.
- Raise your tailbone, broadened your lower back, and experience a deep stretch in thighs and hips. This will allow you to reach fully into the posture.
- Hold the position for few breaths or as per your comfort.
- After it, walk through the hand or arms forward while lowering the hips and rest of the body to lie flat on the floor and relax.
2. Uttana Mandukasana
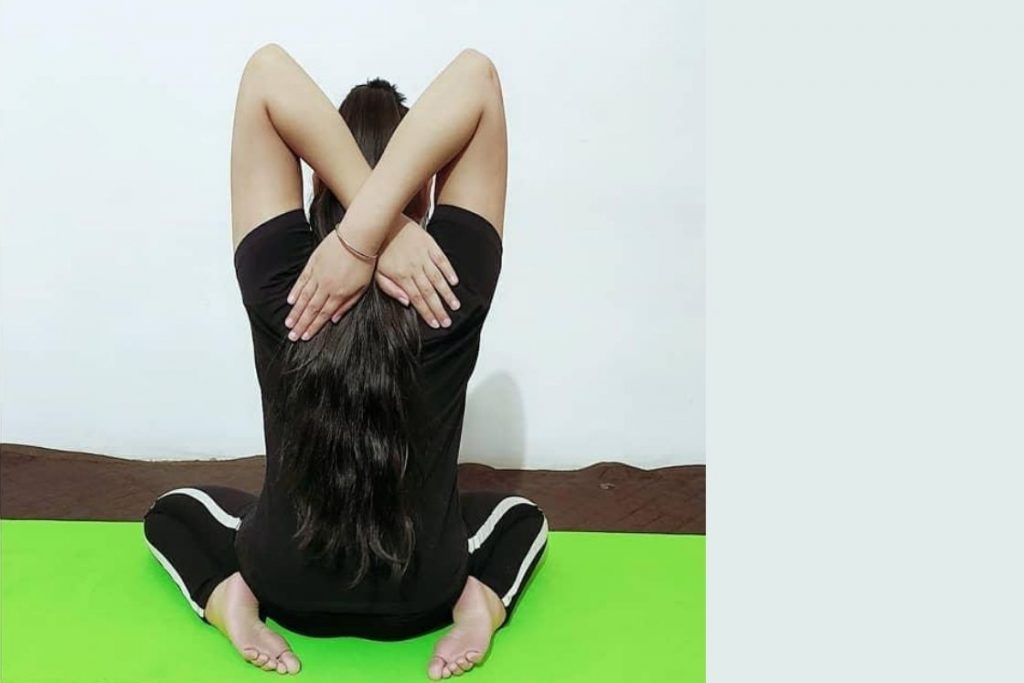
In this variation, in contrast to basic Mandukasana pose the trunk remains upward & straight. Then hands take back and crossed each other at wrists. It’s called Uttana Mandukasana.
- Begin with Vajrasana after that spread your knees apart, let your big toes touch each other behind the buttocks.
- Come in Jalandhar bandha – Chin to the chest lock. One can opt for Urdhva (to Gaze upward or ceiling side) and Bhrumadhya Drishti for this asana.
- Raise your both arms up and cross them while taking them behind the shoulder and touch the upward position of your shoulder blades.
Precautions & contraindications
- Do not practise Mandukasana if you have peptic ulcers or duodenal ulcers.
- Avoid this pose after recent abdominal surgery.
- Do not perform the pose if you have a lower back or spinal injury.
- Avoid the pose in case of knee pain, knee injury or ankle discomfort.
- Do not practise during diarrhoea or severe stomach ache.
- Pregnant women should take guidance from a qualified yoga teacher or doctor before practising.
- Practitioners with chronic digestive issues should enter the pose slowly and stop if any pain appears.
- Avoid the pose if you feel dizziness, breath discomfort or pressure in the lower abdomen while bending.
Medical Disclaimer: This pose offers several traditional benefits, but it should not replace medical treatment. People with ongoing health conditions should consult a doctor or certified yoga therapist before practising, especially if they feel pain or discomfort.
Mandukasana benefits
Mandukasana helps improve digestion, stimulates the pancreas and opens the hips and thighs. It also calms the mind and supports better metabolism, making it a useful pose for both physical and mental wellbeing. Because the pose applies gentle pressure to the abdominal area and stretches the lower body, it is widely used in yoga therapy to support digestive health, stress relief, and joint mobility.
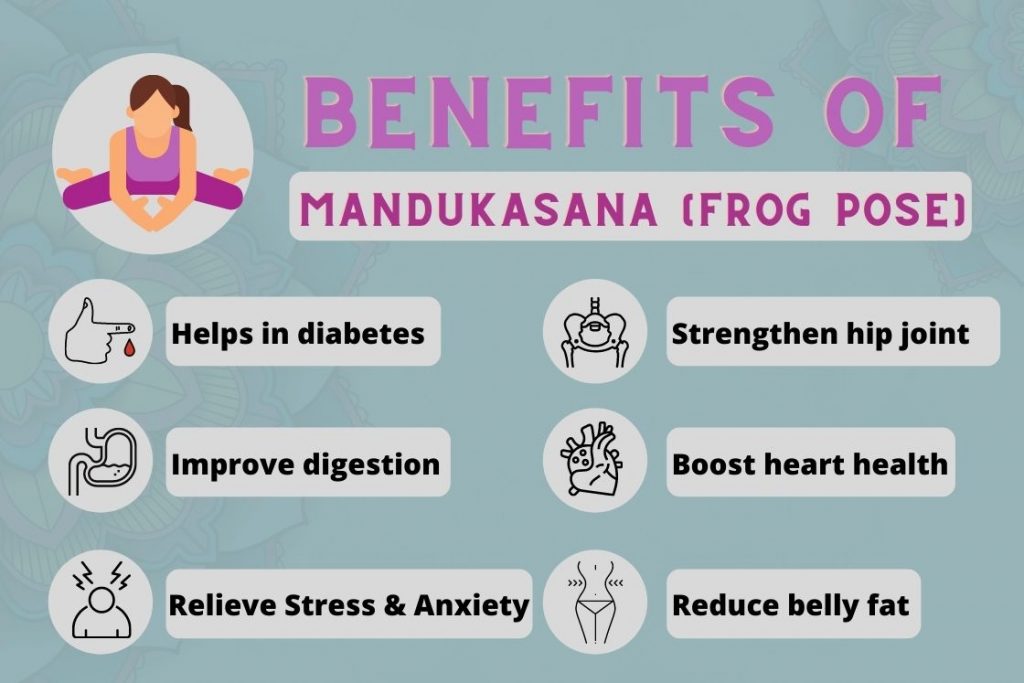
- Improves digestion: Mandukasana places gentle pressure on the stomach and intestines, which helps massage the abdominal organs. This improves digestion, reduces gas and bloating, and supports healthier bowel movement. It is often recommended in yoga therapy for weak digestion.
- Stimulates the pancreas: The forward bend presses the area around the pancreas, which may help support better insulin secretion. This makes the pose helpful for people managing blood sugar levels under proper medical guidance. It is one of the key yoga poses used for pancreatic stimulation.
- Reduces stress and calms the mind: The forward folding position increases blood flow to the head and creates a cooling, grounding effect. This helps release mental tension and supports relaxation. Practising it regularly can improve focus and reduce stress.
- Supports weight management: The pose activates the abdominal area and improves metabolism. Over time, this may help reduce extra fat around the waist and belly. It is often included in yoga routines for core health.
- Improves flexibility of hips and thighs: Mandukasana stretches the inner thighs, hips and lower back. This helps reduce stiffness and improves joint mobility. It is especially useful for people with tight hips from long sitting hours
- Strengthens knees and ankles: The seated position in Vajrasana helps improve blood flow around the knee and ankle joints. With regular practice, these joints become stronger and more stable. It is helpful for people with mild stiffness.
- Enhances lung function (Uttana Mandukasana): The upright variation opens the chest and improves rib cage expansion. This supports deeper breathing and better lung function. It is beneficial for people with shallow breathing patterns.
- Opens the pelvic region (Adho Mukha Mandukasana): The downward facing frog variation gives a deep stretch to the hips and pelvic muscles. This increases pelvic mobility and helps release tension stored in the lower back and groin areas. It is often used in yoga therapy for hip opening.
Conclusion
Mandukasana is a simple yet effective yoga pose that supports digestion, strengthens the lower body and calms the mind. Its forward bending action helps draw awareness inward, while its gentle pressure on the abdomen improves the health of the digestive organs. The pose is easy to learn, suitable for beginners and offers important benefits through its variations as well. With regular practice and proper guidance, Mandukasana can become a steady part of a yoga routine that supports overall wellbeing.
FAQs on mandukasana
1. Can Mandukasana reduce belly fat?
Mandukasana helps activate the abdominal muscles and improve metabolism, which may support fat loss around the waist. It is most effective when paired with regular practice and a healthy lifestyle.
2. Is Mandukasana safe for people with diabetes?
Yes, it is commonly recommended because it stimulates the pancreas and may help support better insulin function. However, people with diabetes should practise under guidance and avoid strong pressure if they feel discomfort.
3. How long should I hold Mandukasana?
Most practitioners hold the pose for twenty to sixty seconds depending on comfort. Beginners can start with shorter holds and increase the duration gradually.
4. Can Mandukasana help with constipation?
Yes, the pose massages the abdominal organs and improves bowel movement. Regular practice can help relieve mild constipation and support a healthier digestive system.
5. What is the best time to practise Mandukasana?
The best time is early morning on an empty stomach or at least four hours after a meal. This allows the abdominal pressure to work effectively without discomfort.
6. Is Mandukasana good for beginners?
Yes, Mandukasana is beginner-friendly as it has simple steps and does not require advanced flexibility. Beginners should move slowly, avoid breath retention and use support if they feel strain in the knees or lower back.