

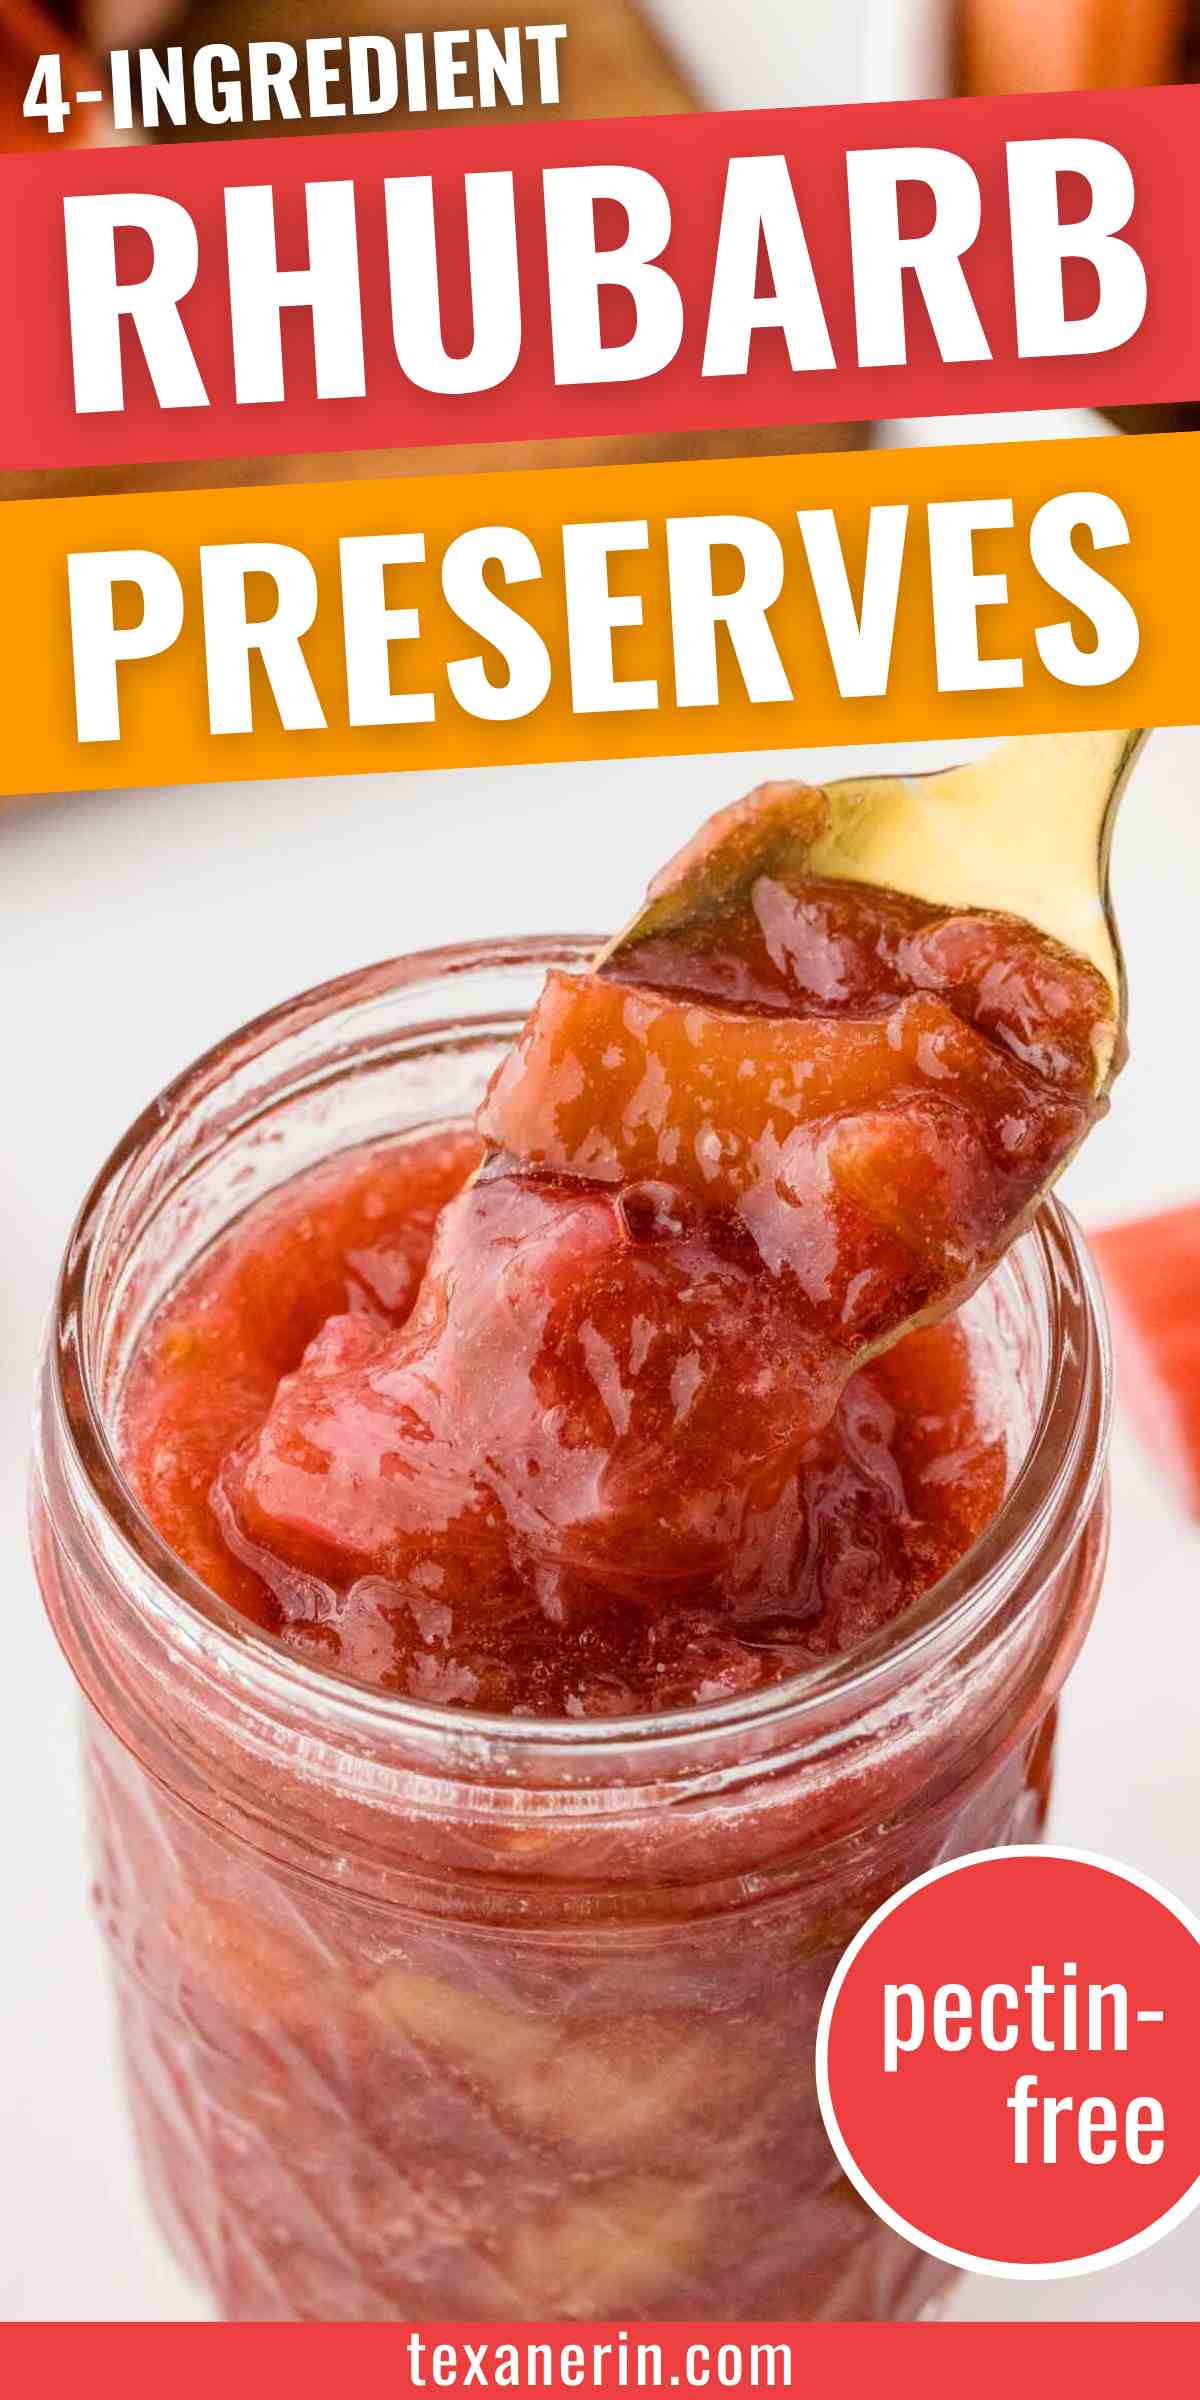
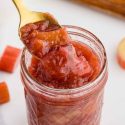
This rhubarb preserves recipe is an easy way to capture the fresh, tart flavor of rhubarb in a spreadable form. With just four simple ingredients and no pectin required, it’s a great beginner-friendly preserve that works beautifully on toast, stirred into yogurt, or used in baking. It’s also naturally gluten-free and vegan.
It’s simple, quick, and surprisingly forgiving. If you’ve never made jam or preserves before, this is a great place to start.
There’s no canning involved, and no need to stress over exact timing or technique. You’ll end up with a small batch of bright, fresh-tasting preserves that freeze beautifully, so you can enjoy rhubarb long after the season is over.
And you don’t need any special equipment. A thermometer helps ensure the preserves set properly, but it’s absolutely not required.
You can use the classic cold plate test or even just watch the texture as it cooks. It’s easy to make your own homemade preserves without any fuss, and with rhubarb, you’ll get big flavor with very little effort.
If you’d prefer a strawberry twist, try these Strawberry Rhubarb Preserves. Either version will work perfectly in the bar recipe I’ll be sharing next.
Ingredient Notes
Please scroll down for the full recipe! These are just notes on select ingredients.
- Rhubarb – fresh or frozen both work. If using frozen, thaw and drain before using to avoid excess water. If using fresh, make sure to go by weight, as stalk size varies widely.
- Sweetener – if using granulated sugar, I wouldn’t recommend reducing the amount given, as this is what helps the preserves thicken and set properly. You can also use honey (if not vegan) and maple syrup. I only used about 6 tablespoons (120 grams) for the honey or maple syrup versions, but you may want up to 2/3 cup (213 grams). You’ll need to boil the preserves longer and possibly to a higher temp (I found 227°F/108°C worked better for honey). Please note that the honey flavor comes through more noticeably, while maple syrup gives a milder, more subtle sweetness.
- Lemon juice – it doesn’t make the preserves taste lemony. It’s mainly there to help activate the pectin naturally found in the rhubarb, balance the pH, and preserve the color. If you do want a hint of lemon flavor, try adding 1 tablespoon of lemon zest.
- Vanilla extract – completely optional, but I love adding a touch of vanilla to anything fruit-based. It adds a subtle warmth that pairs especially well with rhubarb.
How to Make It
Before you get started, pop a small plate into the freezer. You’ll use this later to test if the preserves are set. Then grab a 3-quart or larger saucepan. Wider is better because it helps the preserves cook faster.
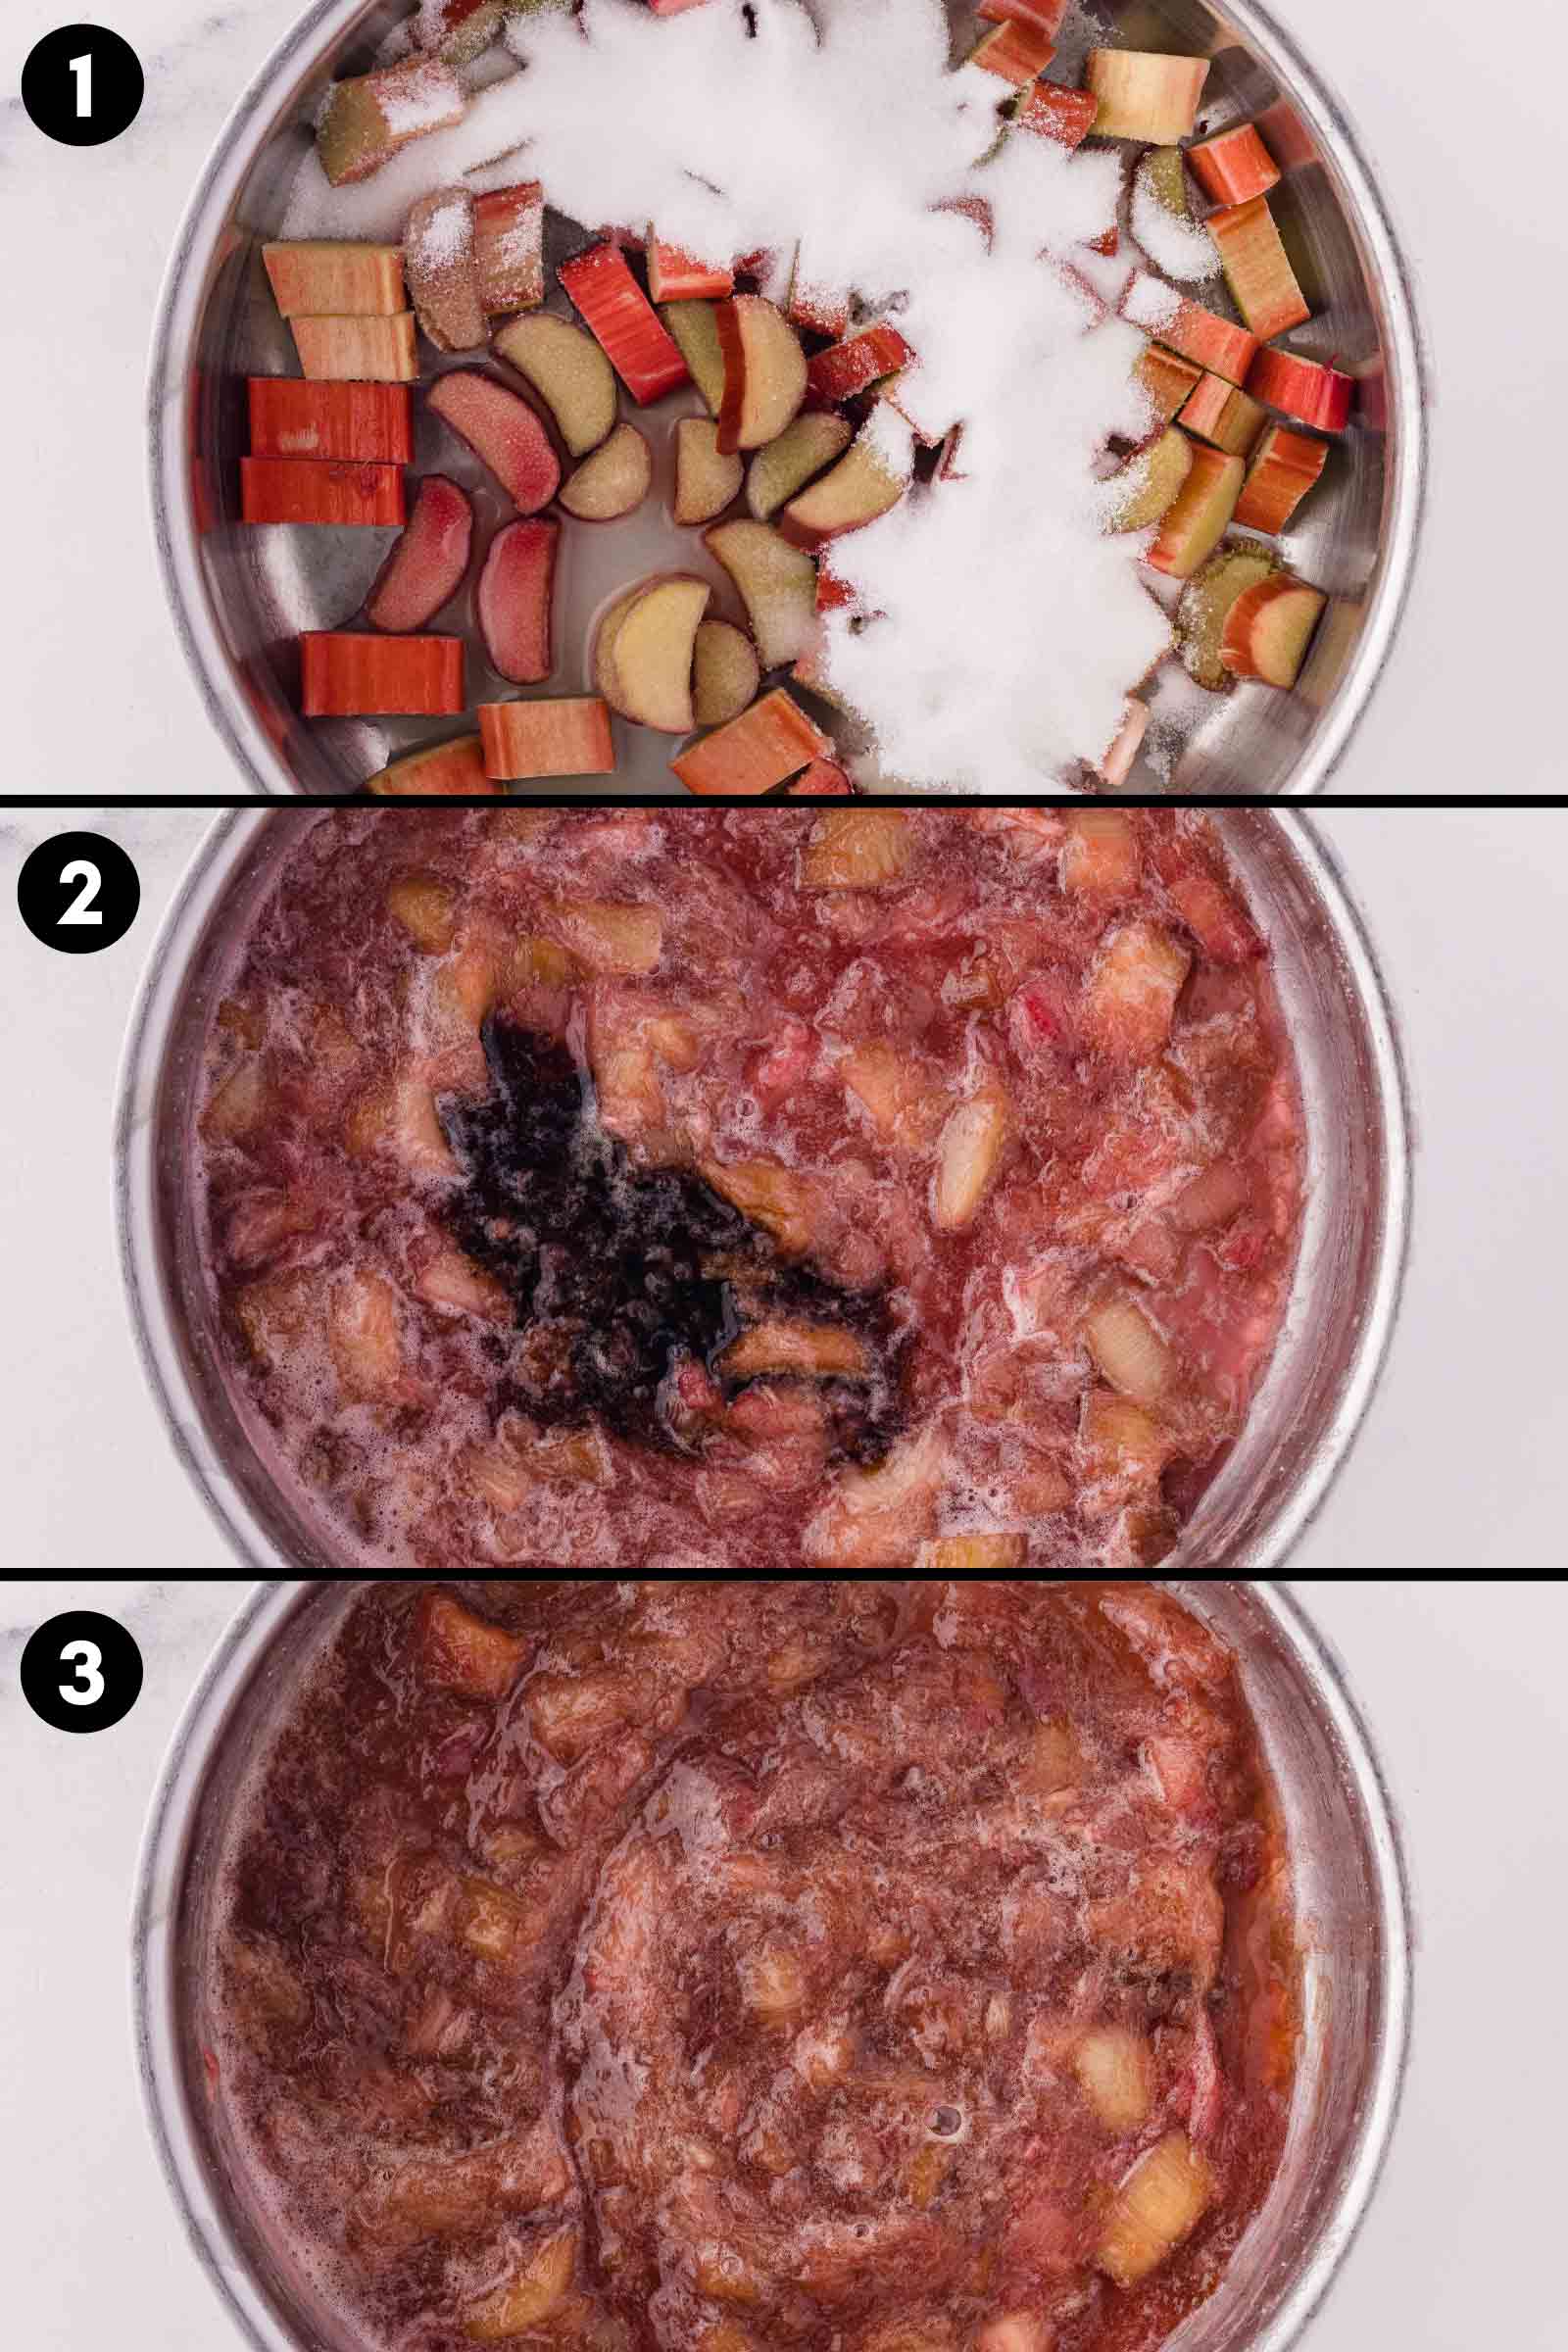
Add the chopped rhubarb, sugar, and lemon juice to the saucepan and stir to combine. Bring the mixture to a boil over medium-high heat, stirring frequently. Once boiling, reduce the heat just enough to maintain a full boil without scorching the bottom. Let it boil for about 9 minutes, or until the preserves reach 220°F (104°C).
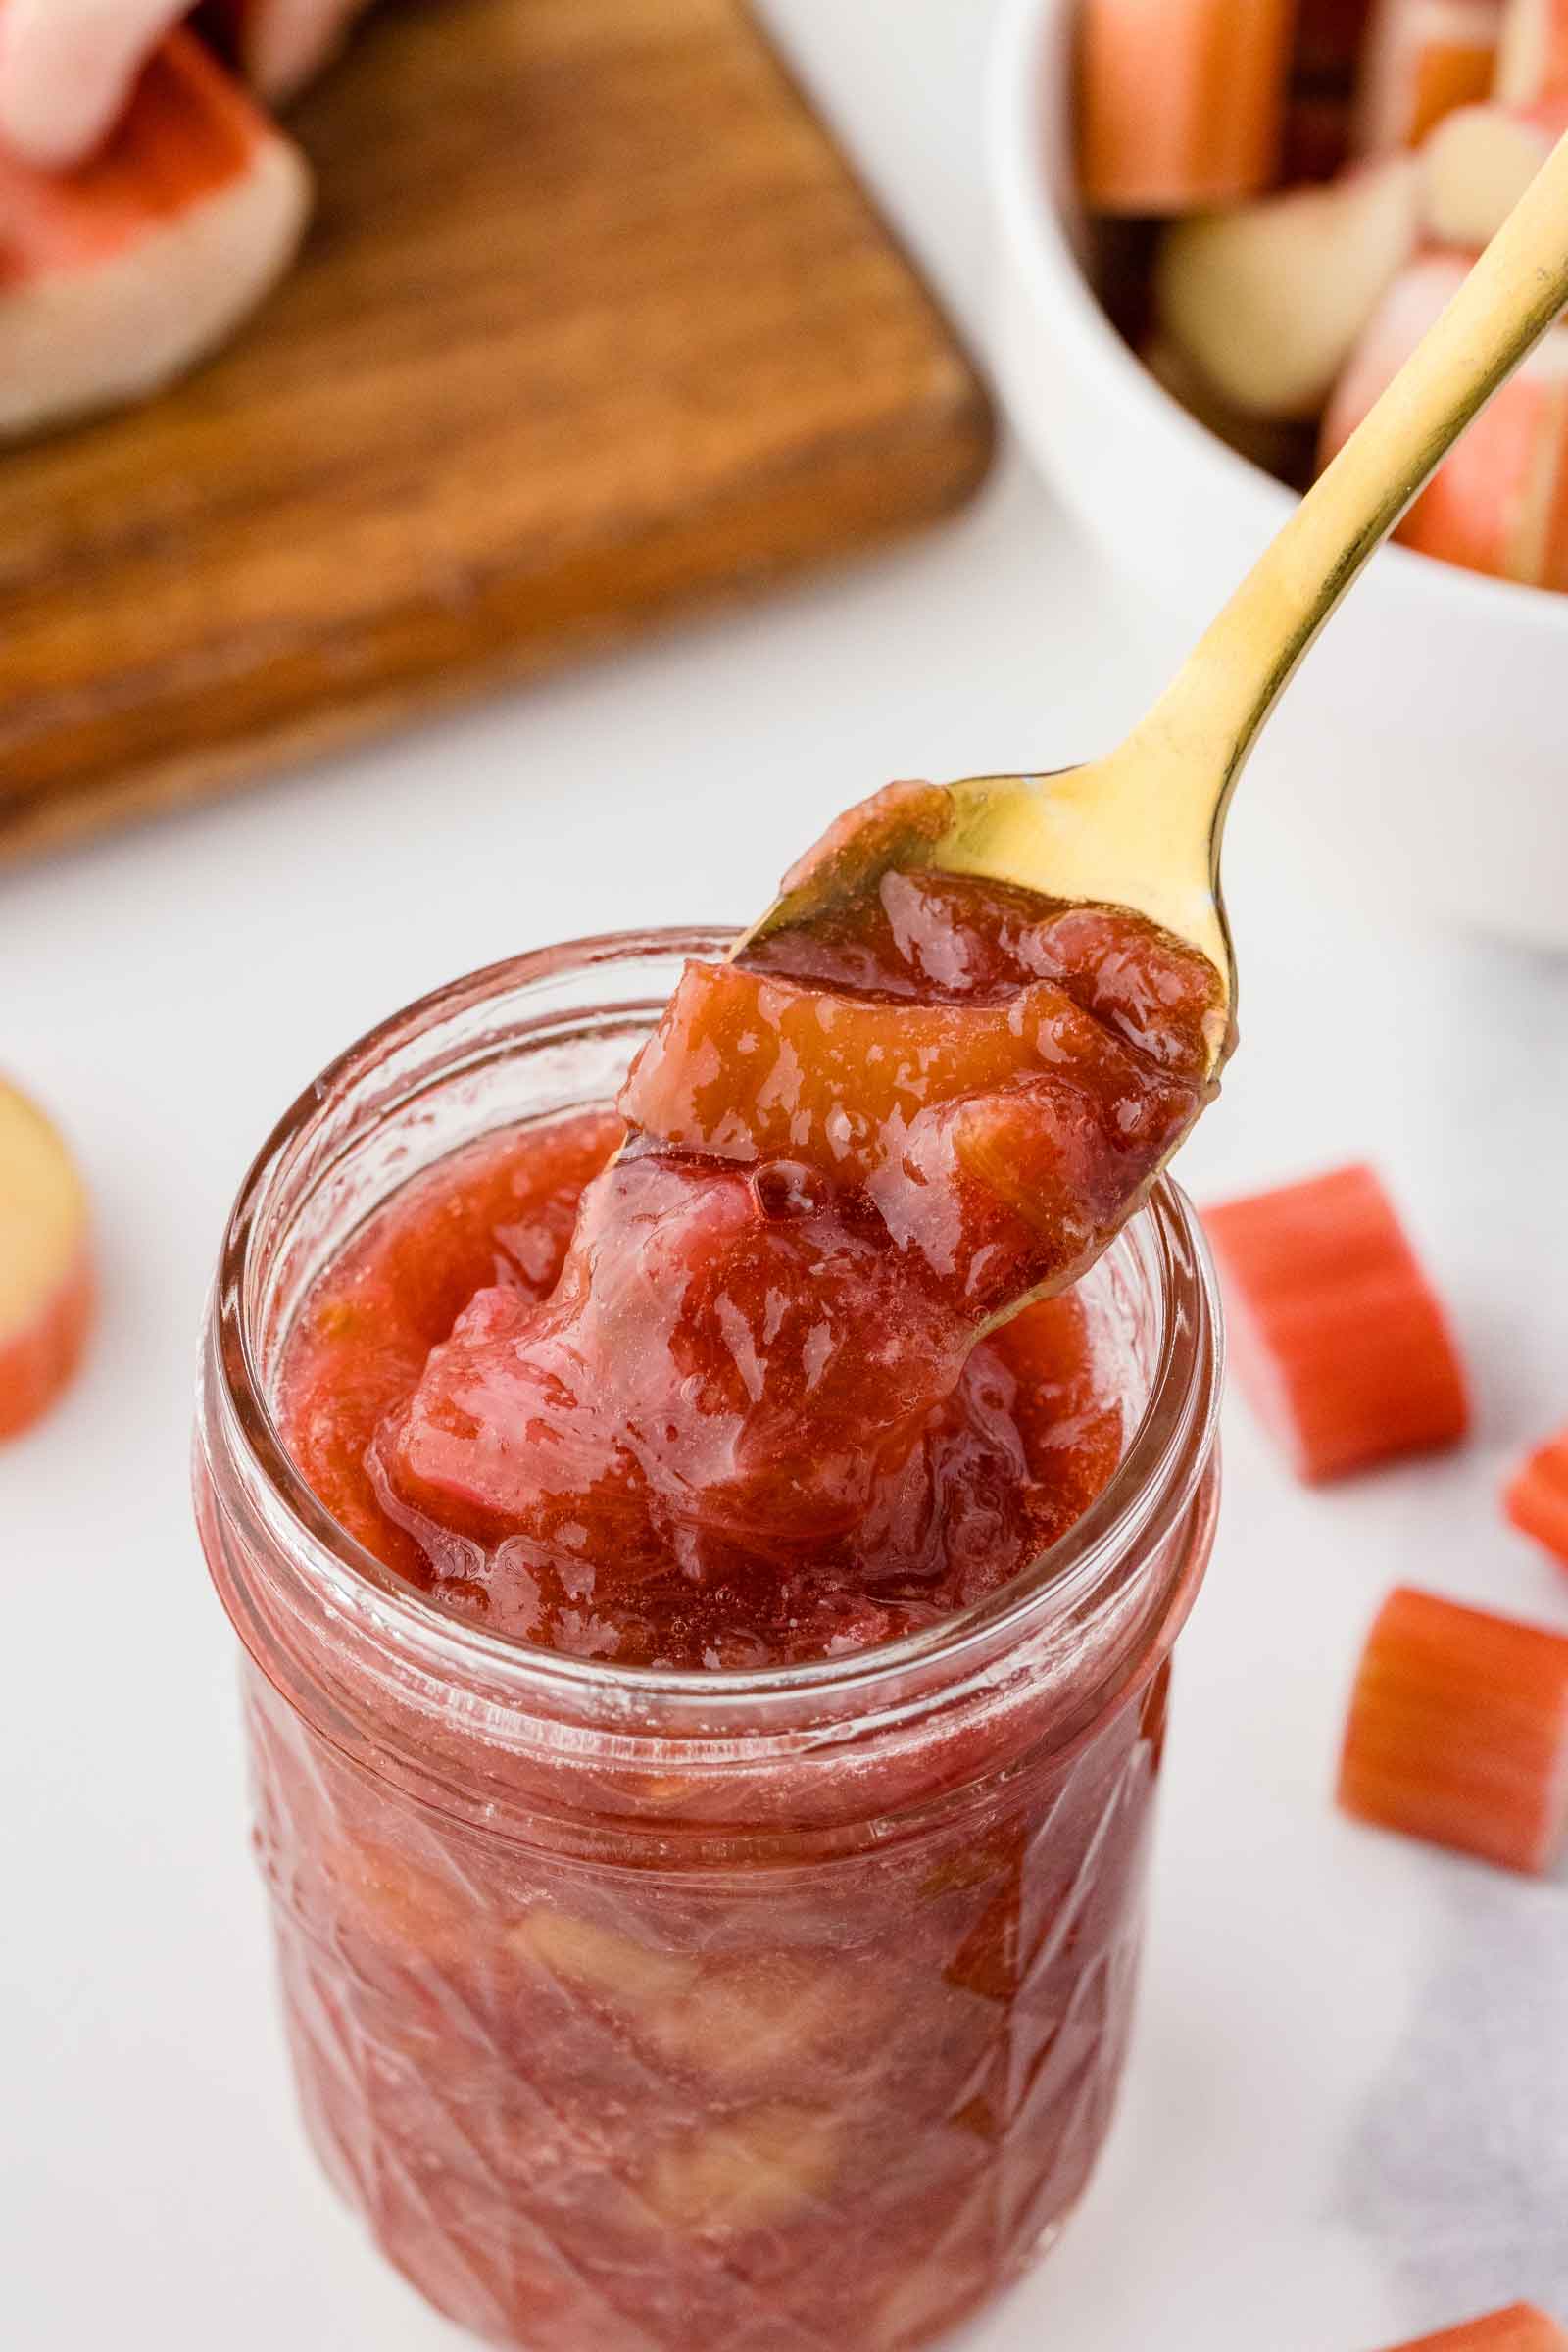
Don’t worry if your jam doesn’t reach that temperature; mine never gets above 212°F (100°C) and still sets up nicely after cooling. To check if it’s done, drop a bit onto the cold plate, let it sit for a minute, and then push it with your finger. If it wrinkles and holds its shape, it’s ready.
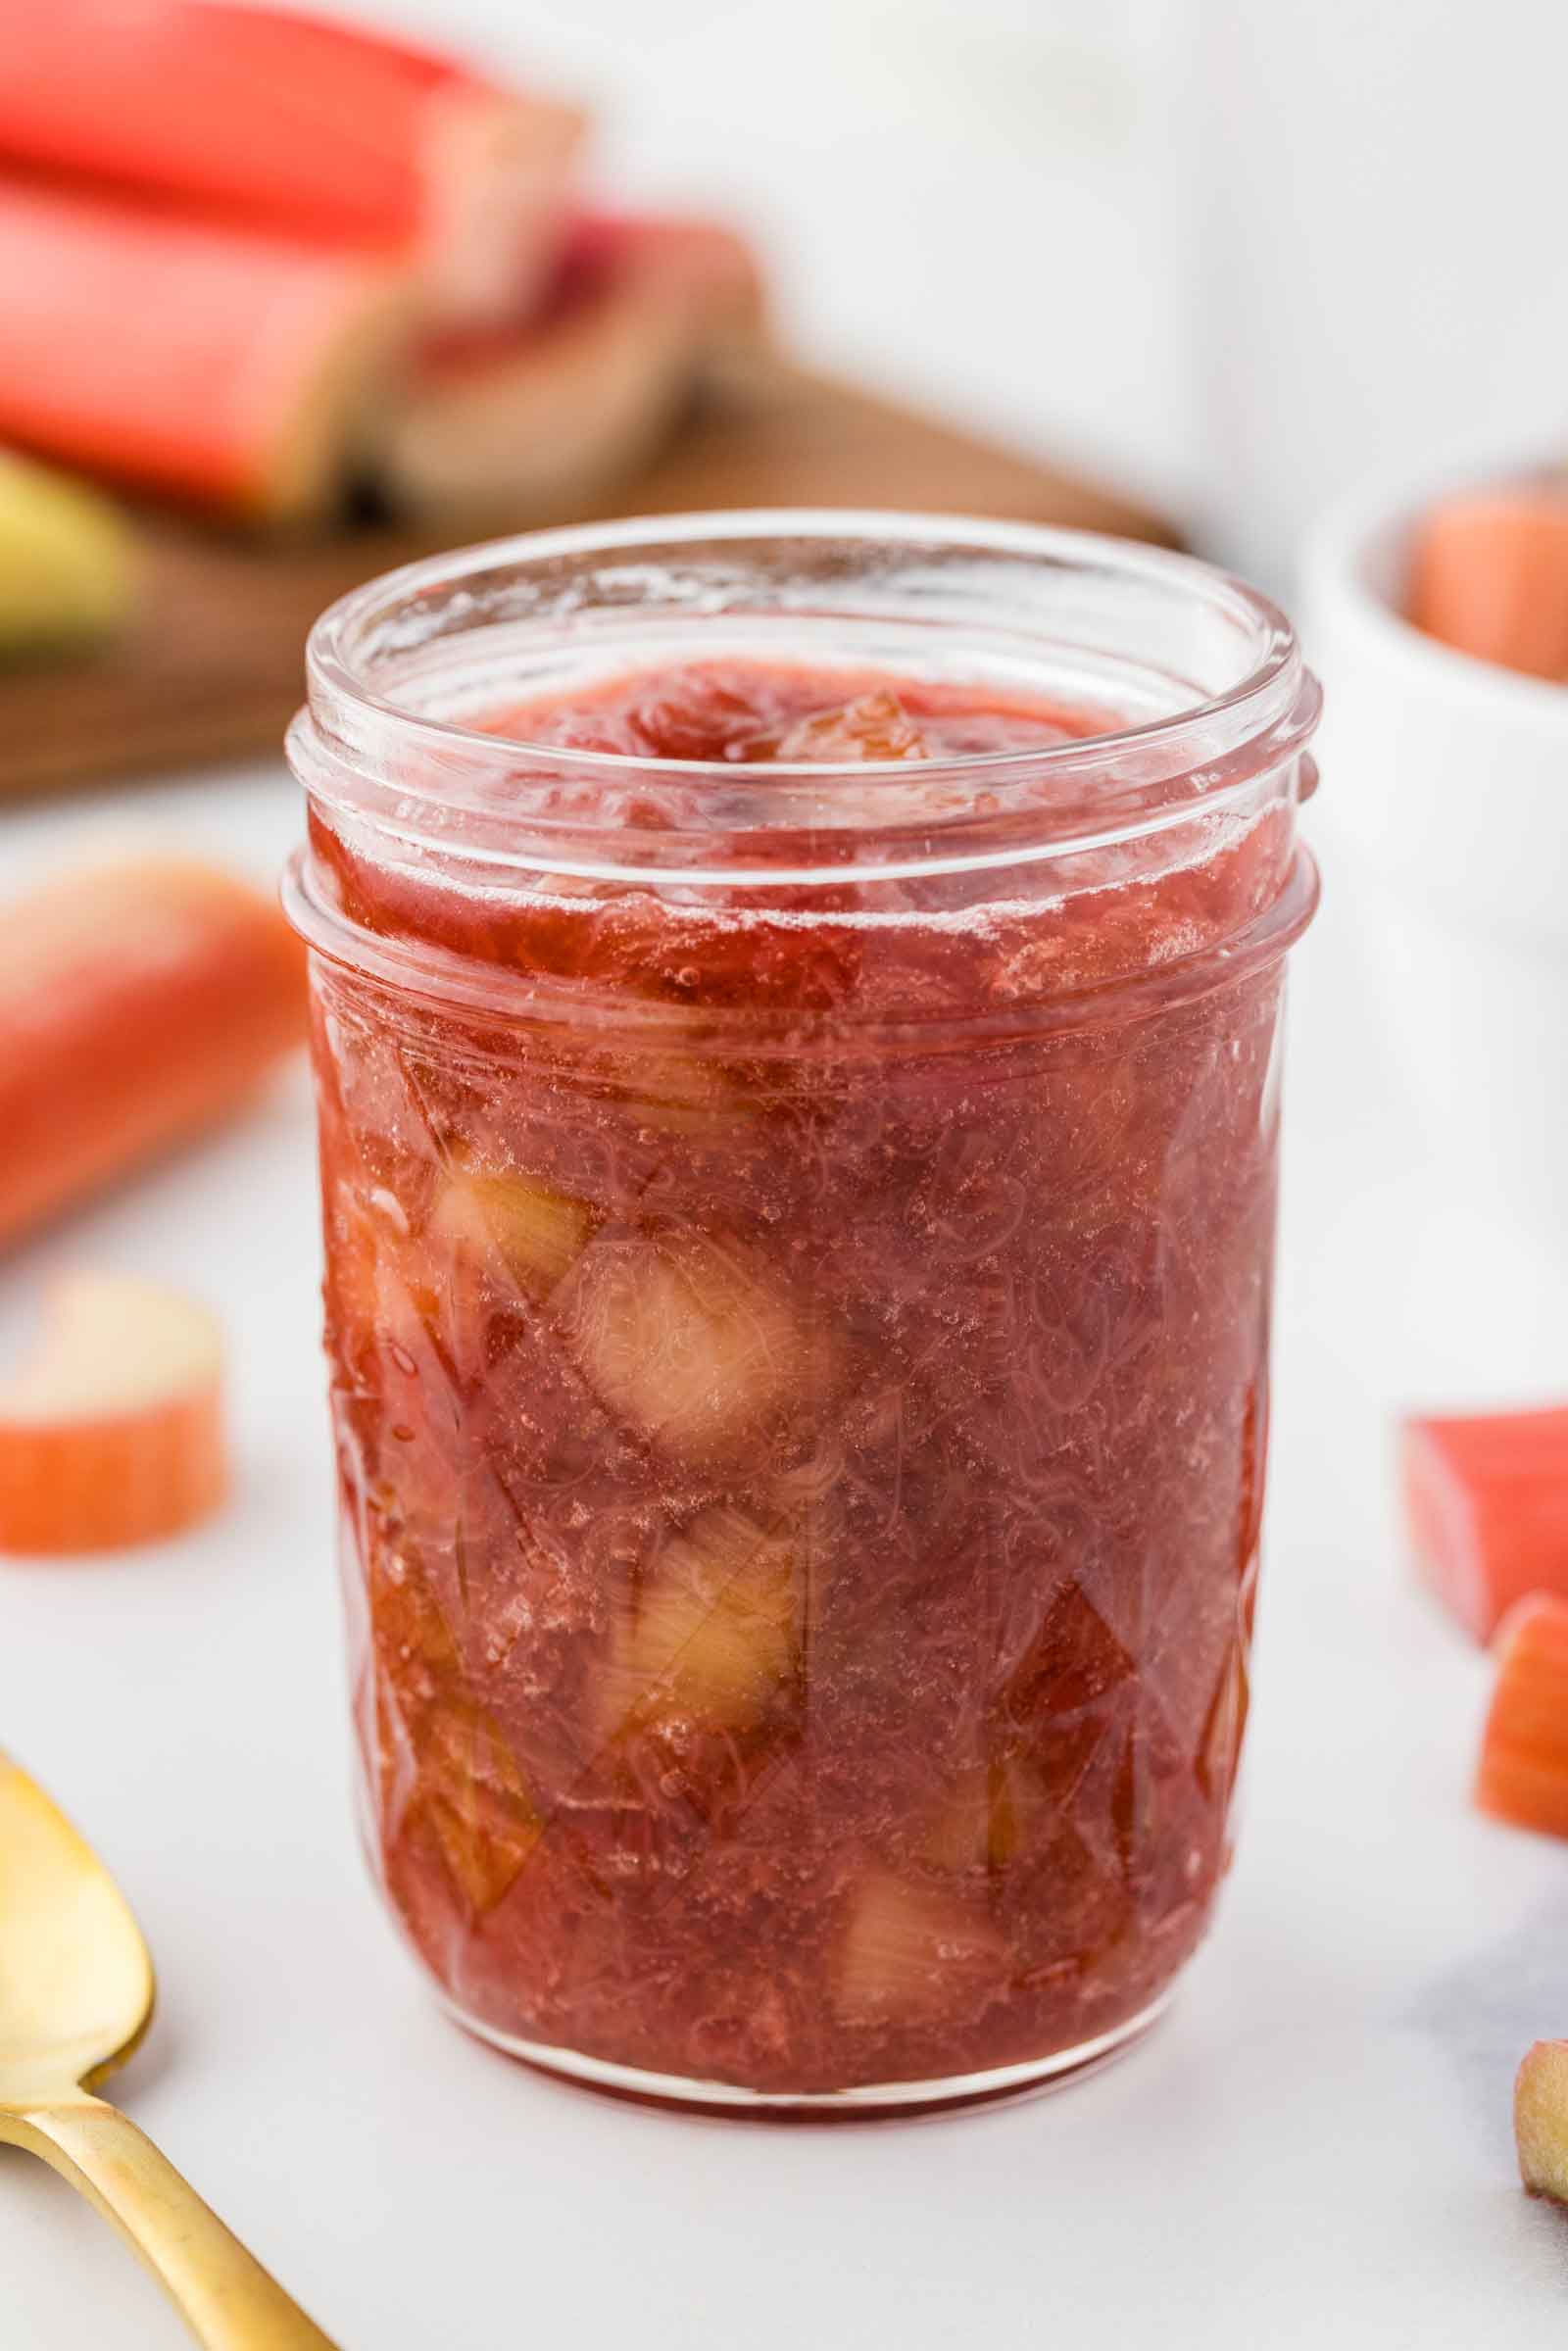
Remove the saucepan from heat and stir in the vanilla extract. Let the preserves cool in the pan for about an hour, then transfer to clean jars.
I’ve also tried these rhubarb preserves by macerating the fruit (letting it sit with sugar overnight before cooking) first. I didn’t notice any difference in taste or texture – the only difference was that the cook time was shorter.
Tips for Success
Use a heavy-bottomed pan and keep stirring, especially toward the end of the cooking time. Rhubarb has a tendency to stick and scorch if left unattended too long.
Keep in mind that the preserves will continue to thicken as they cool and even more once chilled. So don’t panic if they seem a little loose when you take them off the heat.
How to Make Ahead and Store
You can make these rhubarb preserves ahead of time and store them in the fridge for up to a week. While some say they’ll last 2 to 3 weeks, I like to play it safe and freeze anything I won’t use within 7 days.
They freeze beautifully for up to a year. Just leave a little headspace in the jar to allow for expansion. Thaw overnight in the fridge before using.
And if you’re looking for more fruity spreads, you might also like this Tart Cherry Jam or this easy Cherry Preserves recipe.
I hope you’ll enjoy these rhubarb preserves! If you have any questions, feel free to leave them below. 🙂
❀
- Prep Time:
- Cook Time:
- Ready in:
- Yield: 1 1/4 cups (345 grams)
Ingredients
- 3 cups (375 grams) chopped rhubarb, cut into about 1/2” pieces (about 4-5 medium stalks)
- 3/4 cup (150 grams) granulated sugar (see notes for honey/maple syrup option)
- 1 1/2 tablespoons lemon juice
- 1 teaspoon vanilla extract
Directions
- Place a small plate in the freezer before you start cooking.
- To a 3-quart or larger saucepan (the larger the surface area, the shorter the cooking time), add the rhubarb, sugar and lemon juice.
- Bring to a boil over medium-high heat while stirring frequently. Turn the heat to the lowest you can to keep it at a full boil. Let boil for about 9 minutes, turning the heat down, if needed, towards the end to prevent the rhubarb from burning, until it reaches a temperature of 220°F (104°C). This is the temperature jam is said to set, but I couldn’t actually get mine above 212°F (100°C). It’ll still be a bit runny but will thicken as it cools and more as it’s chilled.
- When you think the jam is ready, drop a small spoonful onto the cold plate and let it sit for a minute. Push it with your finger – if it wrinkles and holds its shape, the jam is done.
- When it’s done, stir in the vanilla extract.
- Remove the saucepan to a wire rack to cool completely, about 1 hour.
- Transfer into clean jars and refrigerate for up to 1 week. Many sources say 2-3 weeks, but I like to play it safe and freeze whatever I haven’t eaten after 1 week. It also freezes great and can be frozen for up to 1 year.
Notes
- If using honey or maple syrup, start off with 6 tablespoons (120 grams). Carefully taste it and add more sweetener when it’s almost done cooking. You may want up to 2/3 cup (213 grams) total.