


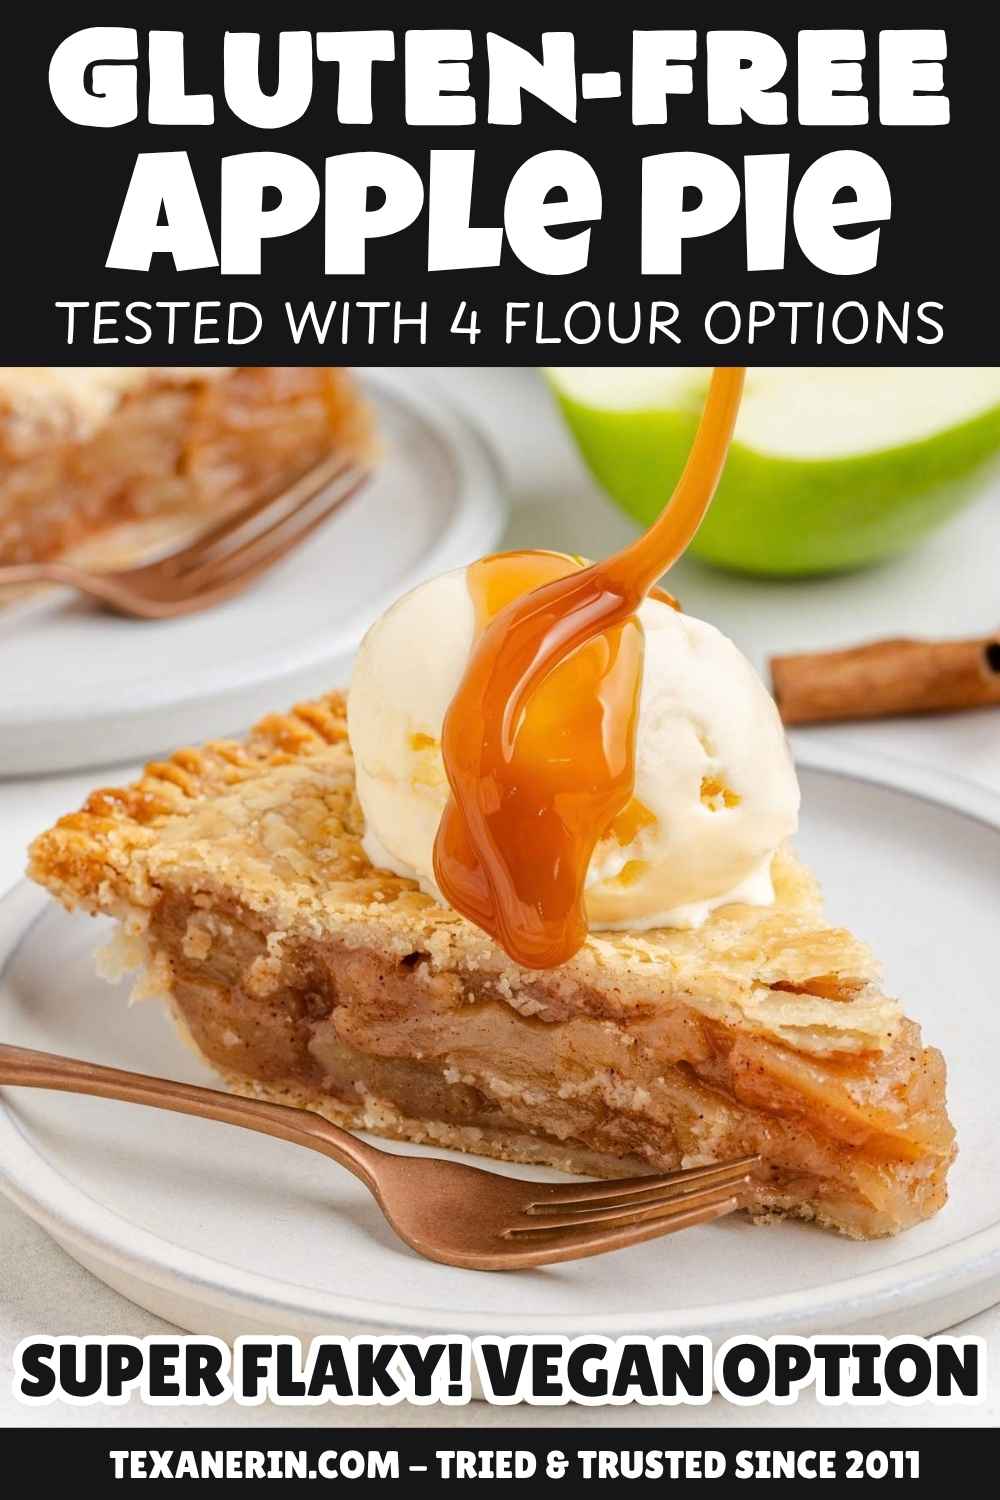
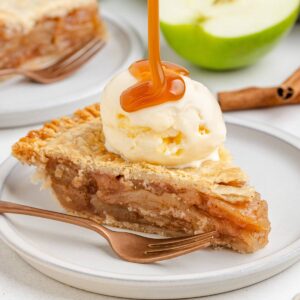
This gluten-free apple pie has a flaky double crust packed with a thick cinnamon-spiced filling. The apples are cooked briefly before the pie is assembled, which gives you much more control over both their texture and the consistency of the filling. I’ve tested this recipe with 4 different gluten-free flour blends and found a clear winner. It’s also easy to make vegan!
Rather than putting raw apples into the crust and relying on them to soften and release the right amount of juice in the oven, they’re cooked for just 5-8 minutes first. They should start to soften but still hold their shape. Then a cornstarch slurry is added and cooked until the juices have visibly thickened.
There’s no need to blind-bake the crust! The filling is cooked and thickened before it goes into the crust, which reduces the amount of moisture the bottom crust has to deal with during baking.
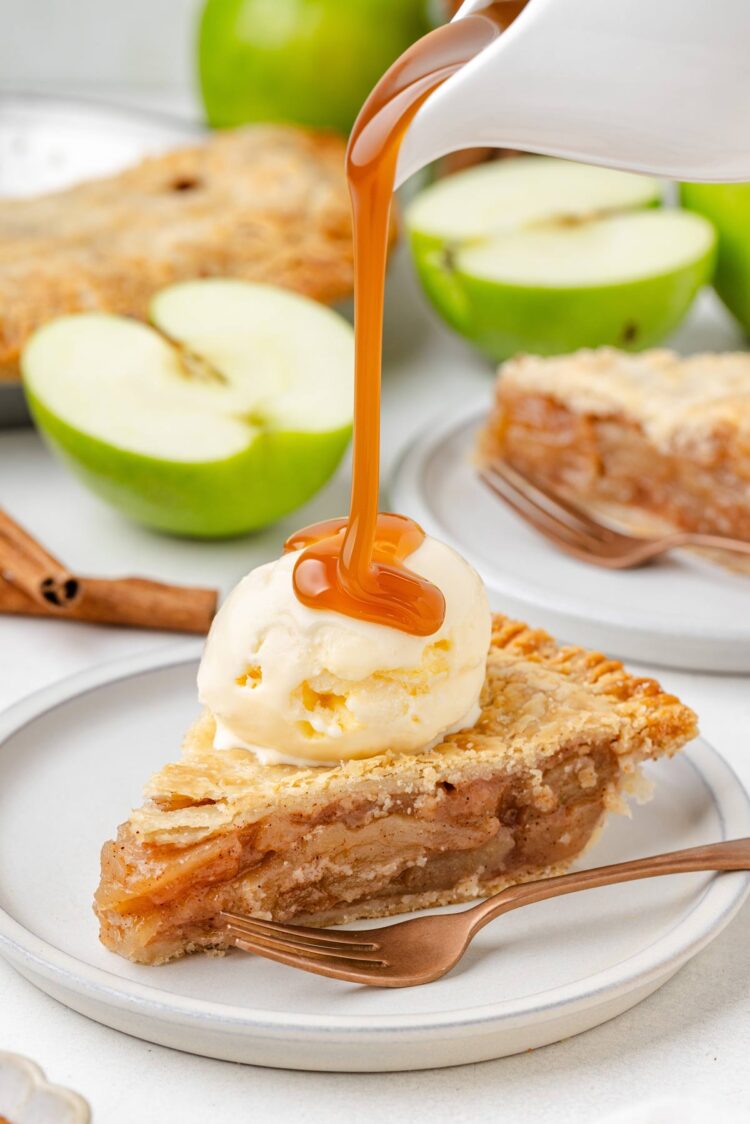
That cooked filling also makes this pie especially convenient for Thanksgiving or any time you want to divide the work between two days. You can make the pie dough and filling the day before and refrigerate them overnight. Use the filling cold, and let the dough sit at room temperature just until it’s flexible enough to roll.
For the crust, I used a double batch of my Gluten-Free Pie Crust. It gives you enough dough for a full bottom and top crust, rather than a streusel or lattice topping, so this is a classic double-crust apple pie that happens to be gluten-free.
If a full double-crust pie isn’t what you’re after, I have quite a few other apple options. My French Apple Pie uses the same flaky style of crust with fresh apples and a creamy vanilla custard, while my Swedish Apple Pie skips pastry crust entirely and has an easy oat-based topping.
Ingredients
Please scroll down for the full recipe. These are just notes on select ingredients.
- Pie crust – I really recommend sticking with Bob’s Red Mill 1-to-1 Gluten-Free Baking Flour. Of the four flour blends I tested, Bob’s produced the flakiest crust. Pillsbury Best Gluten Free Flour Blend is a good second choice.
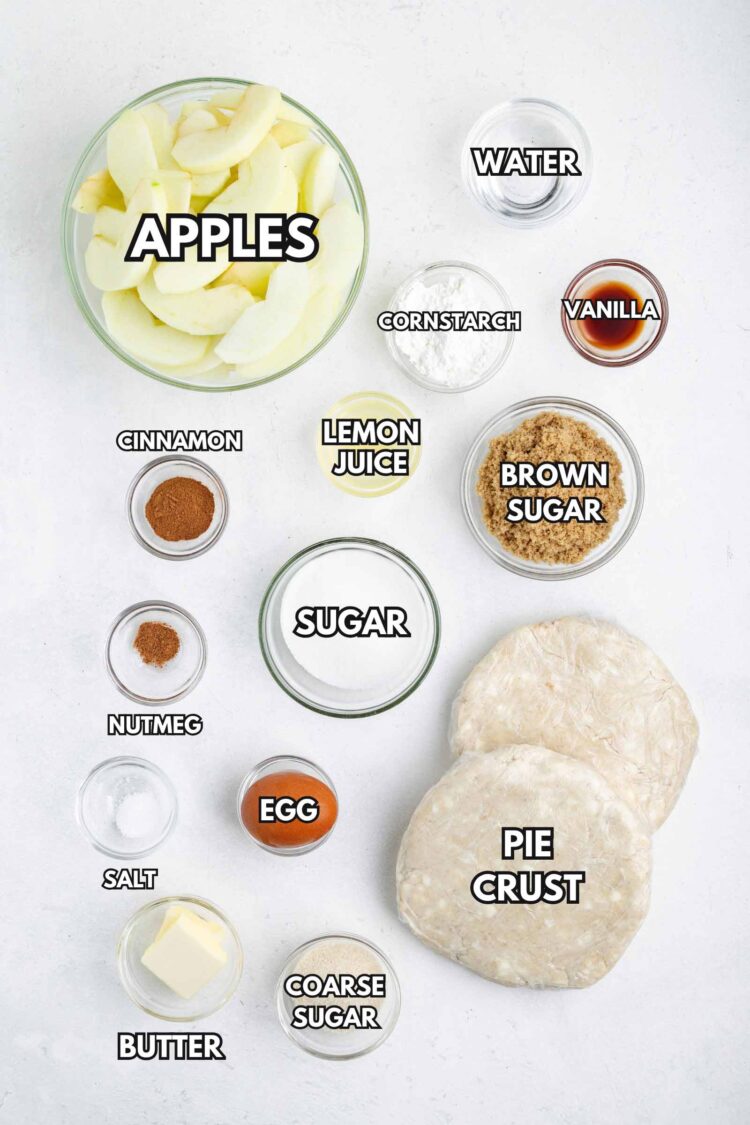
- Apples – you’ll need 1,000 grams after peeling and coring, or about 8-9 cups sliced. That’s about 1,250 grams of whole apples, or approximately 6 large or 7 medium Granny Smith apples. Weighing the prepared apples is the most reliable way to get the right amount.
- Granulated and light brown sugar – using both gives the filling sweetness and a little caramel flavor without overwhelming the apples.
- Butter – 2 tablespoons add richness to the filling without making it overly buttery or greasy. I’ve also tested this recipe with vegan butter, and it worked great.
- Lemon juice – this brightens the apple flavor and balances the sweetness. There’s only 1 tablespoon, so the filling doesn’t taste lemony.
- Cornstarch – I really recommend weighing this. You need 20 grams, and cornstarch can be surprisingly inconsistent when measured by the tablespoon. Mixing it with water before adding it to the apples also prevents lumps.
- Egg wash and coarse sugar – the egg wash helps the top crust turn golden, while the coarse sugar adds a little crunch. See below for the vegan alternative.
Flour Options
Bob’s Red Mill 1-to-1 Gluten-free Baking Flour – I really recommend using this one. Even if you have to order it online, I think it’s worth it. But if you don’t have it and need to make a pie right away, I also tested the options below. They all work, but Bob’s was by far the best in this recipe.
Pillsbury Best Gluten Free Flour Blend – this is my second choice. The crust cracked a little more than the one made with Bob’s, but it wasn’t a problem. If using Pillsbury, use 385 grams.
Arrowhead Mills Gluten Free All-Purpose Flour – this one had a slightly unusual aftertaste, at least in this recipe. The texture was also more shortbread-like than flaky. That said, I somehow could not stop eating it! If using Arrowhead Mills, use 340 grams.
King Arthur Gluten-Free Measure for Measure Flour – this version was good, but it wasn’t nearly as flaky as the crust made with Bob’s. It also tasted and felt more noticeably gluten-free. If using King Arthur, use 313 grams.
The gram amounts are different for each brand because gluten-free flour blends do not all weigh the same by volume.
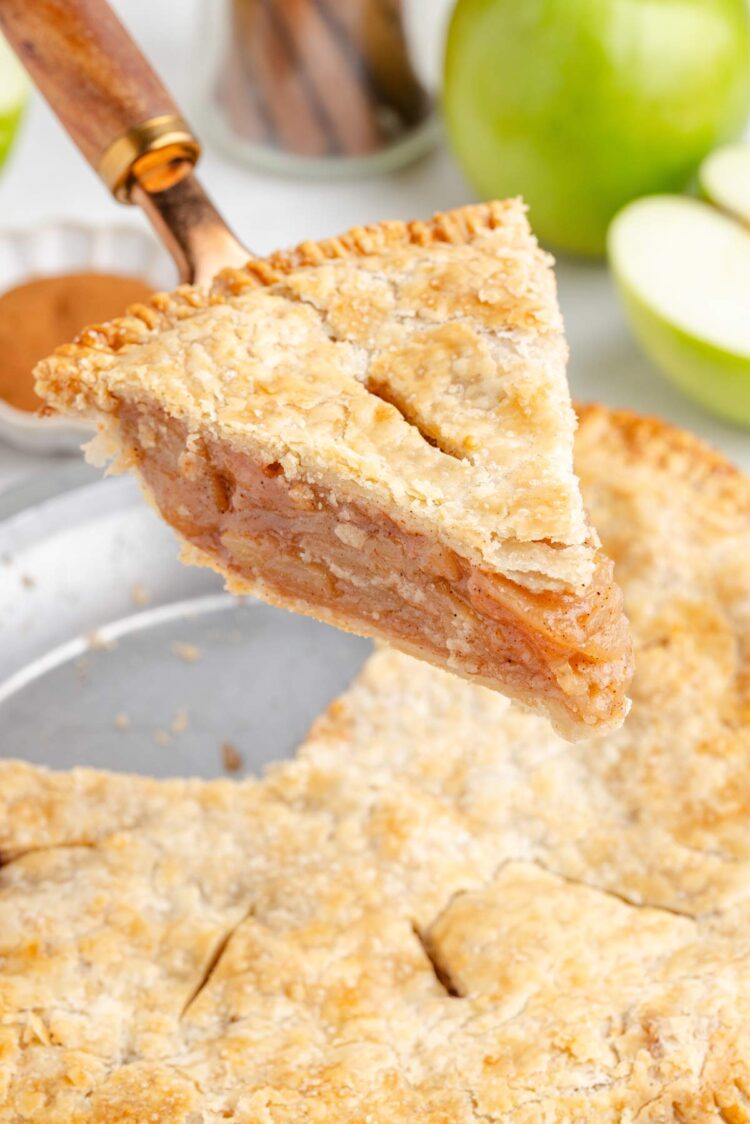
What Apples Are Best for Gluten-Free Apple Pie?
I usually use Granny Smith apples because their tart flavor balances the sweet filling and they hold their shape well as the pie bakes. I also tested this recipe with a mix of sweeter apples we picked nearby, and the pie turned out great with those, too.
You don’t have to use Granny Smith, but I recommend choosing apples that stay fairly firm when baked rather than very soft varieties. The finished pie will naturally be sweeter with sweet apples, but even the version I made with quite sweet apples wasn’t overly sweet.
How to Make It
Prepare the pie dough first, divide it into two portions and refrigerate it while you make the filling.
Combine the sliced apples with the sugars, butter, lemon juice, vanilla and spices and cook for 5-8 minutes. The goal isn’t to fully cook the apples. They should just begin to soften while still holding their shape.
Mix the cornstarch and water until completely smooth, then stir it into the apples. Cook for another 1-2 minutes, until the juices surrounding the apples have thickened, and let the filling cool completely.
Roll out the bottom crust and fit it into an ungreased 9-inch (23-cm) metal pie plate. Freeze it for 15 minutes while you roll out the top crust.
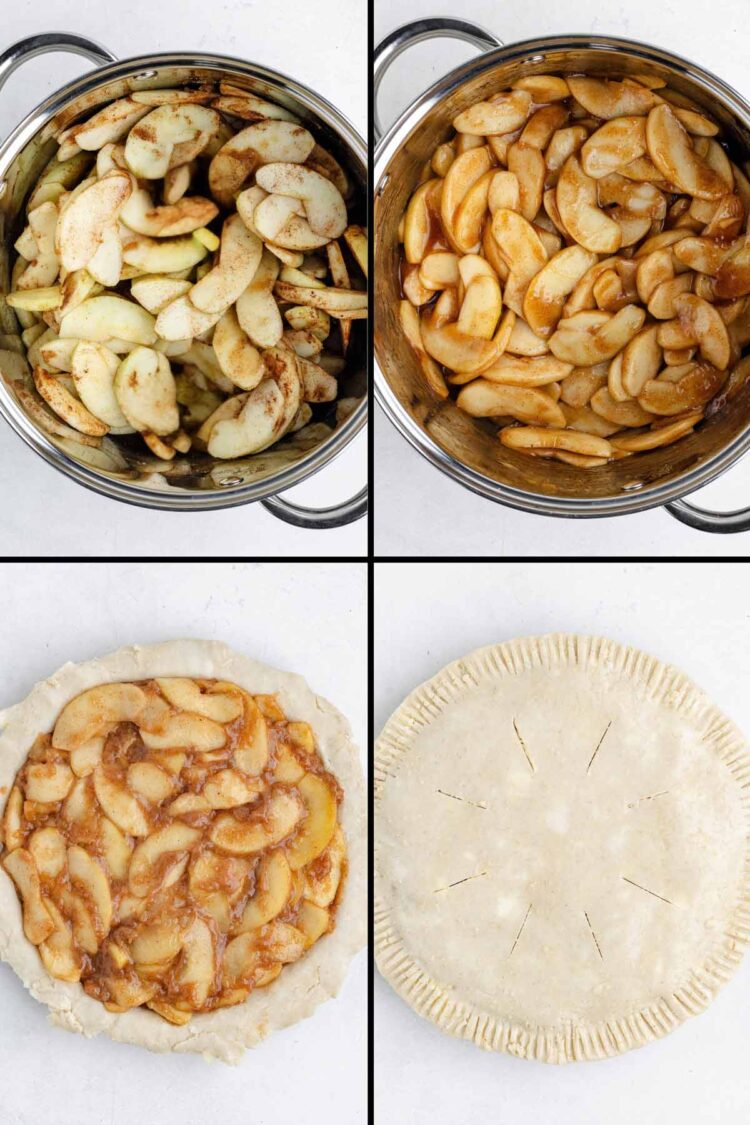
Spoon the cooled filling into the bottom crust and spread the apples into an even layer. Add the top crust, trim and seal the edges, crimp as desired and cut several vents in the top.
Brush the crust with egg wash, sprinkle it with coarse sugar and refrigerate the assembled pie for 20-30 minutes.
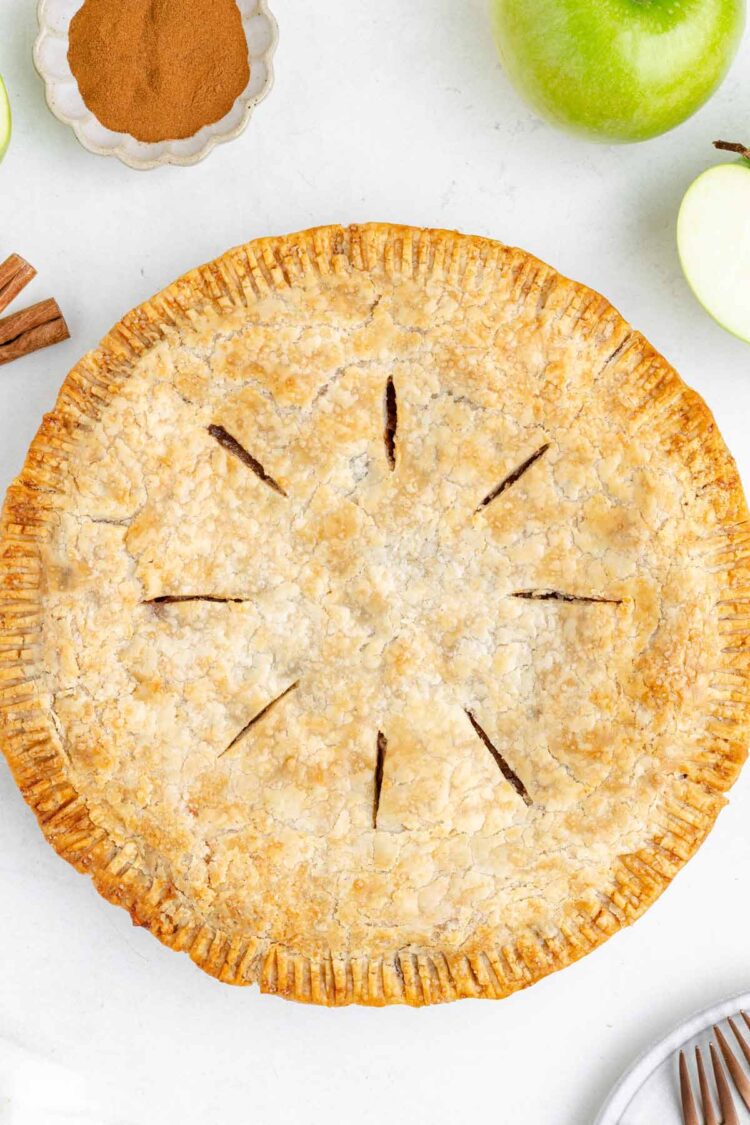
Bake at 425 °F (220 °C) for 20 minutes, then reduce the oven temperature to 375 °F (190 °C) and continue baking for another 35-50 minutes. The crust should be golden and the filling should be bubbling through the vents.
- Don’t skip pre-cooking the filling – cooking the apples first releases some of their juice and allows some of that moisture to cook off before the filling goes into the crust. The cornstarch then thickens the remaining juices, which helps prevent a watery filling and gives you more control over the final consistency.
- Cool the filling completely – warm filling will start softening the butter in the crust before the pie even reaches the oven.
- Keep the apples in an even layer – don’t mound them heavily in the center. An even layer makes the finished pie easier to slice and gives you a more consistent amount of filling in each piece.
- Don’t prick the bottom crust – this isn’t a blind-baked crust, so you don’t want holes that could allow the filling to seep underneath it.
- Use a metal pie plate – I tested this recipe in a metal pan, which helps the bottom crust brown and crisp more effectively than glass or ceramic.
- Use a rimmed baking sheet – placing the pie on a baking sheet keeps any filling that bubbles out from ending up on the bottom of your oven.
- Shield the edges if necessary – if the crimped edge is getting dark while the center still needs more time, cover just the edge with foil or a pie shield.
- There’s a gap between the apples and top crust – some settling is normal as the pie bakes, but precooking the apples helps minimize it. Make sure the apples are spread evenly rather than piled high in the center.
Troubleshooting
- The crust is cracking while rolling – it may be too cold. Let it sit briefly until it’s flexible enough to roll, and press small cracks back together as needed.
- The dough has become soft or sticky – refrigerate it again before continuing. Keeping the butter in the dough cold makes the crust much easier to work with.
- The filling looks too loose before assembly – after adding the cornstarch slurry, keep cooking until the liquid around the apples has visibly thickened.
- The filling is runny after slicing – make sure it was bubbling through the vents before taking the pie out of the oven and that the pie cooled for an hour before slicing. The filling continues to set as it cools, so cutting it too early can make an otherwise properly thickened filling look runny.
Vegan and Dairy-free
I tested this with vegan butter in both the crust and filling with great results! Violife is the only plant-based butter brand that we have in Germany that’s also sold in the US, so that’s what I was able to test it with. I unfortunately have no idea how other brands would do because I haven’t tested any other brands.
If you’re vegan or egg-free, mix 1 tablespoon unsweetened plant-based milk with 1 teaspoon maple syrup and brush it lightly over the crust before adding the coarse sugar.
Make Ahead & Storage
The filling can be prepared up to 1 day ahead. Cover and refrigerate it until you’re ready to assemble the pie. The apples will release some juice as they sit, so be sure to add all of the filling, including the accumulated juices, to the crust.
The pie dough can also be made ahead and refrigerated before rolling. I wouldn’t assemble the entire unbaked pie the night before. Once the pie is assembled, give it the 20-30 minute refrigerator chill in the recipe and then bake it. Don’t freeze the assembled pie before baking.
After baking, let the pie cool completely before covering and refrigerating it. Store leftovers covered in the refrigerator for up to 4 days.
To reheat the whole pie – cover loosely with foil and warm at 350 °F (175 °C) for about 20–25 minutes, or until heated through. Remove the foil for the last few minutes if you want to re-crisp the crust.
To reheat individual slices – warm at 350 °F (175 °C) for about 8–10 minutes. You can also microwave a slice for about 20–30 seconds, but the crust will be softer.
More Apple Desserts
- Apple Tartlets – little apple-filled tarts that can be made in tartlet pans or a regular cupcake pan.
- Gluten-Free Apple Crumble – a larger oat-topped apple crumble with dairy-free and vegan options.
- Apple Crumble for Two – two individual apple crumbles when you don’t need a full-size dessert.
- Applesauce Coffee Cake – a soft applesauce and sour cream cake with fresh apple, a brown sugar-almond filling and cinnamon streusel.
Gluten-free Apple Pie
Servings 12
This gluten-free apple pie has a flaky double crust filled with tender Granny Smith apples and a thick cinnamon-spiced filling. The apple filling can be made a day ahead for easier assembly and can also be made dairy-free and vegan.
Prevent your screen from going dark
Prepare the dough:
-
Get out a 9-inch (23-cm) metal pie plate, or another pie plate the manufacturer states is safe to transfer from the refrigerator to a hot oven. Do not grease it.
-
In the bowl of a food processor fitted with an S-blade, combine the flour, granulated sugar and salt. Pulse a few times.
2 1/2 cups (346 grams) Bob’s Red Mill 1-to-1 Gluten-Free Baking Flour, 2 tablespoons granulated sugar, 1 teaspoon fine sea salt
-
Run the food processor on its lowest speed and add the butter. Process just until you have pea-sized pieces of butter. Be careful not to overprocess.
1 cup (225 grams) unsalted butter
-
Drizzle the vanilla extract and apple cider vinegar evenly over the mixture.
2 teaspoons vanilla extract, 1 teaspoon apple cider vinegar
-
With the food processor running on its lowest speed, pour in 5 tablespoons of cold water.
5 to 11 tablespoons cold water
-
Process briefly, just until the dough starts to come together. It should look shaggy rather than forming a smooth, uniform ball. Pinch some of the dough together. If it holds without being excessively crumbly, it’s ready.
-
If needed, add more cold water 1 teaspoon at a time, processing very briefly after each addition. The exact amount needed will vary depending on factors such as the temperature of your ingredients and kitchen. Be careful not to add more water than necessary, as too much water can result in a less flaky crust.
-
Divide the dough into 2 equal portions. Place each portion in the center of a piece of plastic wrap and shape into a flat disc about 1 inch (2.5 cm) thick. If the dough is too crumbly to form a disc, it needs a little more water.
-
Refrigerate both discs for at least 45 minutes and up to 2 days.
Prepare the apple filling:
-
In a large saucepan or pot, melt the butter. Add the sliced apples, granulated sugar, brown sugar, lemon juice, vanilla, cinnamon, nutmeg and salt.
8-9 cups (1000 grams) peeled, cored and about 1/4-inch (6-mm) thick sliced Granny Smith apples, 1/3 cup (66 grams) granulated sugar, 1/3 cup (66 grams) packed light brown sugar, 2 tablespoons (28 grams) unsalted butter, 1 tablespoon lemon juice, 1 teaspoon vanilla extract, 1 1/2 teaspoons cinnamon, 1/8 teaspoon ground nutmeg, 1/4 teaspoon salt
-
Cook over medium heat for 5-8 minutes, stirring gently, until the apples have started to soften but still hold their shape.
-
Stir together the cornstarch and 2 tablespoons of water until completely smooth.
2 tablespoons (20 grams) cornstarch, 2 tablespoons water
-
Add the cornstarch slurry to the apples and cook for another 1-2 minutes, stirring gently, until the juices have thickened.
-
Remove from the heat and cool the filling completely. The filling can also be covered and refrigerated for up to 1 day and used cold from the refrigerator.
Roll out the bottom crust:
-
Lightly flour a piece of parchment paper and place one unwrapped disc of dough on it. Keep the second disc refrigerated.
-
Lightly flour the top of the dough and cover it with plastic wrap or another piece of parchment paper. Roll it into a circle large enough to cover the bottom and sides of the pie plate with some overhang around the edge.
-
Remove the plastic wrap or top piece of parchment. Place the ungreased pie plate upside down over the dough, then carefully flip the dough and pie plate together.
-
Remove the parchment paper and gently press the dough into the bottom and sides of the pie plate without stretching it. Leave the excess dough around the edge uncrimped so it can be sealed to the top crust later.
-
Place the fitted bottom crust in the freezer for 15 minutes while you roll out the top crust.
Roll out the top crust:
-
Lightly flour a fresh piece of parchment paper and place the second disc of dough on it.
-
Lightly flour the top and cover with plastic wrap or another piece of parchment paper. Roll the dough into a circle large enough to completely cover the top of the pie with a little overhang around the edge.
-
Keep the rolled top crust chilled while you fill the pie.
Assemble the pie:
-
Spoon the completely cooled apple filling into the chilled bottom crust, spreading the apples into an even layer.
-
Carefully place the rolled top crust over the filling.
-
Trim the excess dough as needed, leaving enough around the edge to seal the top and bottom crusts together.
-
Press the edges of the top and bottom crusts together to seal. Fold the overhang under itself so it sits along the rim of the pie plate, then press with a fork or flute the edge with your fingers.
-
Cut several vents in the top crust so steam can escape.
-
Beat the egg with 1 tablespoon of water. Brush the top crust lightly with the egg wash and sprinkle with coarse sugar.
2-3 teaspoons coarse sugar for sprinkling
-
Refrigerate the assembled pie for at least 20 minutes, preferably 20-30 minutes. Do not freeze the assembled pie.
Bake the pie:
-
Preheat the oven to 425 °F (220 °C).
-
Place the chilled pie on a rimmed baking sheet and bake for 20 minutes.
-
Reduce the oven temperature to 375 °F (190 °C) and continue baking for 35-50 minutes, until the crust is golden and the filling is bubbling through the vents. Shield the edges if they begin to brown too quickly.
-
Transfer the pie to a wire rack and cool for at least 1 hour before slicing or covering so the filling can fully set. Cover and refrigerate leftovers for up to 4 days.
-
To reheat the whole pie – cover loosely with foil and warm at 350 °F (175 °C) for about 20-25 minutes (assuming the pie has already been refrigerated), or until heated through. Remove the foil for the last few minutes if you want to re-crisp the crust. To reheat individual slices – warm at 350 °F (175 °C) for about 8–10 minutes. You can also microwave a slice for about 20–30 seconds, but the crust will be softer.
- For the crust, Bob’s Red Mill 1-to-1 Gluten-Free Baking Flour came out flakiest. It’s what you see in the photos. See the post for the other 3 options.
- If you’re vegan or egg-free, use vegan butter for the crust and filling. I tested it with Violife. Instead of an egg wash, mix 1 tablespoon unsweetened plant-based milk with 1 teaspoon maple syrup and brush it lightly over the crust before adding the coarse sugar.
- If you live in Europe, use 220 grams butter to replicate US butter for the pie crust.
- I put the vanilla and apple cider vinegar together in a tiny bowl in the freezer for about 10 minutes, and the same with the water. I don’t put the vanilla/ACV and the water together in the same bowl because you might not use all the water.
- For the most consistent results, weigh both the prepared apples and the cornstarch.
- The nutrition information provided is calculated as a courtesy and is only an estimate. I am not a licensed nutritionist or dietitian. For the most accurate nutritional data, consult a professional or use your preferred calculator.
Calories: 340.4kcalCarbohydrates: 44.8gProtein: 3gFat: 18.3gSaturated Fat: 10.9gPolyunsaturated Fat: 0.8gMonounsaturated Fat: 4.6gTrans Fat: 0.7gCholesterol: 45.7mgSodium: 247.9mgPotassium: 106.9mgFiber: 4.7gSugar: 23.2gVitamin A: 576.9IUVitamin C: 4.3mgCalcium: 35.1mgIron: 1.1mgNet Carbs: 40

