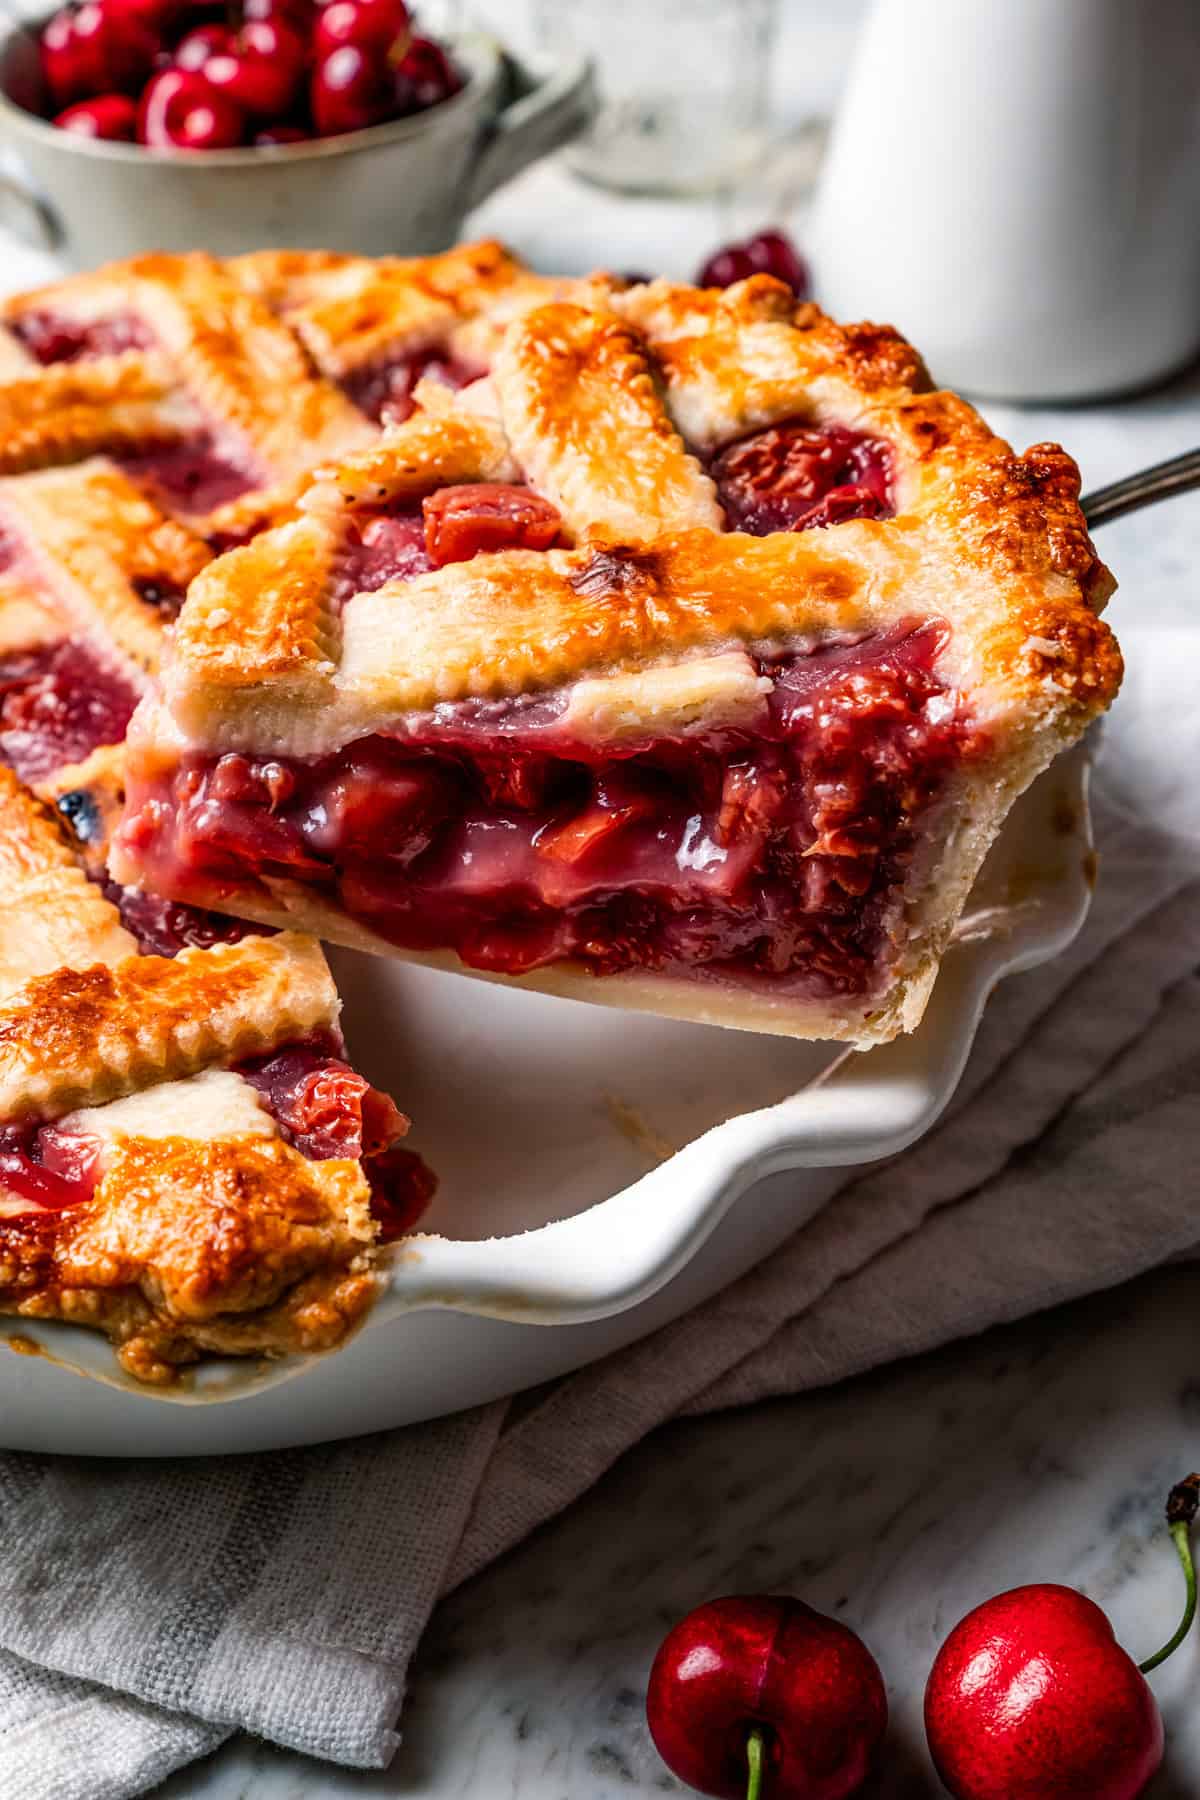
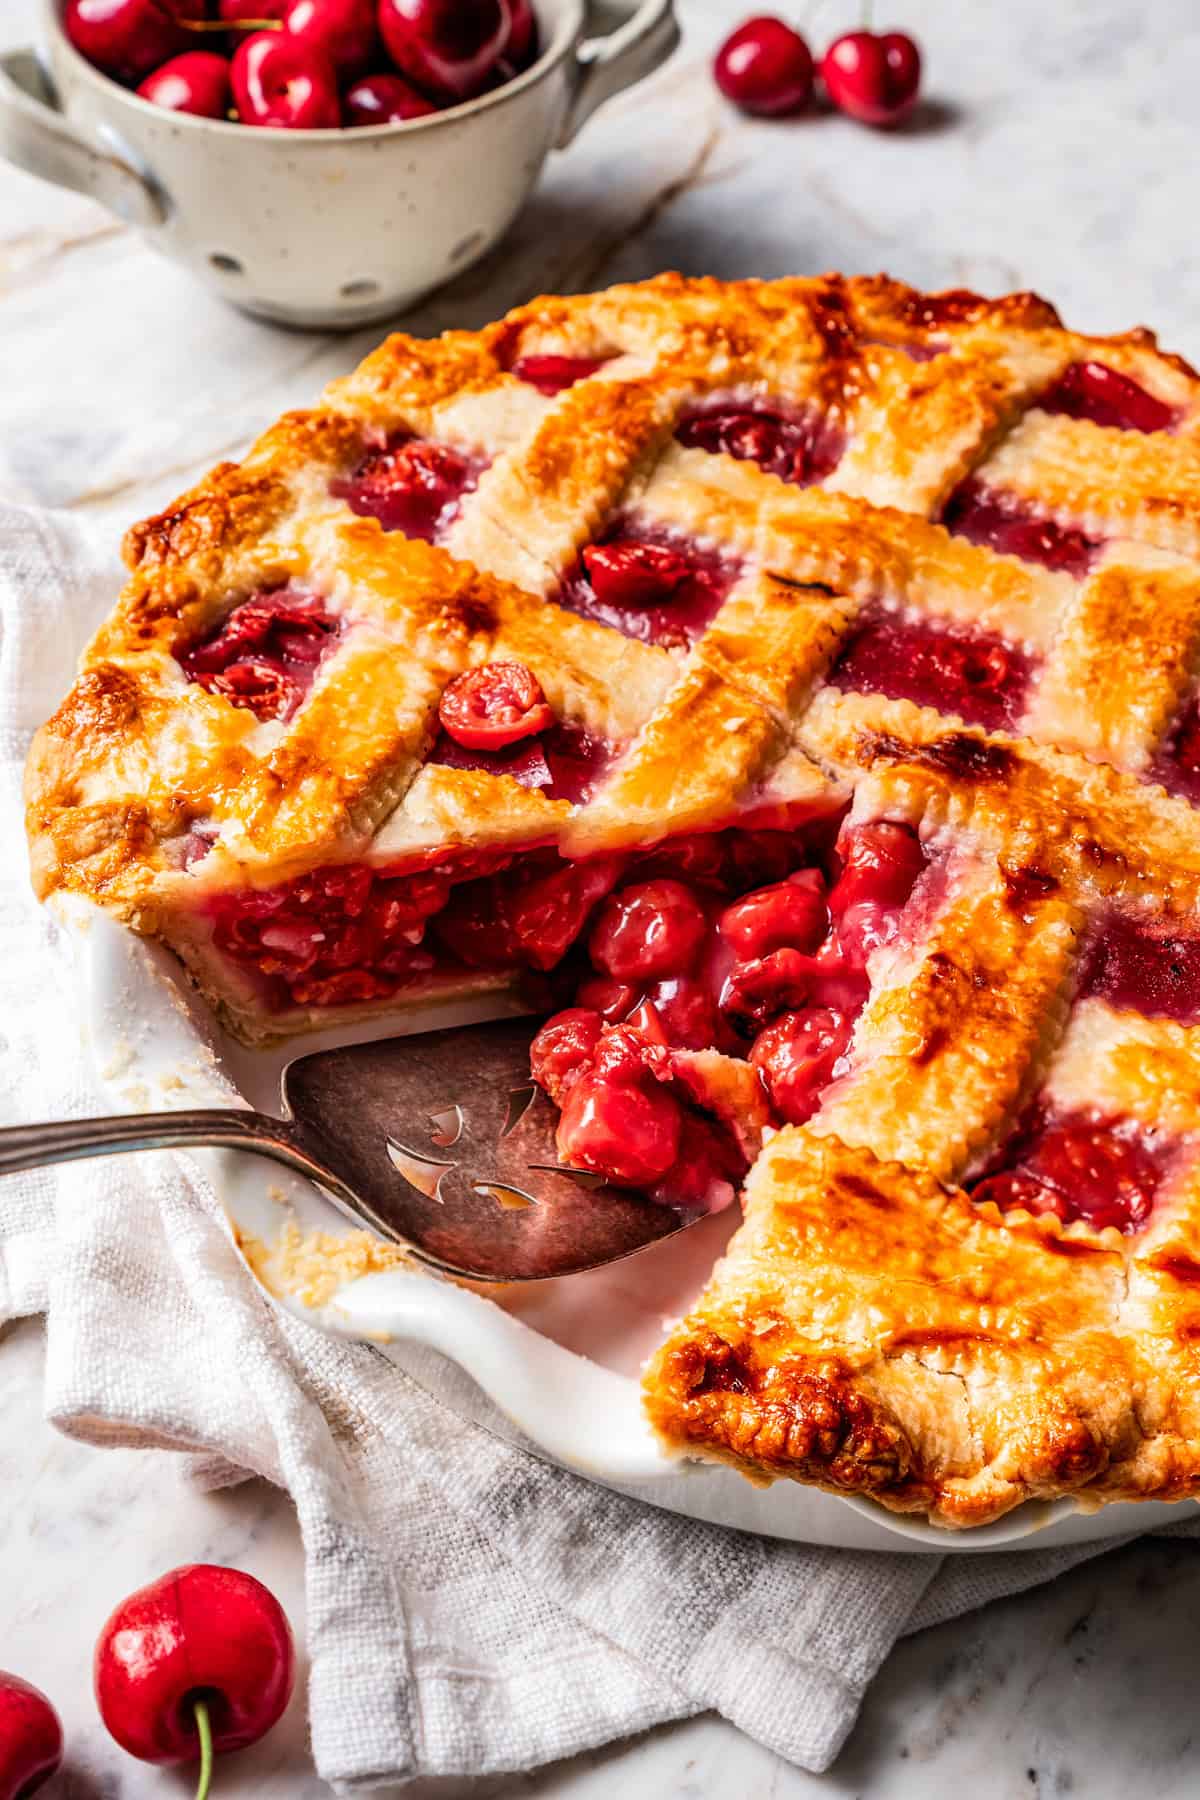
This homemade cherry pie is easy to make with canned, fresh, or frozen cherries, baked into a thick, gooey, sliceable pie filling. I add a hint of almond and weave a lattice crust for the perfect bakery-style finish!
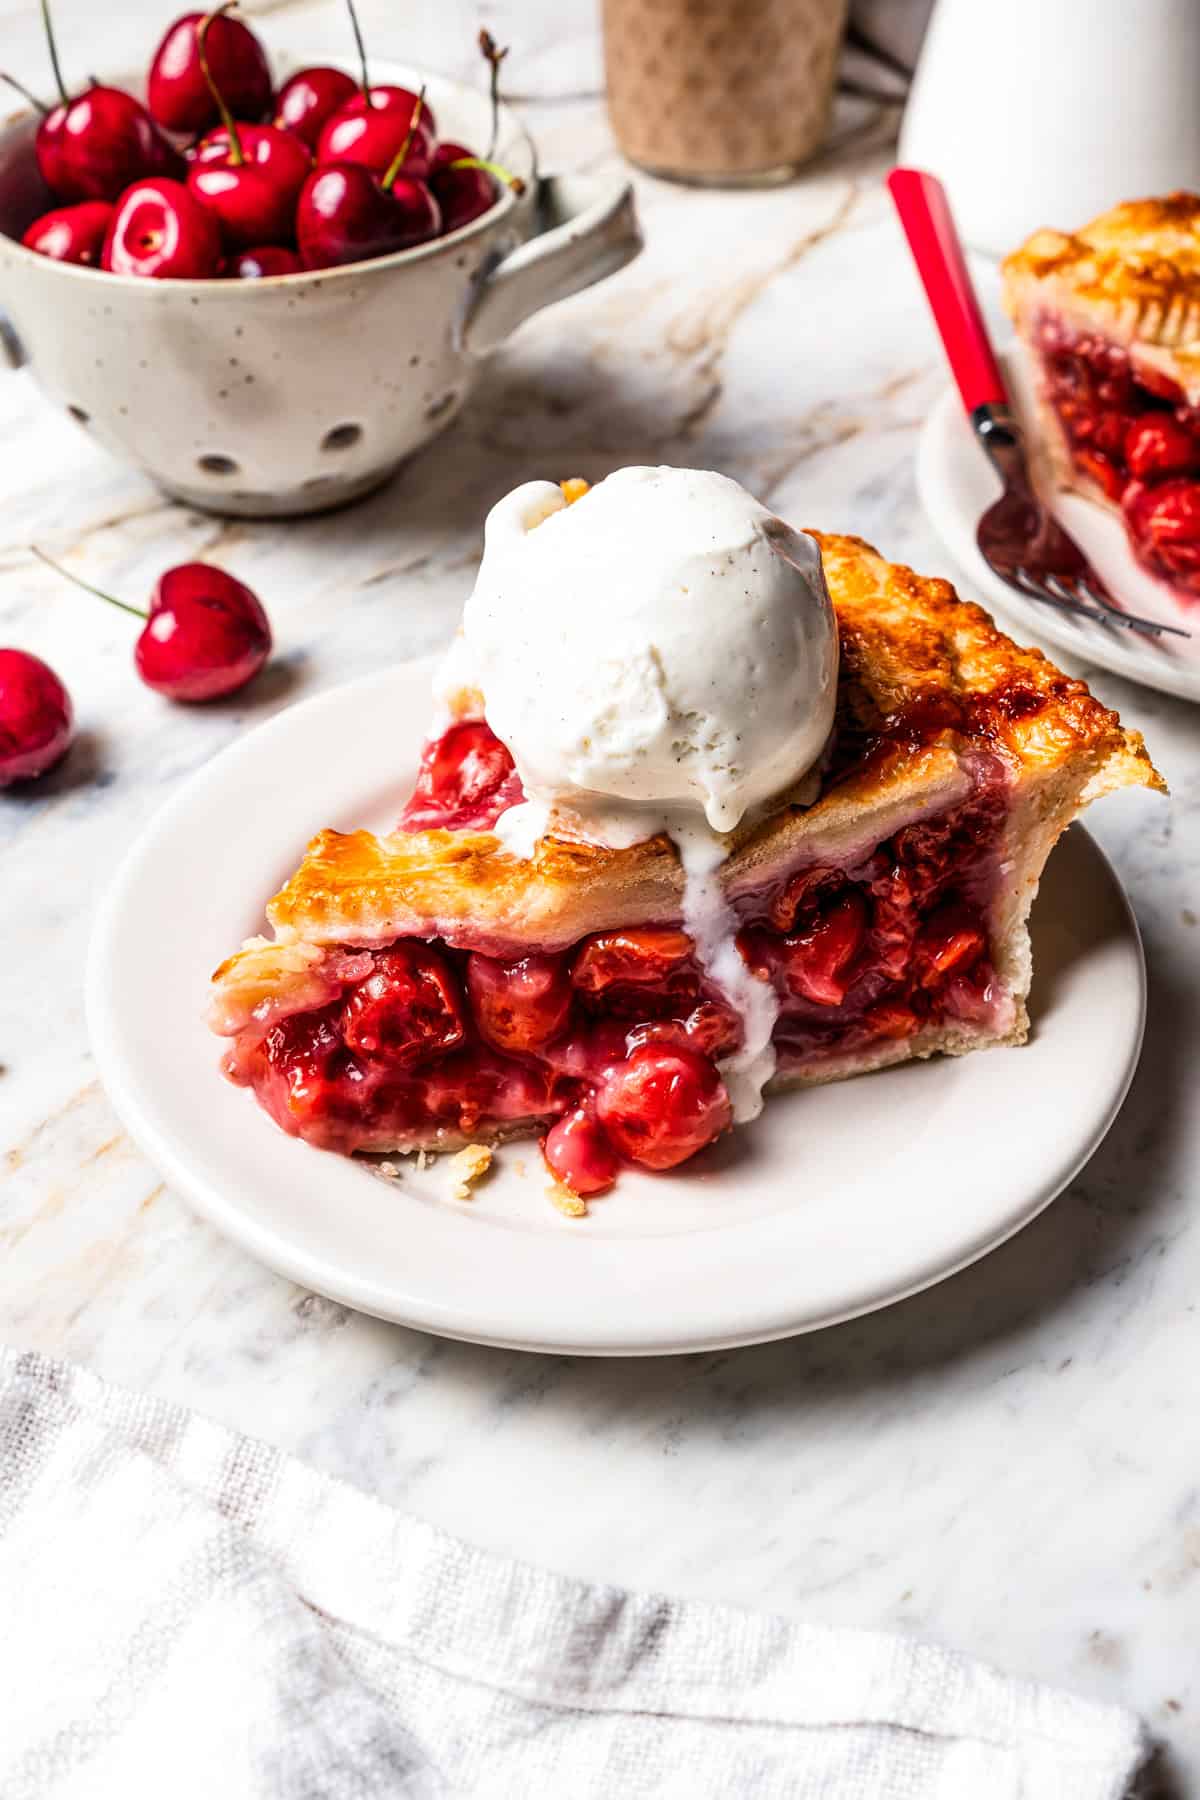
My advice? Serve slices of this golden-baked cherry pie à la mode with a scoop of vanilla ice cream. I love a vanilla and cherry combo! Also, try this chocolate cherry cake recipe.
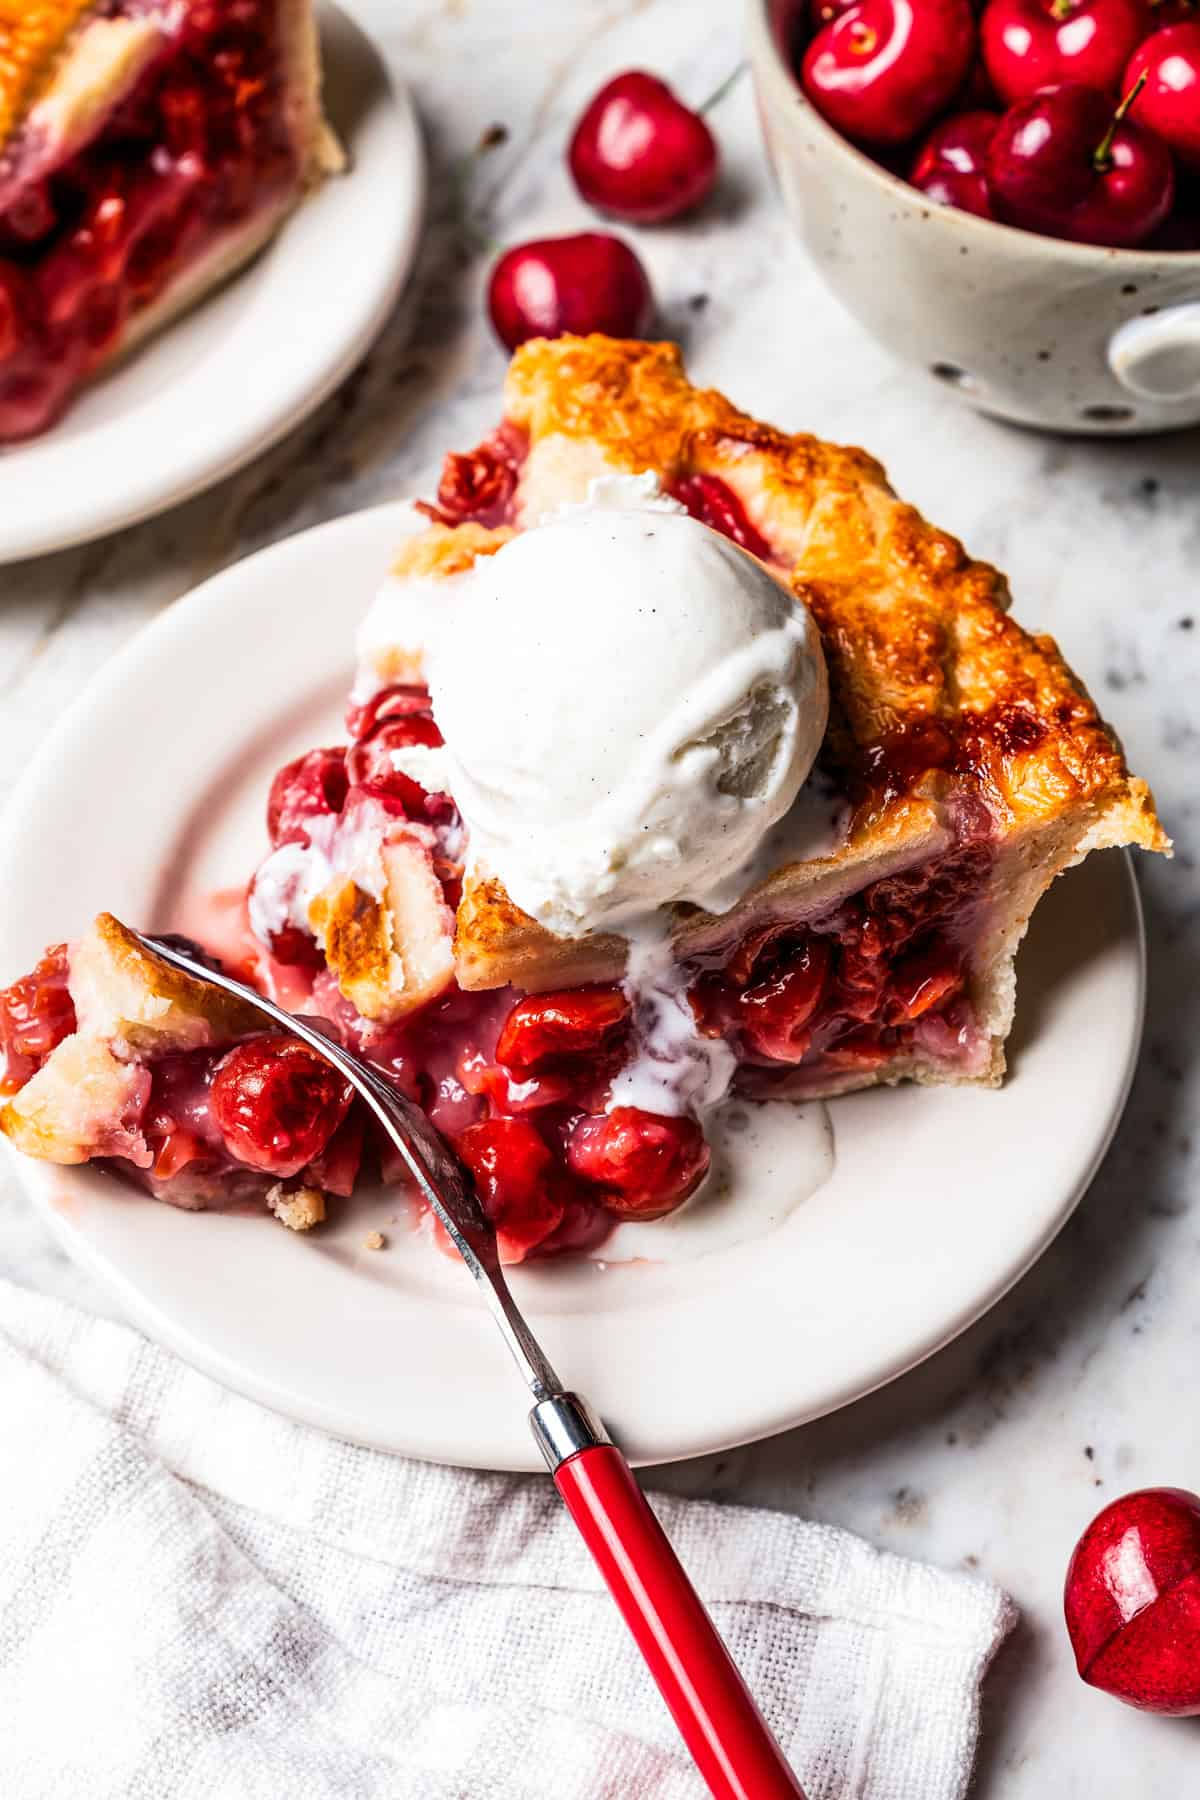
Cherry pie is such a classic summer dessert. It instantly makes me think of 4th of July cookouts and picnics where the mimosas and shrimp dip are flowing. My homemade cherry pie has a bright and fruity, almond-scented cherry pie filling baked inside a golden and buttery, flaky pie crust, and it’s made 100% from scratch! I make this pie with canned sour cherries, with the option to swap them for fresh or frozen.
What Makes This the Best Cherry Pie Recipe
- Sweet-tart filling. Sour cherries give the filling just the right amount of tartness, while a little sugar and almond extract perfectly complement the cherries’ flavors.
- Buttery homemade pie crust. I make my easy pie crust in the blender with four pantry staples. If you’re extra-short on time, use a refrigerated crust as a shortcut.
- Any occasion. Make this cherry pie year-round with canned or frozen cherries! It’s also adaptable with fresh cherries when they’re in season. This pie is a great dessert for holidays and summertime gatherings. You can even make it ahead and freeze it, before or after baking.
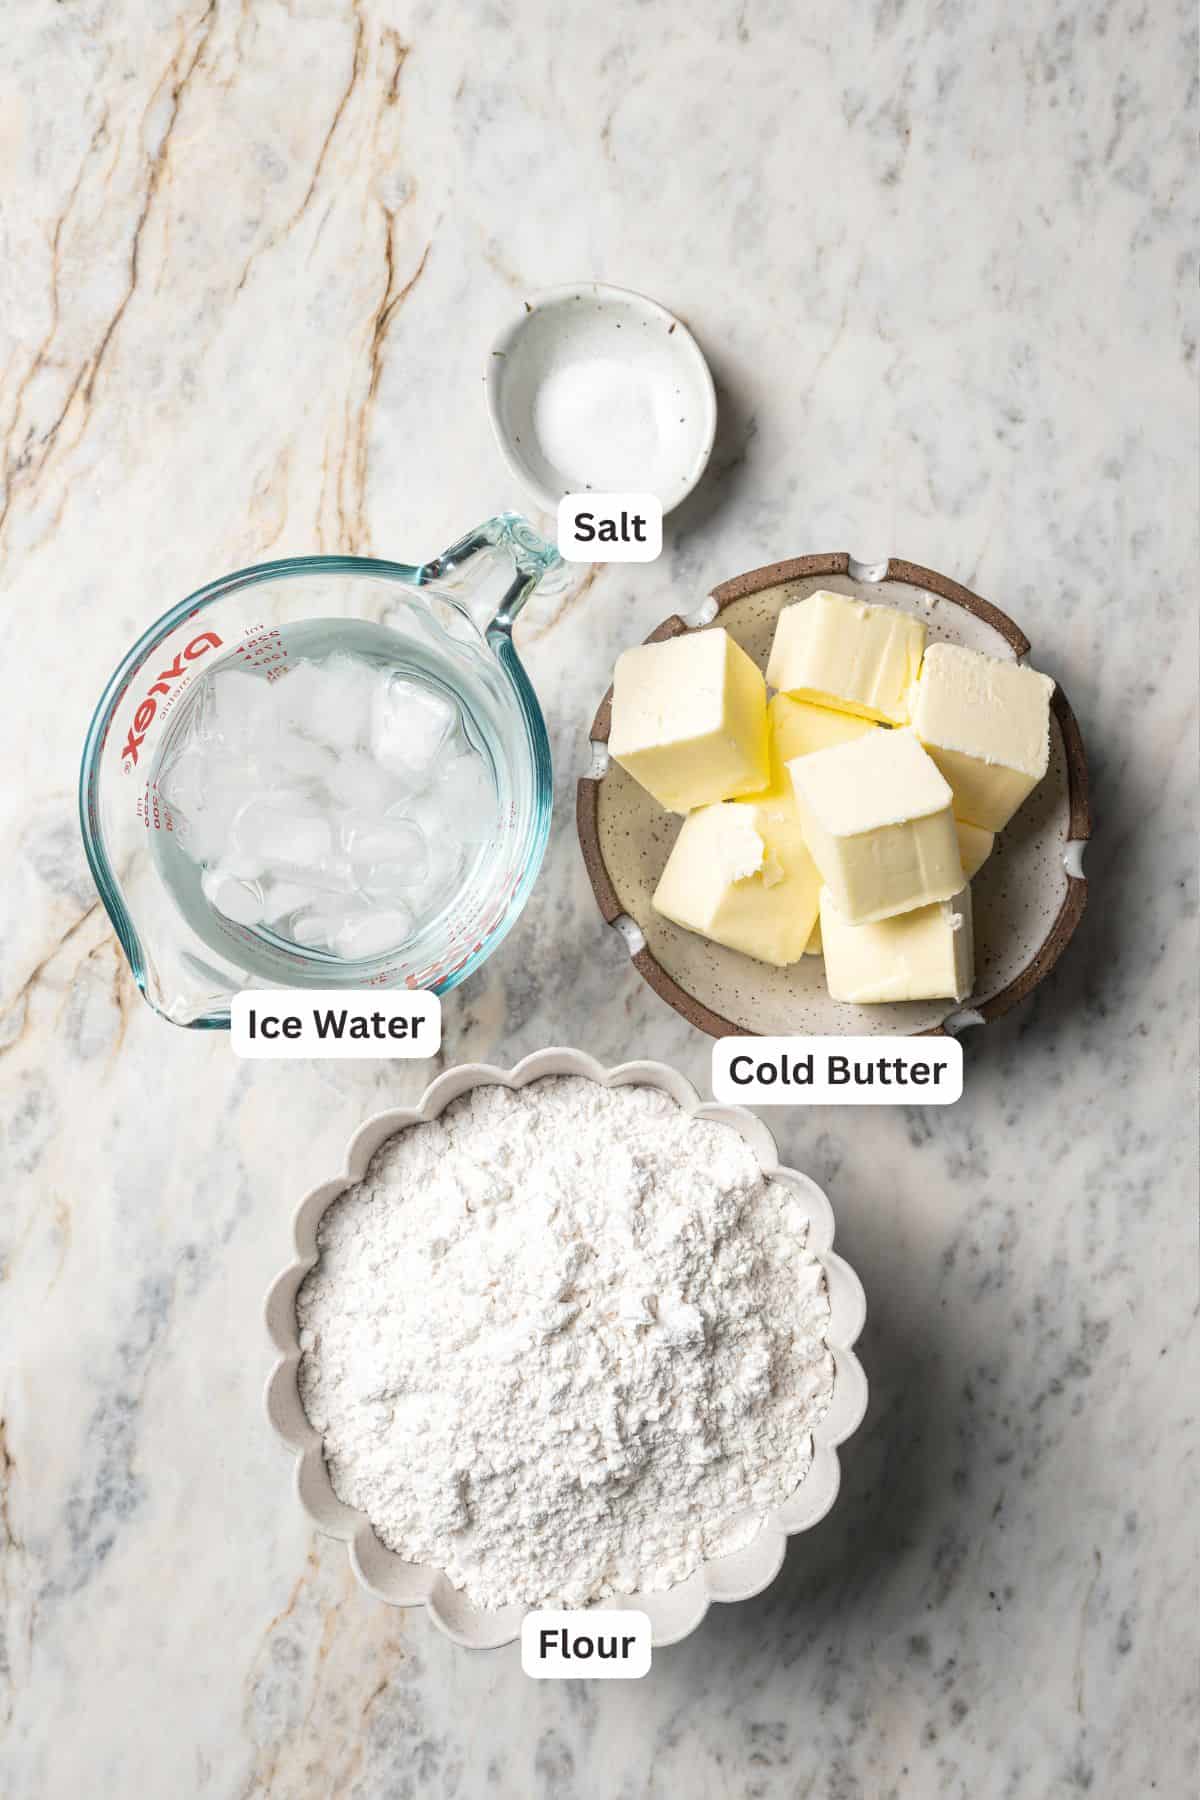
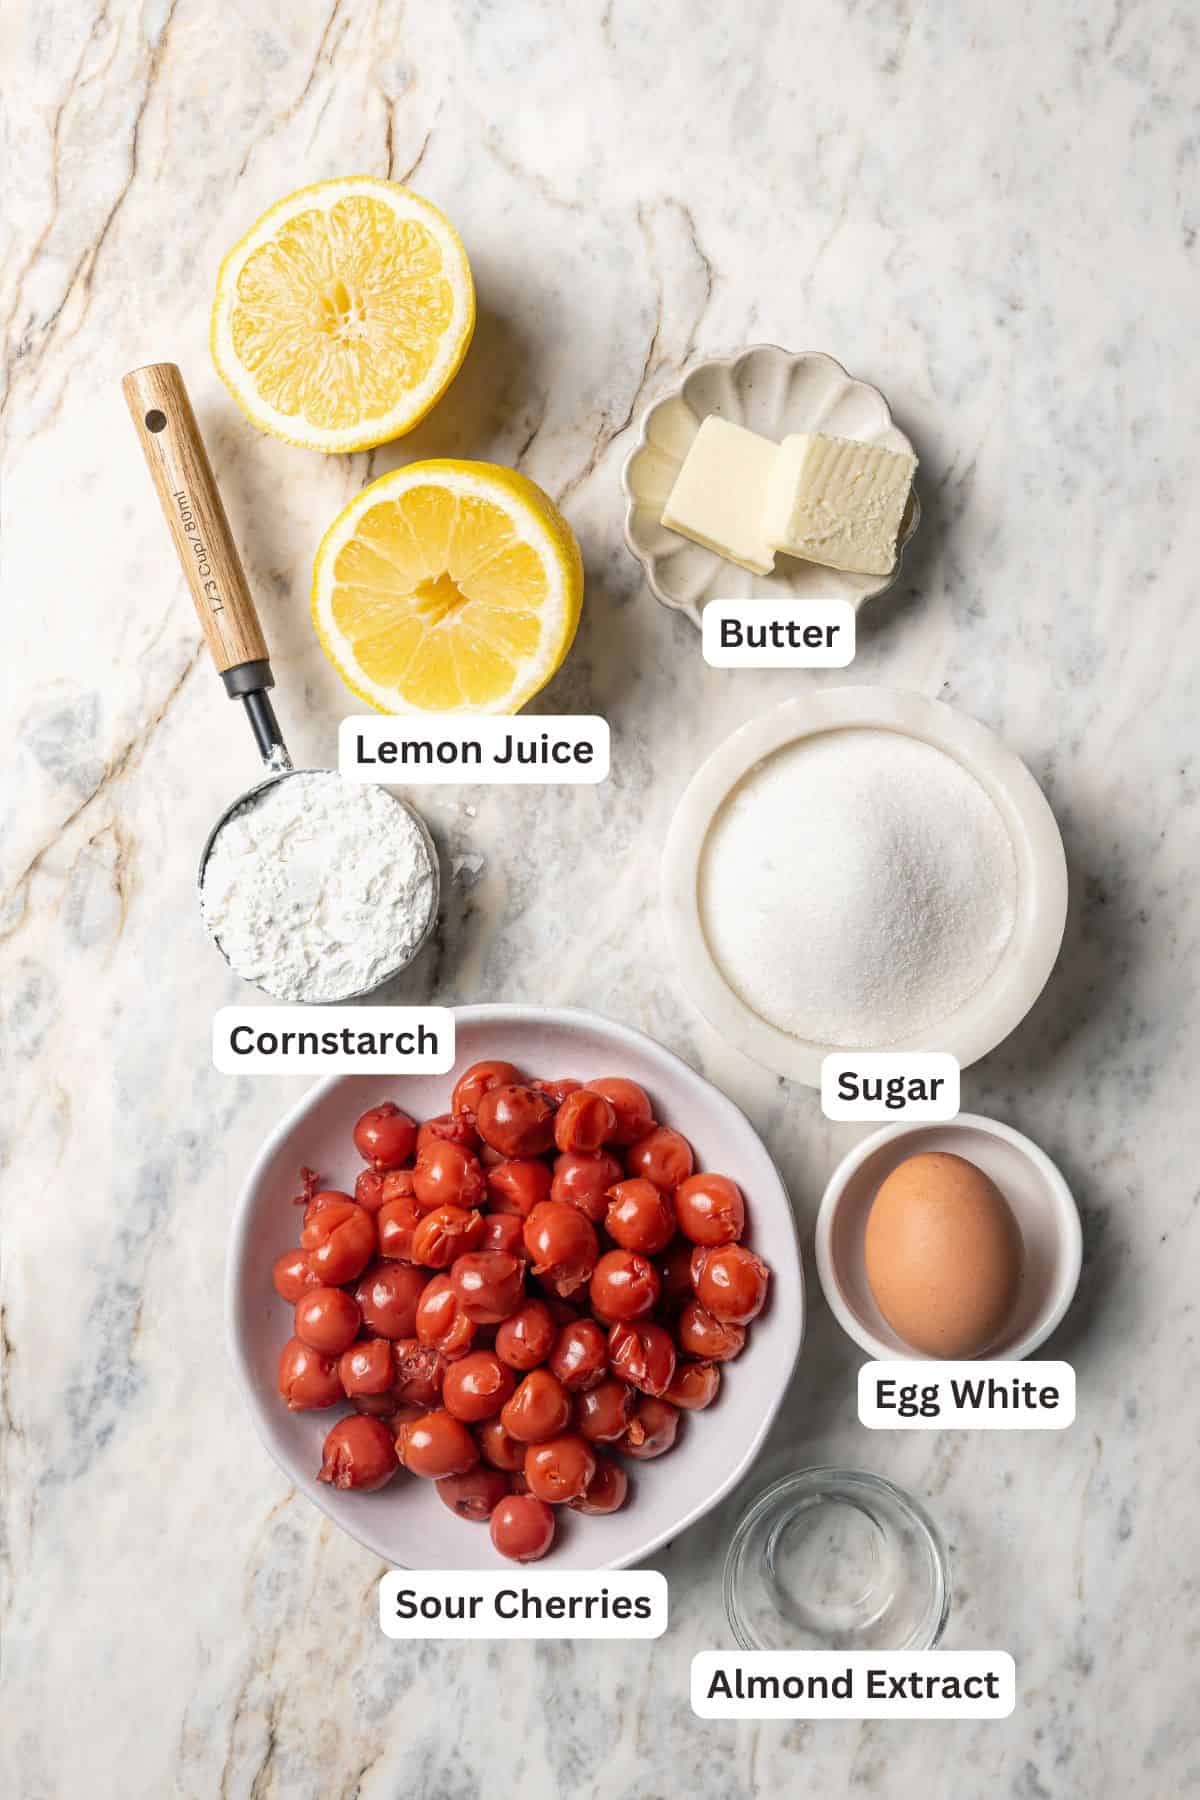
Ingredients You’ll Need to Make Your Pie
The perfect pie comes down to a great crust and a thick, gooey filling. This recipe has both! Below are some notes on the ingredients. You’ll find the printable recipe card below the post, followed by step-by-step instructions with photos.
- Pie Dough – I include my easy pie crust recipe. You make the dough with flour, ice water, cold cubed butter, and salt in the blender. You can also make this recipe using store-bought refrigerated pie dough or a ready-made flaky pie crust.
- Cherries – Sour cherries are my preference for cooking and baking. You can make the pie filling with canned, fresh, or frozen cherries, whichever you prefer. If you’re using frozen cherries, be sure to thaw them first.
- Sugar – I use cane sugar. Granulated sugar or brown sugar also works.
- Lemon Juice – Freshly squeezed. You can use bottled lemon juice in a pinch.
- Cornstarch – To thicken the cherry pie filling. Some recipes use tapioca starch or flour, and both are good substitutes if you need one. You may need more flour than starch to get the same effect.
- Butter – Unsalted or salted butter adds delicious richness to the filling.
- Almond Extract – I love the flavor of almond extract with the cherries. Cinnamon is another great way to add a hint of warm spice to the filling.
- Egg – Lightly beaten egg white, to brush over the top crust so it bakes up golden and glossy.
Sour Cherries vs. Sweet Cherries
Most fresh cherries you’ll find in grocery stores are sweet cherries. These are the juicy snacking cherries that you can eat by the handful and spit out the pits. Sour or tart cherries are more… well, sour. Their sweetness comes out when cooked, which is why tart cherries are my favorite in cherry pies.
Can you make this pie with sweet cherries? Absolutely. Make sure they’re pitted first (if not, a cherry pitter makes it easy). You may also need to add a bit more lemon juice while reducing the sugar in the pie filling. Another option is to use 50/50 sweet and tart cherries.
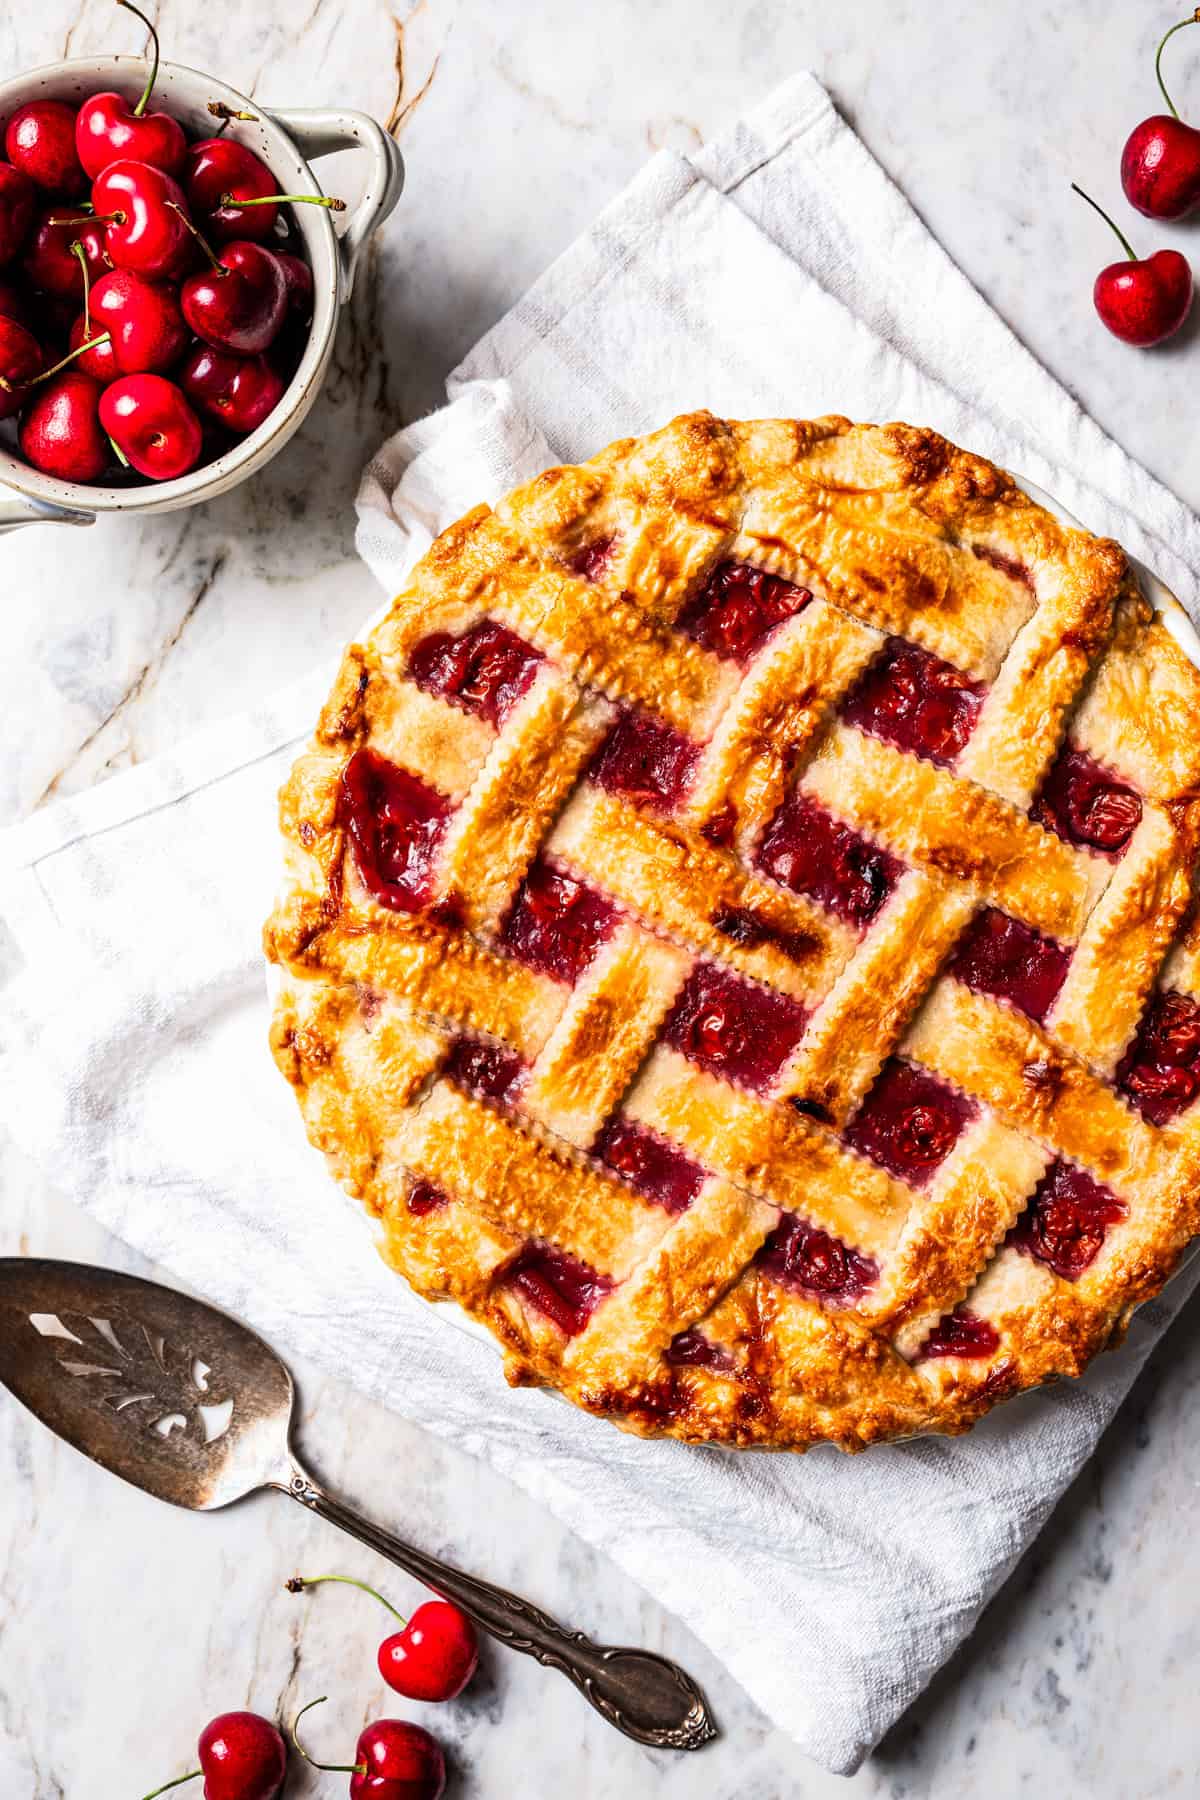
Tips for a Perfect Homemade Cherry Pie
- Make sure your dough is chilled. Chill the dough for at least 1 hour before assembling the pie. This is important for a perfect flaky crust.
- Cook the filling for long enough. Simmering the cherry pie filling before and after adding the cornstarch helps it thicken properly. You may need to cook the filling for longer if you’re using fresh or frozen cherries.
- Don’t skip the egg wash. Well, you can if you really need to, but the egg wash is key to a glossy, golden-baked pie crust.
- Check the pie after 20 minutes in the oven. If it’s browning too quickly, cover the crust with a pie shield or loosely cover the pie with aluminum foil while it finishes baking.
- Cool before you slice it. Allow the baked cherry pie to cool completely before you slice into it. You can even chill it overnight. If you serve the pie warm, you’ll end up with soupy slices. Still delicious, but soupy.
Serving Suggestions
Serve me a scoop of melty vanilla ice cream on top of a warmed-up slice of cherry pie, and I’m in heaven. This pie is also great dolloped with whipped cream, paired with a cortado coffee or Mexican coffee after dinner.
Frequently Asked Questions
Definitely. Simply replace the filling in the recipe with your favorite canned version.
Not for this recipe. Blind baking is only necessary in recipes where the filling bakes faster than the crust, or in no-bake pies where a baked crust is needed.
It could be because the filling didn’t simmer for long enough, or you may need a little more cornstarch to thicken it. Also, make sure to cool the pie completely before slicing to avoid a runny pie.
(Amazon affiliate links) For more kitchen tool faves, check out my shop!
- Food Processor – Makes the pie dough come together fast and flaky without overworking it.
- Saucepot – Essential for cooking the cherry filling until thick and glossy.
- 9-Inch Pie Pan – A sturdy standard-size pan gives this pie the perfect shape and golden crust.
- Rolling Pin – You’ll need it to roll out the dough evenly.
Pin this now to find it later
Prepare the Pie Dough:
-
Combine the ingredients. In the bowl of a food processor, pulse together flour and salt. Add butter and process until it resembles coarse meal.
-
Bring the dough together. While the machine is running, gradually add cold water. Process until the dough comes together. Divide the dough into two parts and flatten them into discs. Wrap the dough and chill for 1 hour before rolling out.
Prepare the Filling:
-
Drain the juice. Drain the juice from the cherries into a saucepot. Take 1/3 cup of the juice and add it to a bowl.
-
Make the thickener. Whisk the reserved cherry juice (in the bowl) with cornstarch and almond extract. Set aside.
-
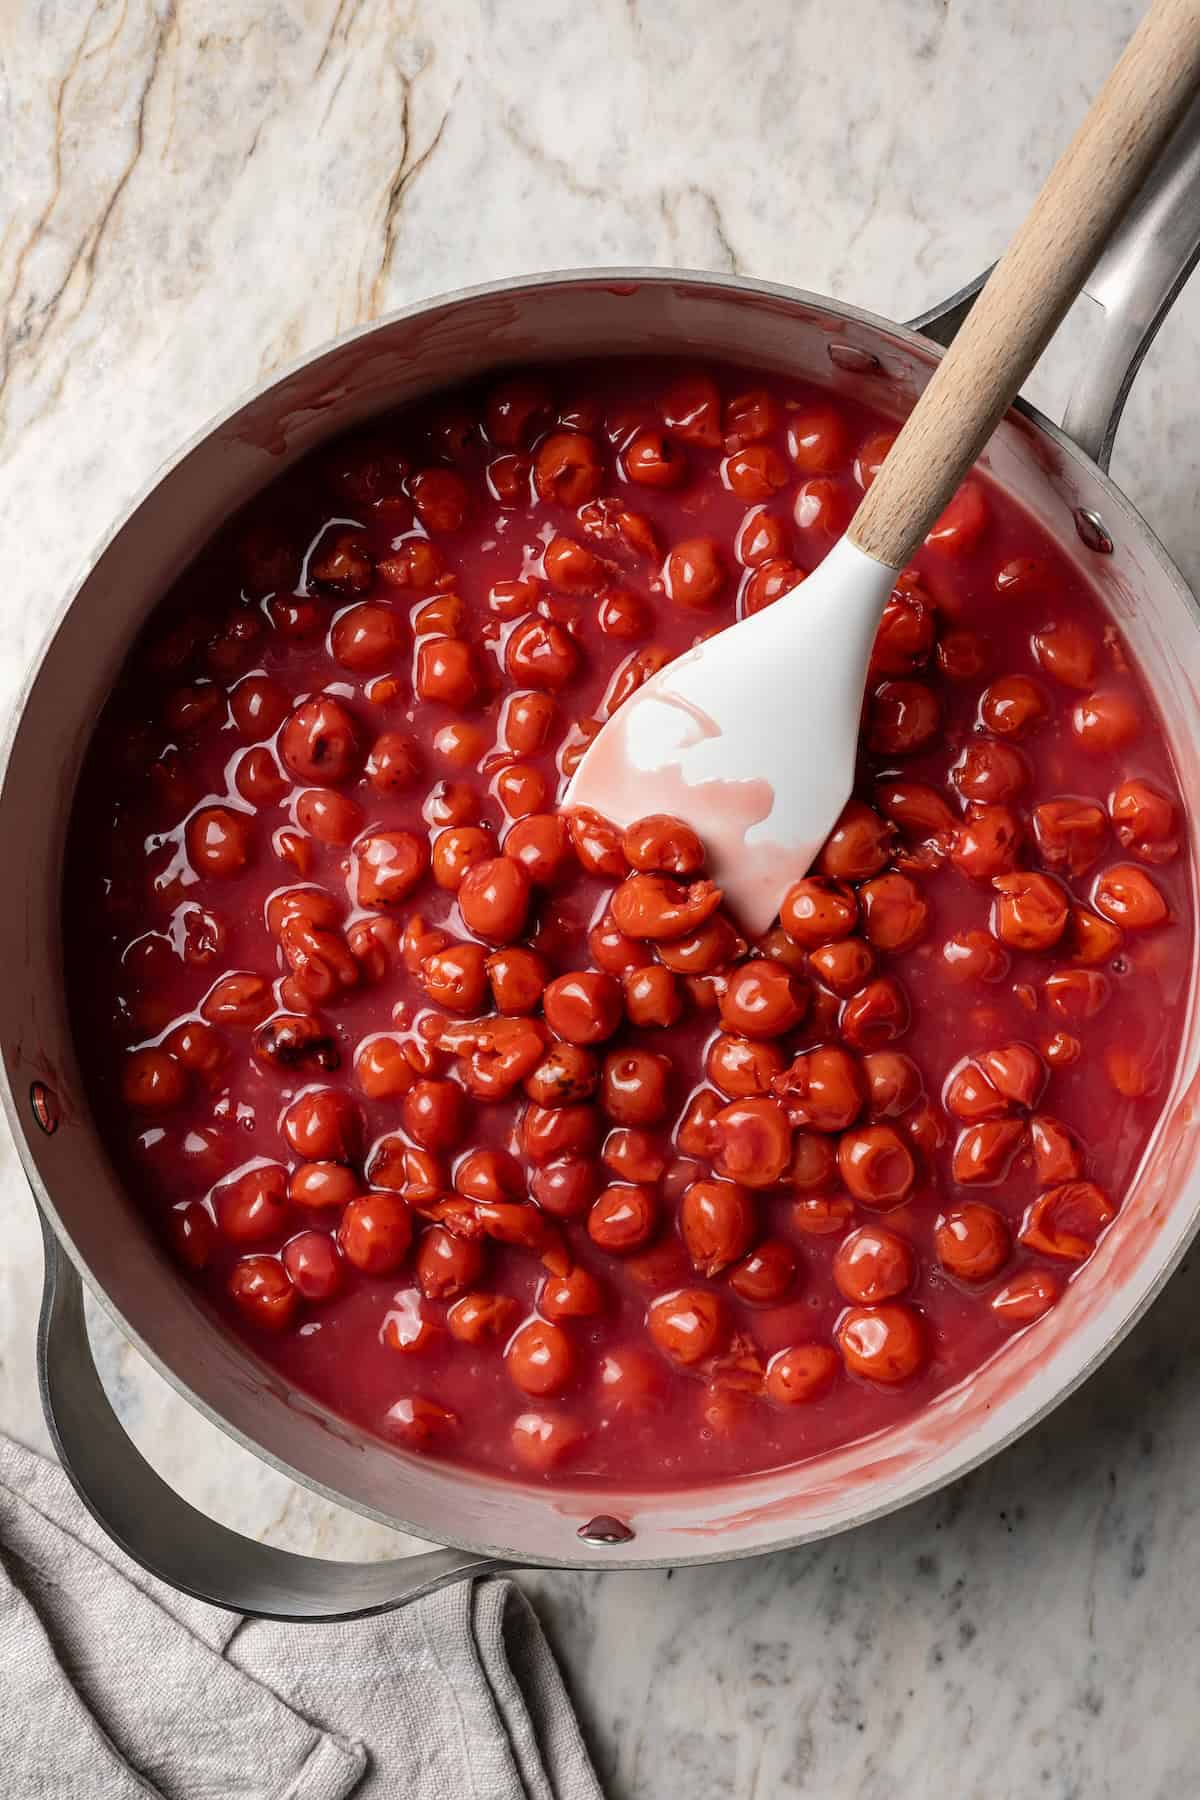
Make the filling. Add the sugar to the cherry juice in the saucepot. Bring to a boil, then reduce heat. Simmer until the sugar dissolves. Stir in the cornstarch mixture and simmer for 2-3 minutes or until gently thickened. Stir in the lemon juice, cherries, and butter. Allow the butter to melt, and allow the cherry filling to cool down.
Assemble the Pie:
-
Prep. Preheat the oven to 400°F. Set aside a 9-inch pie pan.
-
Roll out the dough. Roll the pie dough out on a floured surface, making one part slightly larger than the pie pan. This will allow you to cover the pie pan sides with the dough. Transfer the dough into the pie pan and crimp the edge if you like.
-
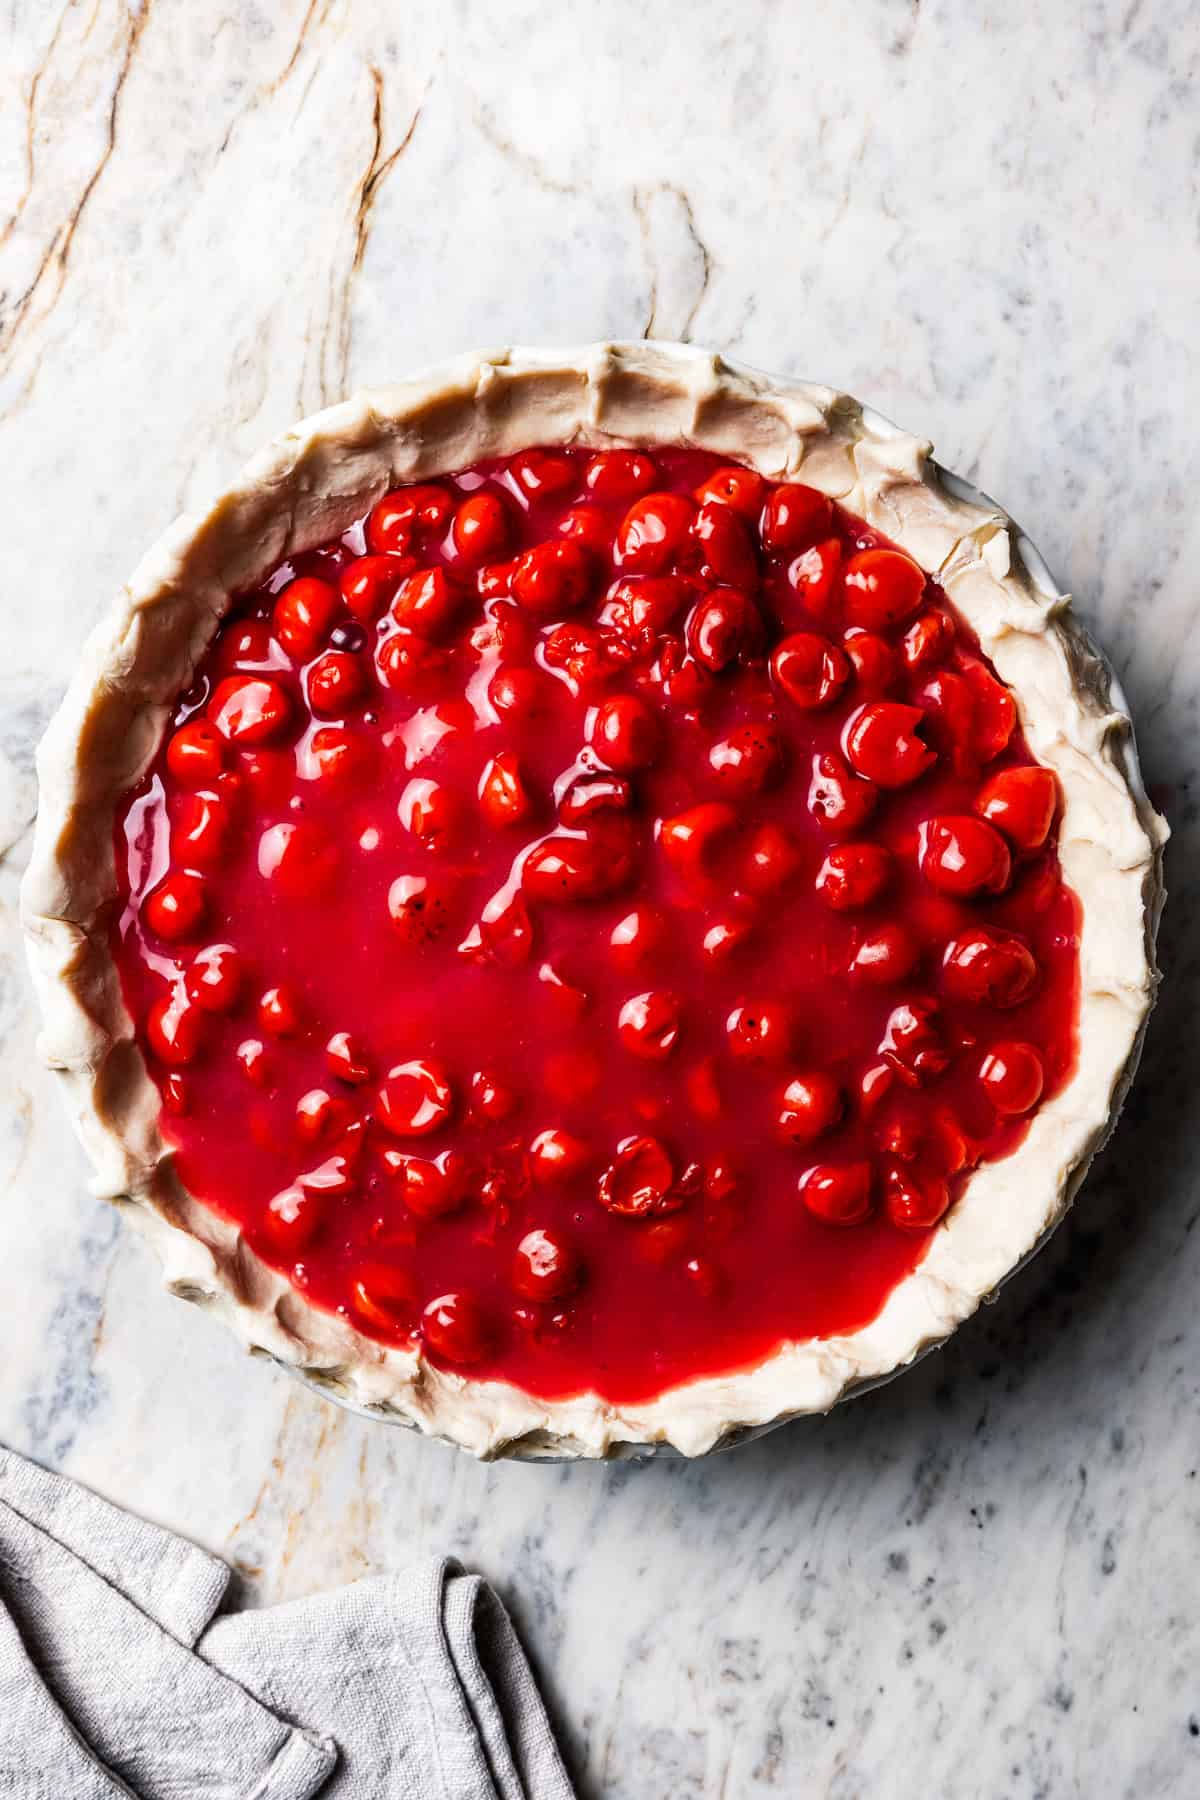
Fill the pie. Add the cooled cherry filling over the pie crust.
-
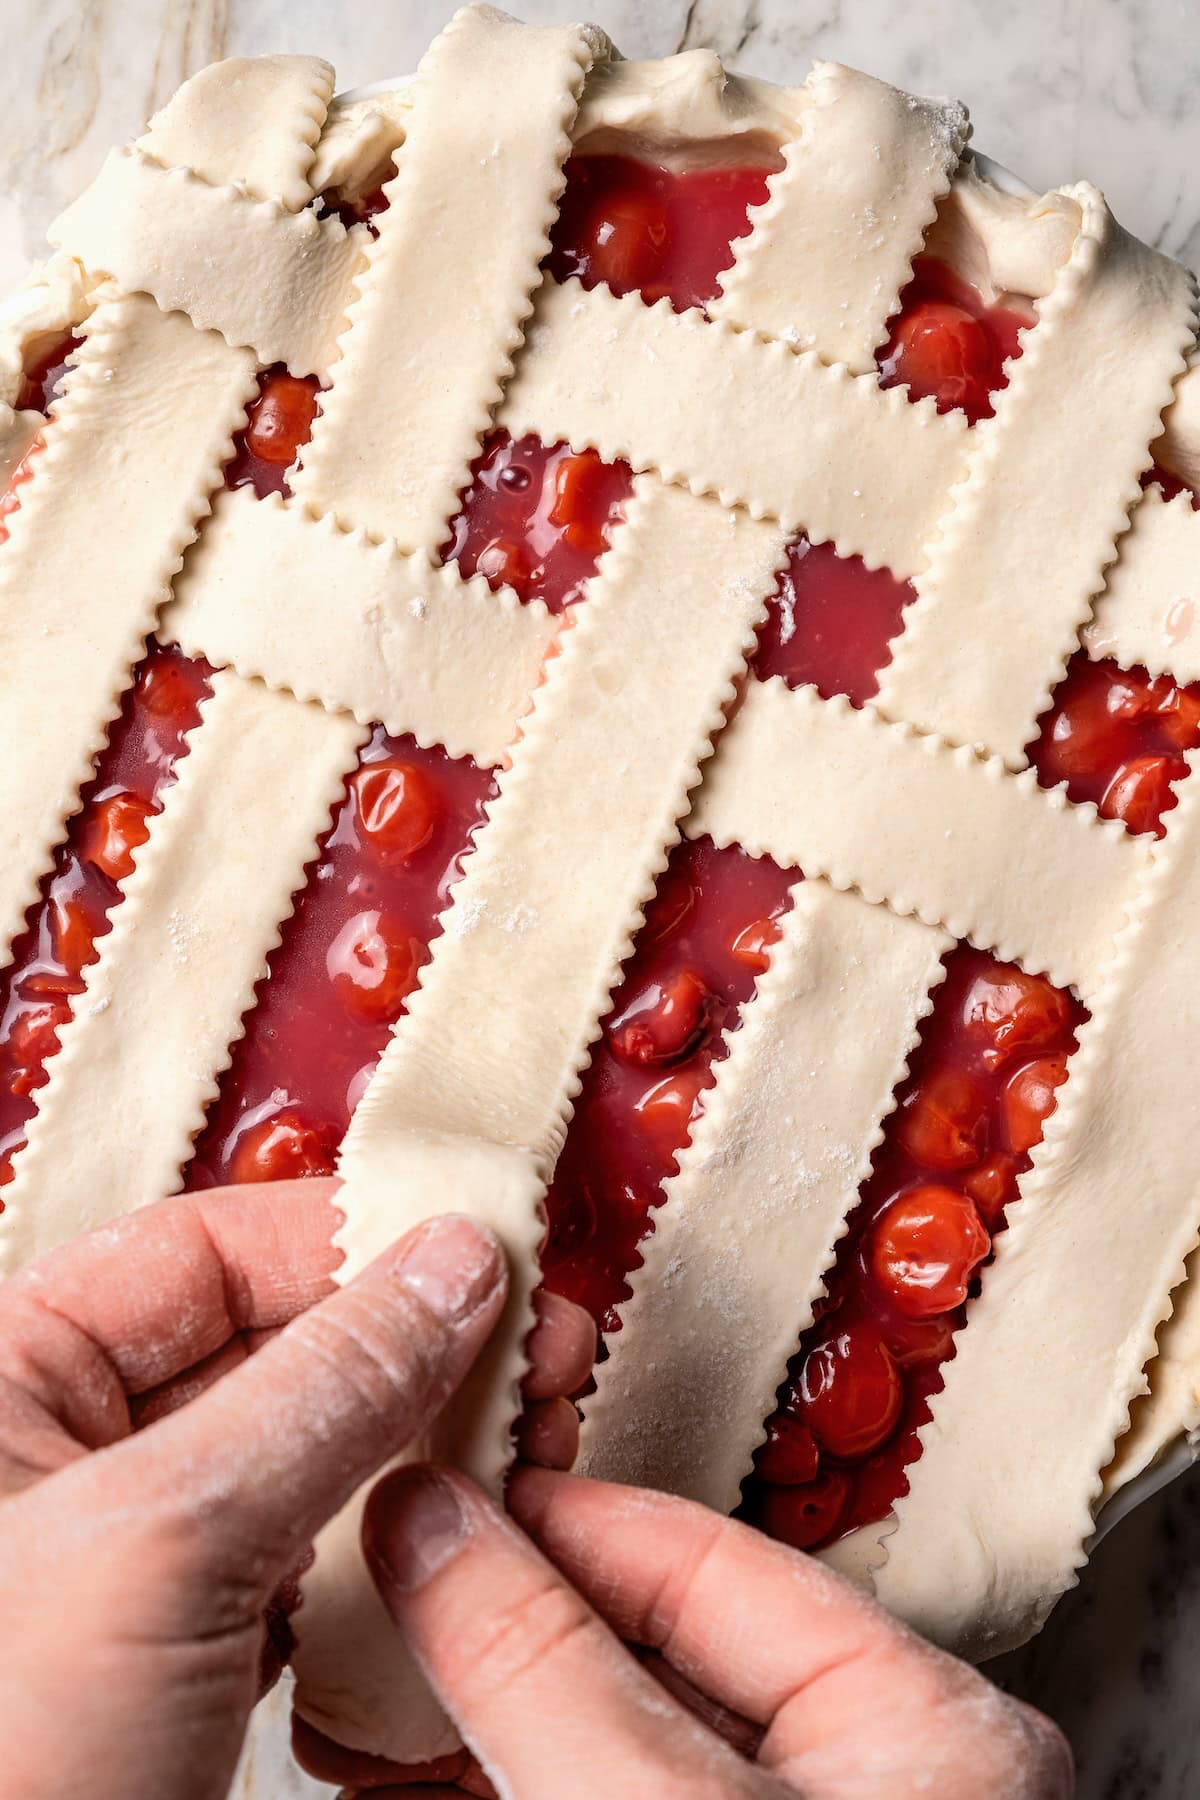
Add the top crust. Roll the second piece of dough. Using a pizza cutter, cut the dough into ½-inch strips. Lay the dough strips over the pie filling in a lattice pattern.
-
Add an egg wash. Brush the pie dough with beaten egg white.
-
Bake. Bake the pie for 40 minutes. Make sure to check the pie after 20 minutes. If the pie is browning too fast, cover the pie with a piece of aluminum foil.
-
Cool and serve. Remove the cherry pie from the oven and let it cool completely before slicing and serving.
- Cherry options. You can use fresh or frozen cherries for this recipe. If you are using frozen cherries, thaw them before use.
- Extract. Almond extract perfectly complements the cherries, but you can also use cinnamon instead of almond extract. The cinnamon will also give the cherries a nice warm flavor.
- Chill the dough. Properly chilled dough will result in a perfect flaky crust.
- A la mode. Serve the pie with some ice cream. I love a vanilla and cherry combo.
Calories: 373kcal | Carbohydrates: 52g | Protein: 4g | Fat: 18g | Saturated Fat: 11g | Polyunsaturated Fat: 1g | Monounsaturated Fat: 5g | Trans Fat: 1g | Cholesterol: 46mg | Sodium: 127mg | Potassium: 260mg | Fiber: 3g | Sugar: 25g | Vitamin A: 595IU | Vitamin C: 8mg | Calcium: 23mg | Iron: 2mg
Nutritional info is an estimate and provided as courtesy. Values may vary according to the ingredients and tools used. Please use your preferred nutritional calculator for more detailed info.
How to Make Cherry Pie (Step-by-Step)
These are the steps to make a beautiful, thick, and sliceable cherry pie from scratch using easy pantry ingredients.
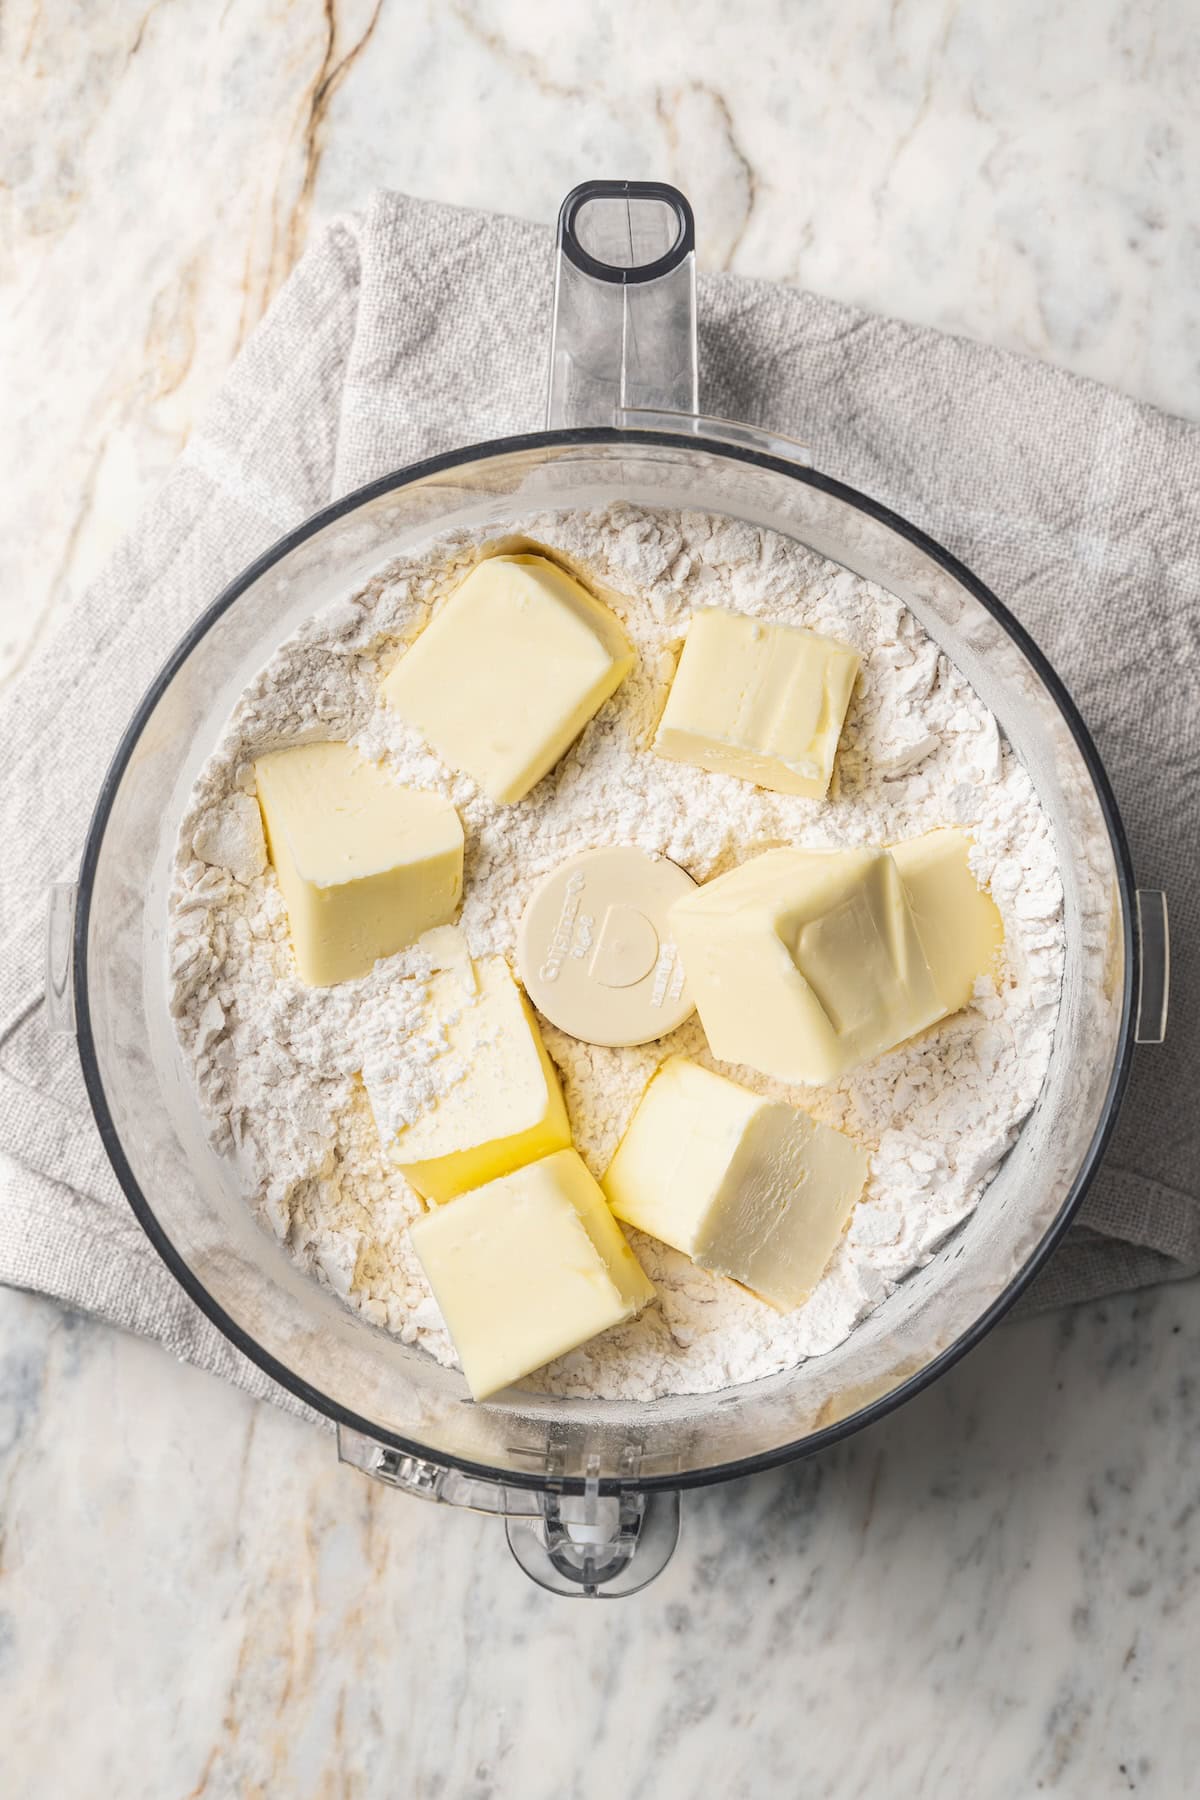
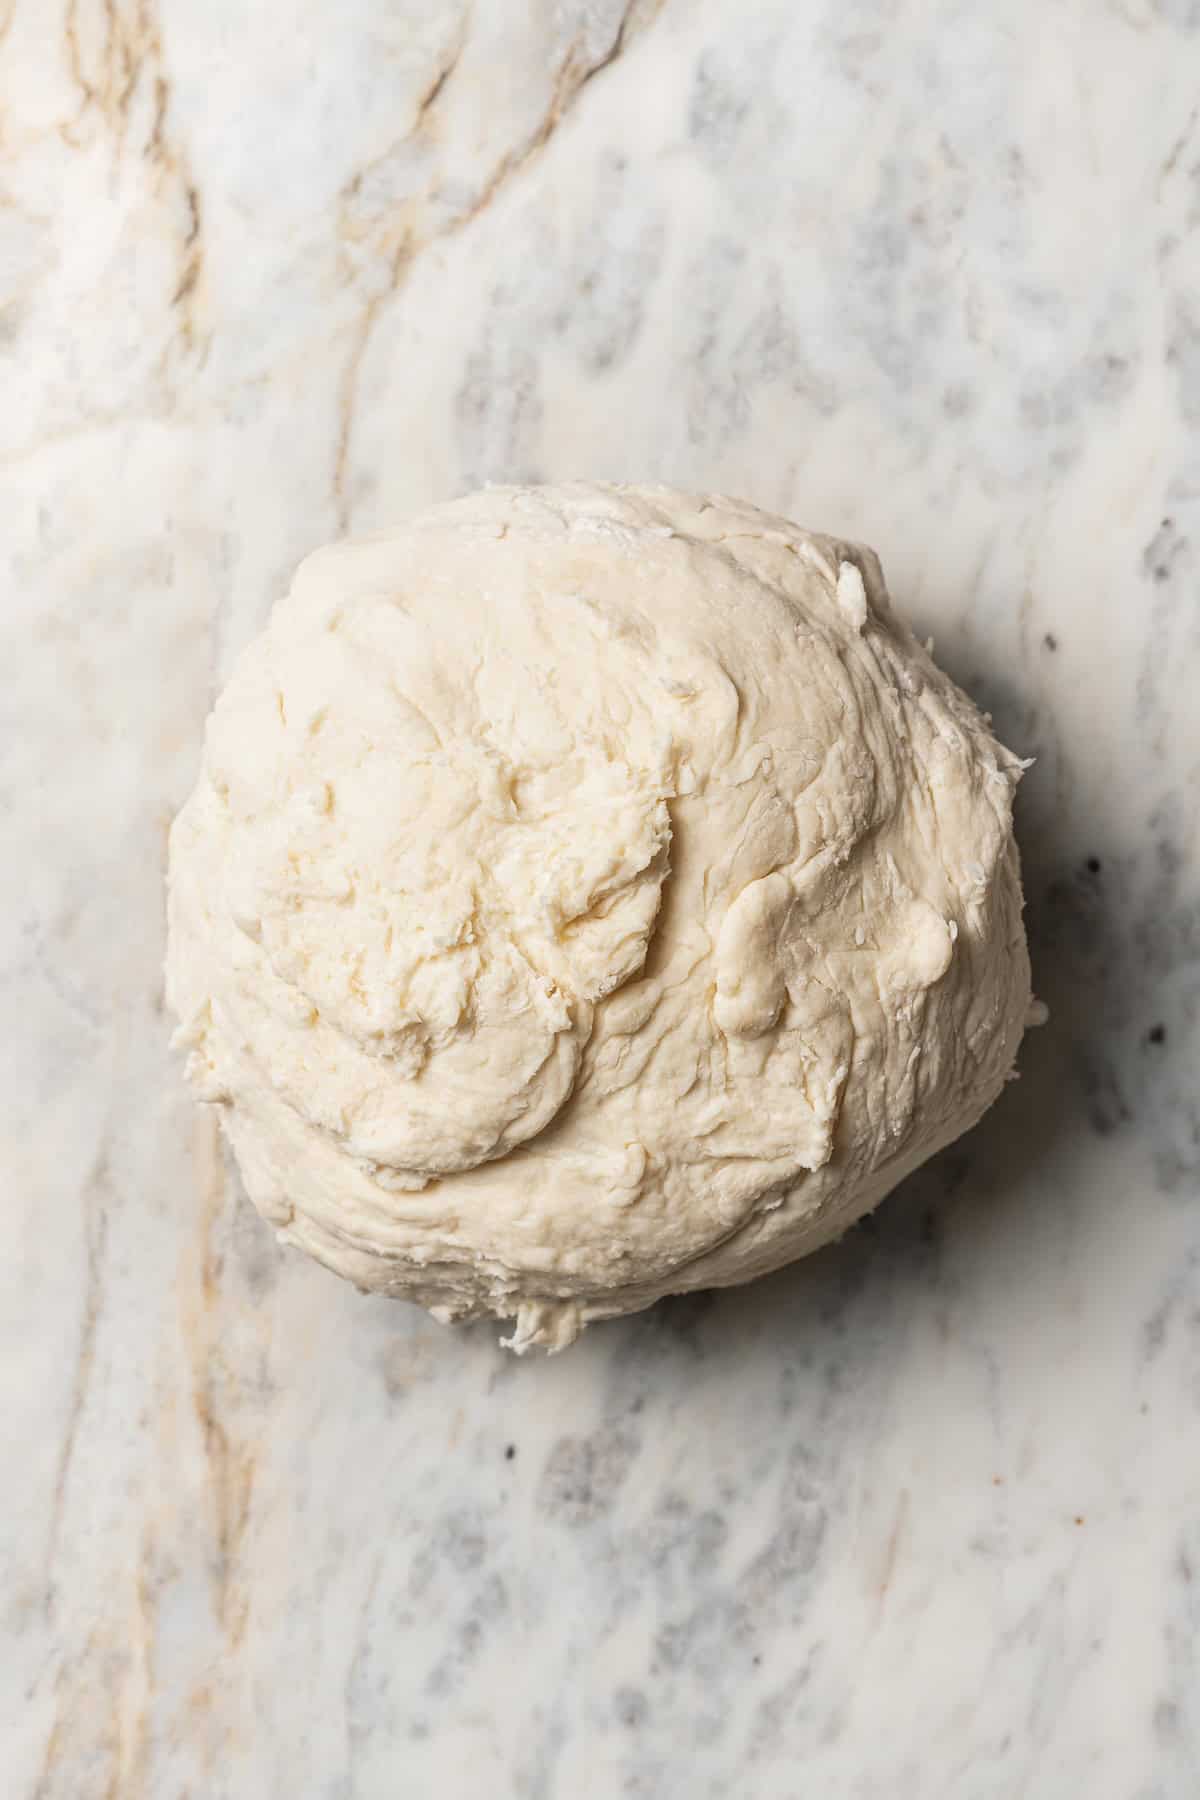
- Make the pie dough. Pulse flour and salt with cold butter in a blender or food processor. Then, stream in the water a little at a time with the blender still running so that the dough comes together. Divide and shape the dough into two discs, wrap them, and place them in the fridge.
- Strain the cherries for the filling. While the dough is chilling, drain the juice from the canned cherries into a saucepan on the stove.
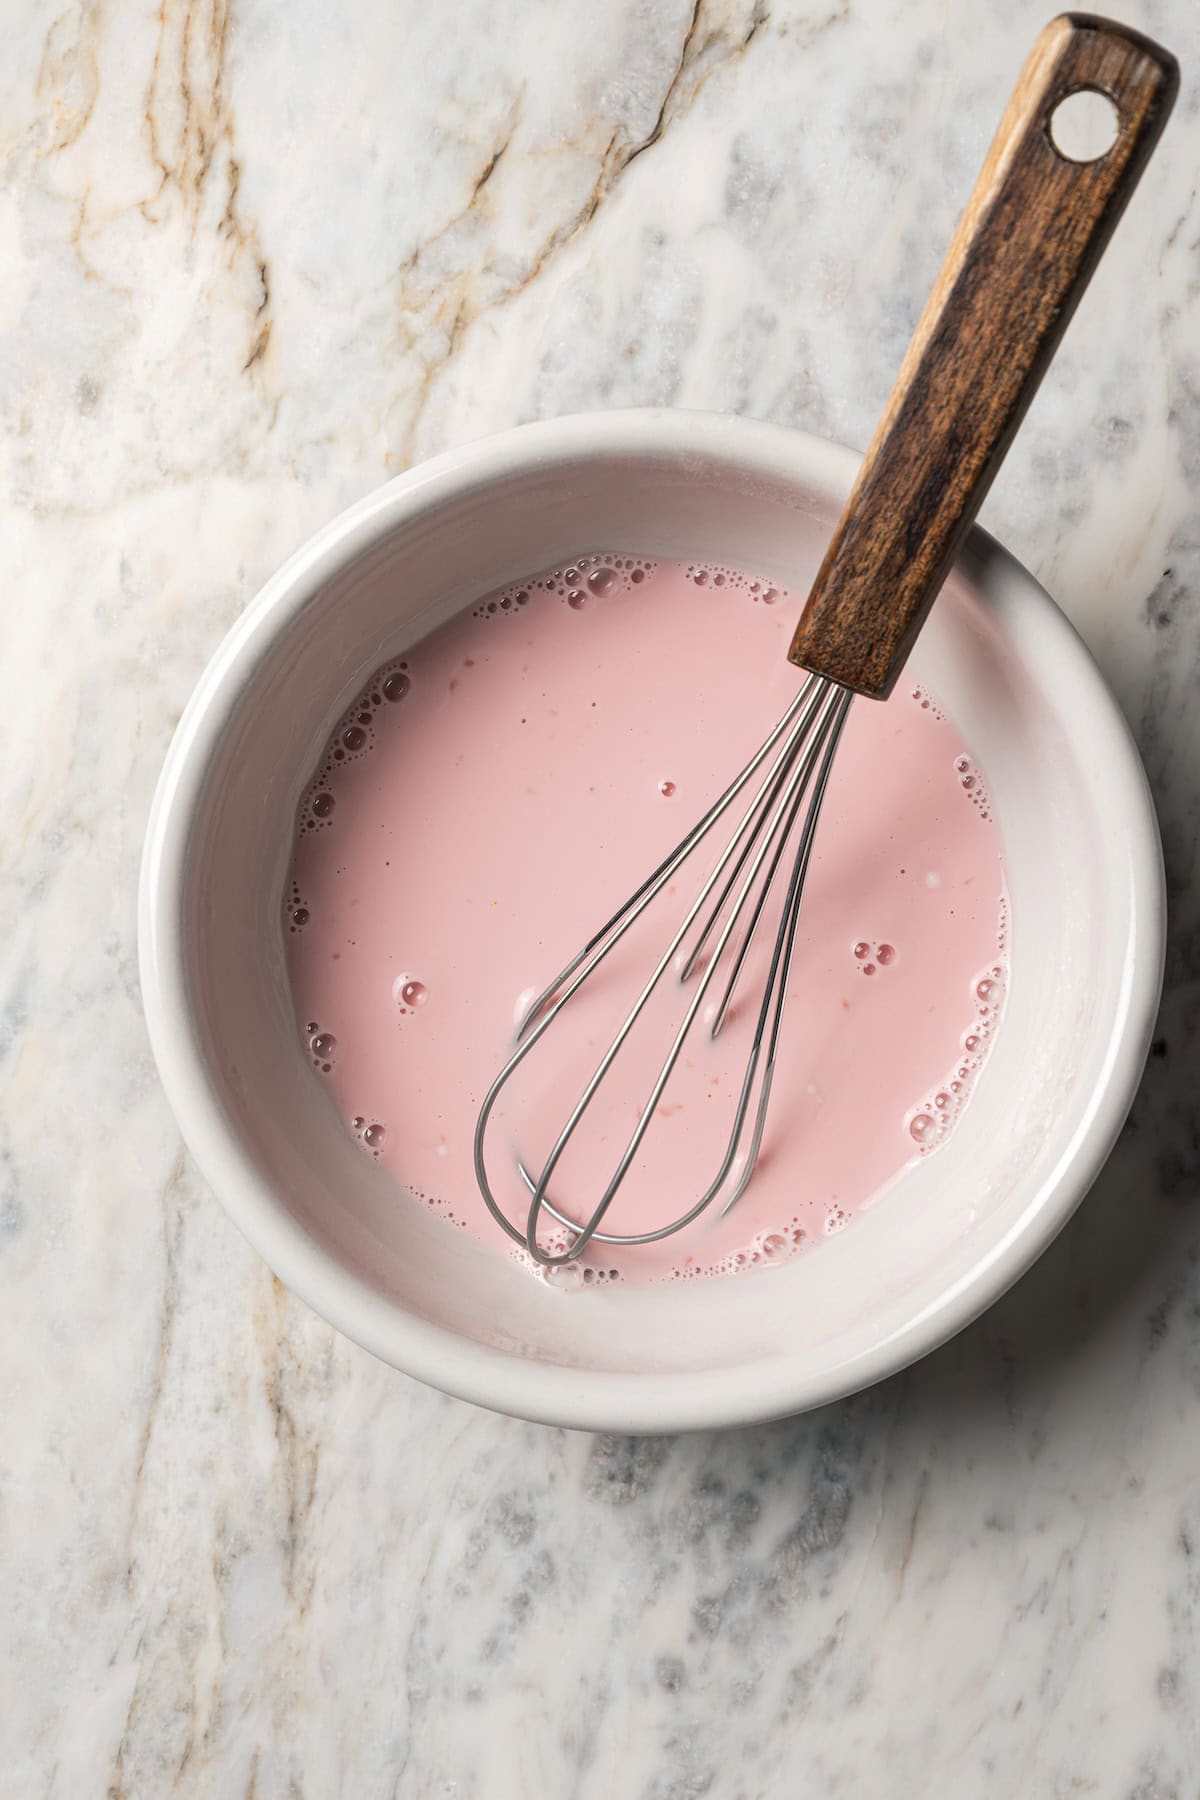
- Prepare the thickener. Separate about ⅓ cup of the juice into a bowl. Whisk that together with cornstarch and almond extract, and set it aside for now.
- Cook. Next, add sugar to the cherry juice that’s still in the pan. Bring it to a boil. Then, lower the heat and simmer until all the sugar dissolves before stirring in the cornstarch mixture. Let that simmer and thicken for another 2-3 minutes.
- Add the cherries. Now, stir in the cherries and lemon juice, and melt in the butter. Take the pan off the heat and leave the filling to cool.
Fill and Bake the Pie
When the filling cools down, you’ll roll out the crust and assemble the pie as follows:
- Roll out the crust. While the oven preheats to 400ºF, roll out one of the chilled pie dough discs into a 9-inch pie plate. Crimp the edges as you’d like.
- Fill the pie. Transfer the cherry pie filling to the prepared crust.
- Add a top crust. You can add a full top crust (remember to cut holes for the steam to escape), or, do like I did, and weave a lattice crust. See below for a quick tutorial.
- Bake. Lastly, brush the top crust with the beaten egg white. Bake the pie at 400ºF for 40 minutes. Afterward, allow the pie to cool completely before you slice and serve.
How to Make Lattice Pie Crust
Speaking from experience, a woven crust seems like some bakery-level skill until you actually do it yourself! I was surprised by how simple it is, and I’m sure you will be, too. To make a golden, buttery lattice crust:
- Cut the pie dough into strips. Roll out your second dough disc on a floured surface. Aim for a circle that’s slightly wider than your pie plate. Then, use a pizza cutter to slice the dough into even, ½-inch strips.
- Start with the vertical strips. Lay half of the dough strips vertically over the pie filling. Keep them in the same formation: Long strips in the middle, shorter strips at the sides. Fold every other strip back until they’re nearly off the pie.
- Weave the crust. Place the first of the unused dough strips horizontally on top, and unfold the vertical strips so that they lay back over the horizontal strip.
- Repeat. Fold back the alternate vertical strips, and lay one more of the unused strips horizontally on top. Unfold the vertical strips again, and you should start to see a pattern forming. Repeat, weaving the remaining dough strips over and under each other.
- Seal the crust. Trim, fold, and crimp the excess dough with the bottom crust, then brush with the egg white. For even better results, you can chill the pie in the fridge for 30 minutes before baking, to help the lattice hold its shape.
Make-Ahead, Storage, and Freezing
- Make it ahead. You can assemble the pie a day in advance and keep it refrigerated until it’s time to bake. Another option is to freeze the unbaked pie. Wrap it in a double layer of plastic wrap to freeze it. You can bake the pie from frozen, adding a few minutes to the baking time.
- Store leftovers. Baked cherry pie is fine to store lightly covered at room temperature for 2-3 days. After that, move it to the fridge.
- Reheat. If you’d like to serve your leftovers warm, reheat the pie whole in the oven, or you can heat individual slices in the microwave before serving.
- Freeze the baked pie. Freeze the cooled cherry pie airtight for up to 1 month. When you’re ready to serve, thaw it uncovered at room temperature.


